There is hardly any method of marketing and advertising property like a professional home walkthrough video for the simple reason that there is nothing quite like it. Video tours offer buyers a far more interactive and immersive experience than still pictures can provide. By making a house come alive, a home walkthrough video engages viewers’ attention and allows them to see themselves living in the space, which is a factor that results in greater inquiries and ultimately sales.
In this guide, you will discover how to create a powerful real estate video walkthrough for your properties.
What is a Real Estate Video Walkthrough?
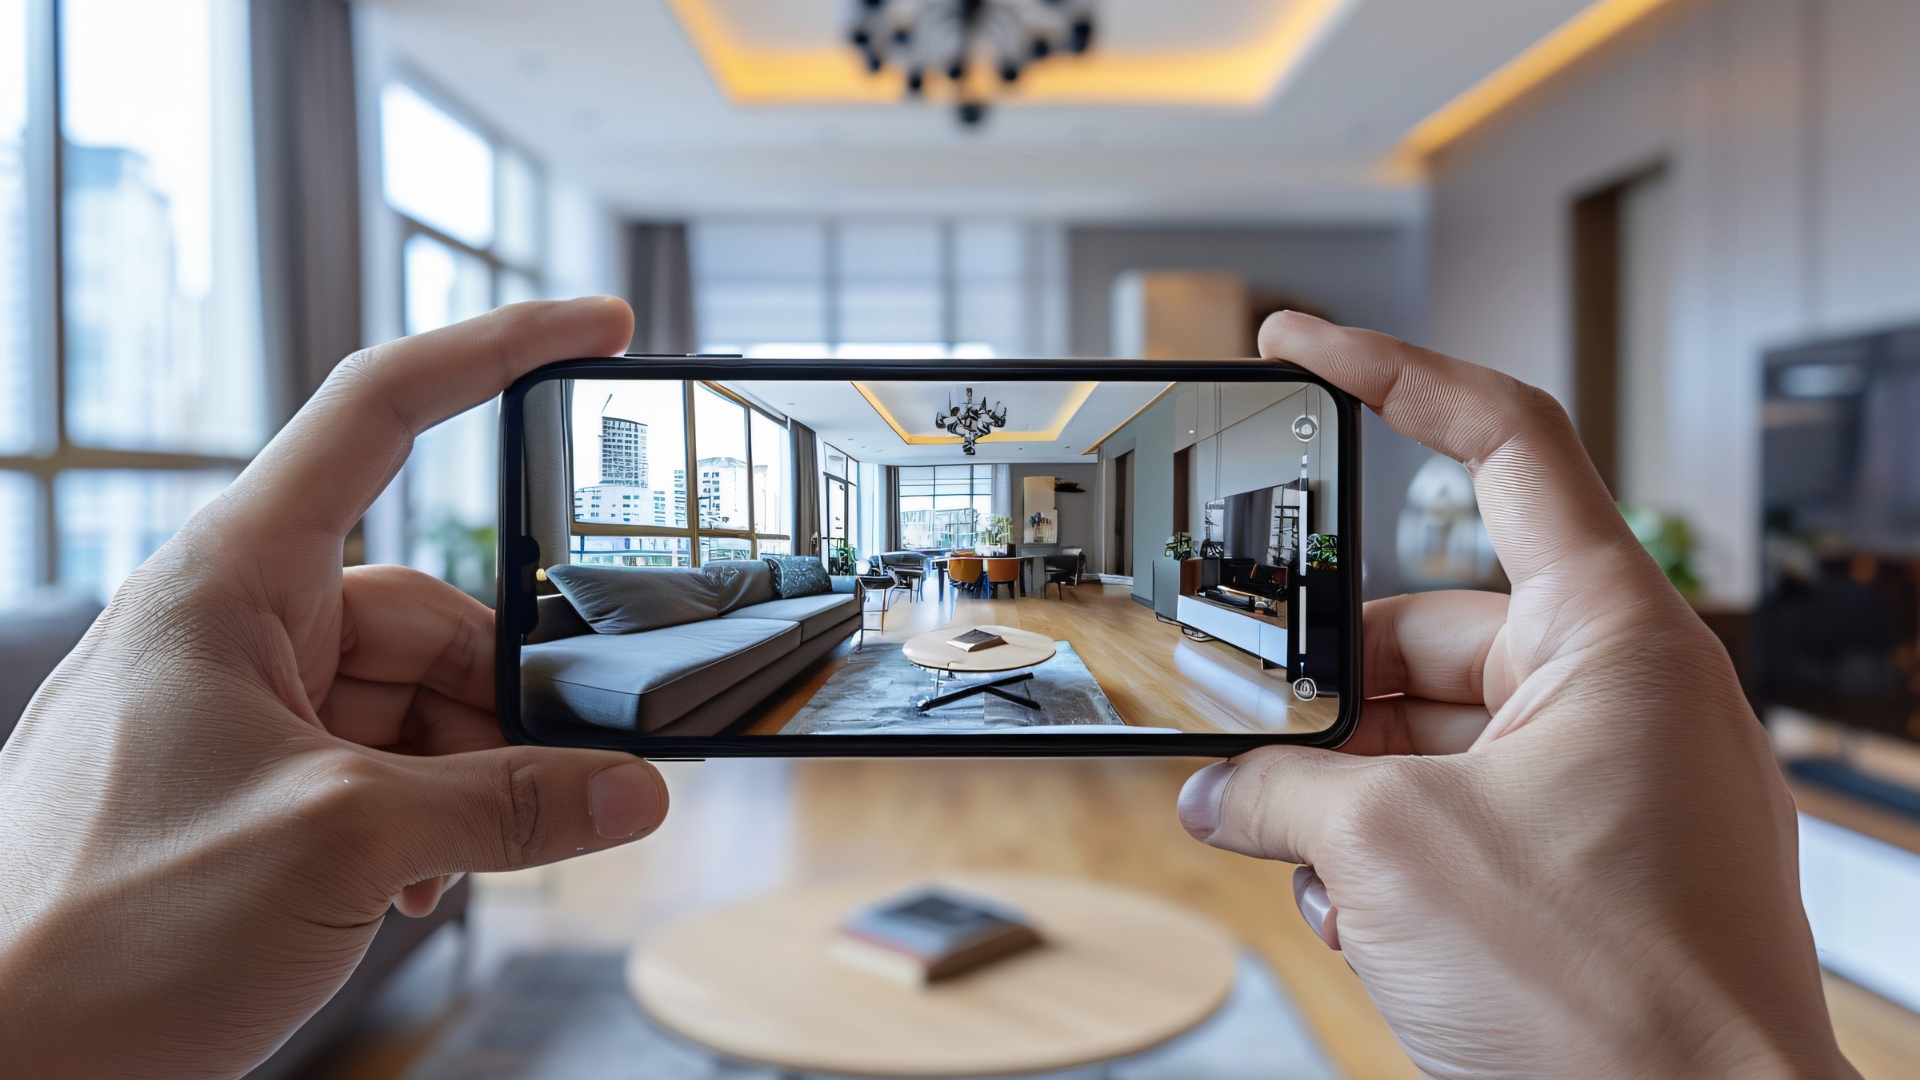
A real estate video walkthrough is a continuous video tour that guides viewers through a property as if they were physically walking inside it. Instead of relying on separate clips or heavy edits, it presents a natural, room-by-room experience that helps buyers understand how the space connects and flows.
Walkthrough Video Features:
- A continuous video tour: the video footage is shot without interruption to create an authentic experience for the viewer.
- Demonstration of the layout and flow: this video footage showcases how each room is linked together to allow buyers to get insight into the property layout.
- Video length of 2-5 minutes: walkthrough videos are usually concise and capture important features of the house within 2-5 minutes.
In What Ways Does It Differ from Photos?
A walkthrough video differs from photos because, while a photo can show a snapshot moment in time and an angle view of an object or building, a walkthrough video allows one to see the whole picture and movement within that space.
How to Create a Real Estate Video Walkthrough?
Now, let’s go through 5 easy steps to quickly create an effective home walkthrough video.
Step 1 – Essential Equipment
You don’t need fancy or costly gear to create a high-quality home walkthrough video.
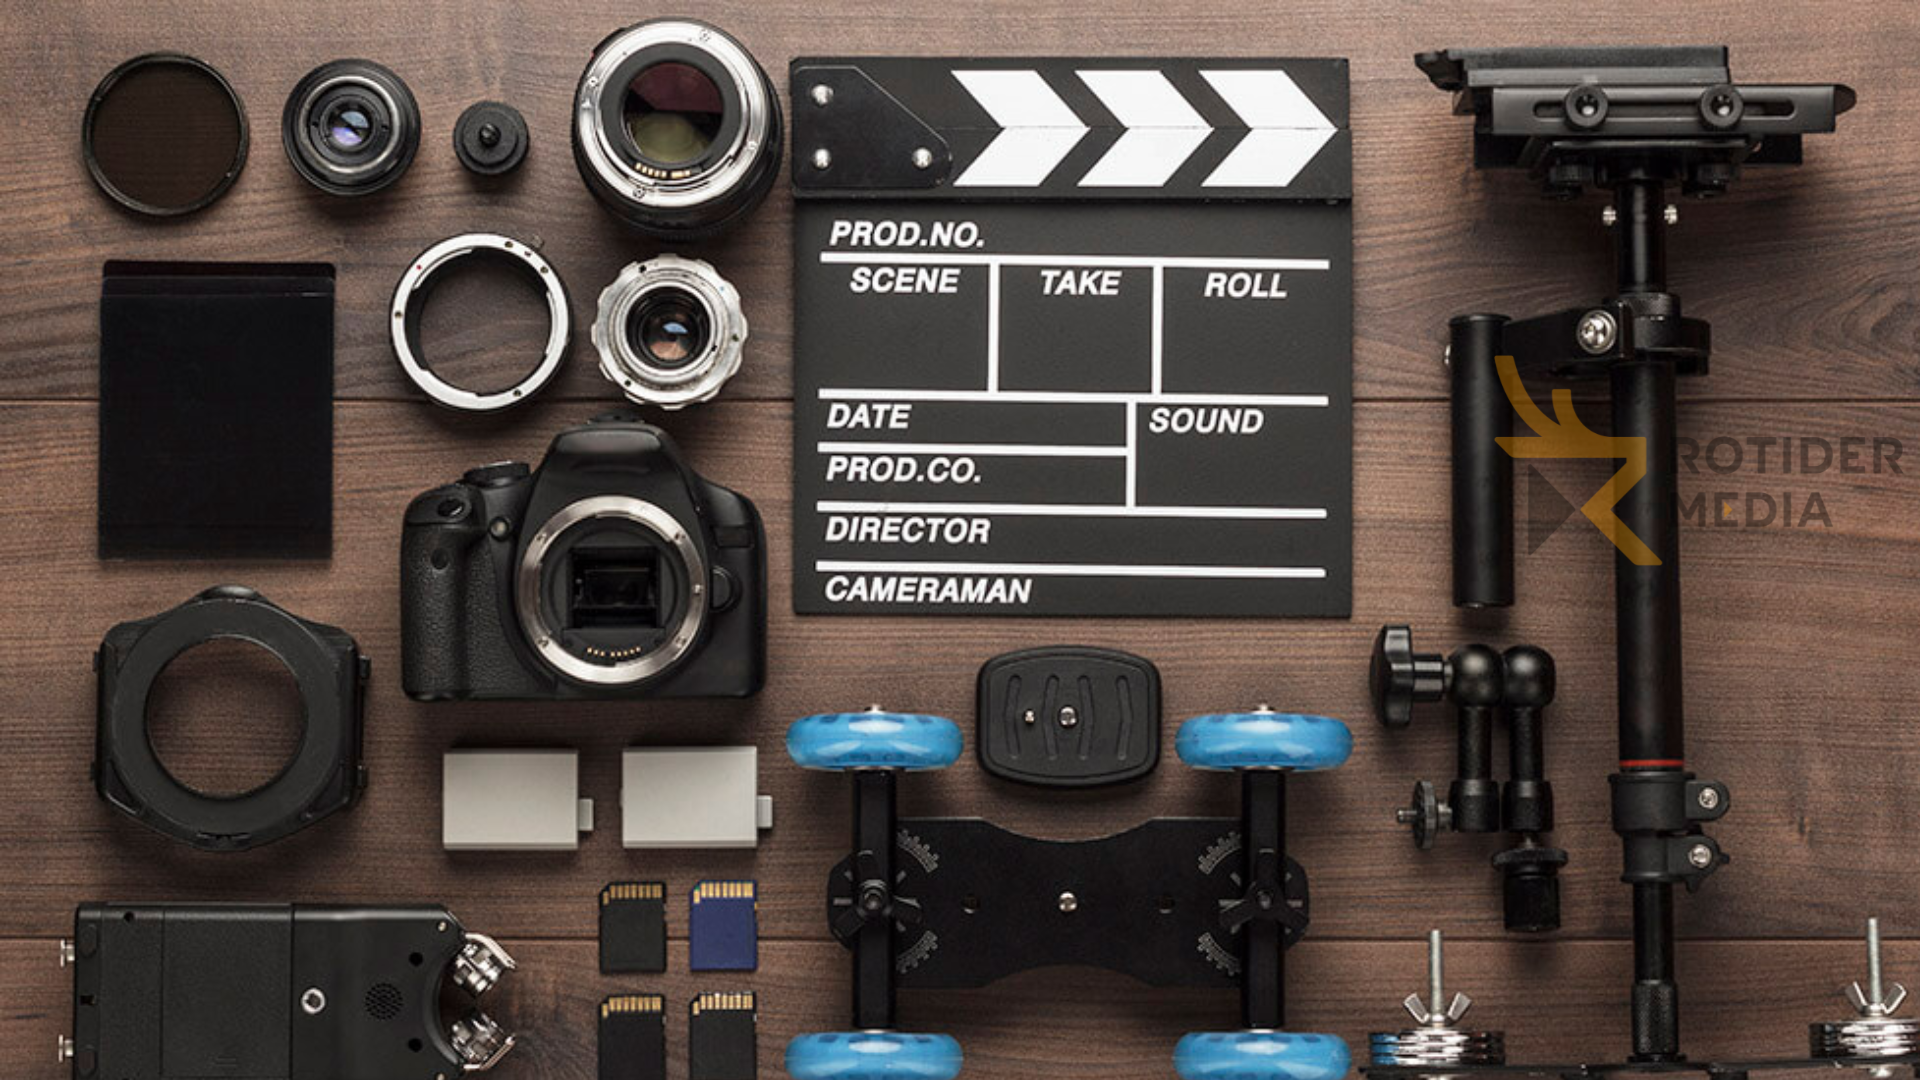
Today’s smartphones come equipped with impressive cameras and advanced features, making them powerful tools for capturing your property. But to truly elevate your footage, consider supplementing your phone with a few extra pieces of equipment if you have access to them:
- A DSLR camera for superior image quality
- A wide-angle zoom lens (16–35mm or 17–40mm) to capture more of each room
- A tripod paired with a slider for smooth, professional movements
- An additional tripod head to mount atop the slider for versatile angles
- And if you own a drone, definitely bring it along to capture breathtaking aerial shots!
Never underestimate the power of a tripod. It dramatically stabilizes your shots, making your video look polished and professional—and many affordable options even support smartphones.
For camera settings, here’s a solid starting point:
- Shoot in 1080p at the highest frame rate your device allows
- Set shutter speed to at least double the frame rate (e.g., 1/50 or 1/100) to avoid flickering
- Adjust white balance between 3000K and 5600K for natural color tones
- Aim to film at eye level whenever possible for the most inviting perspective
- Keep ISO low to maintain crisp image quality
- Focus carefully to ensure sharpness in every shot
Read more: Best Cameras for Real Estate Videography
Lighting is key. Natural light is usually your best friend for both interior and exterior scenes, so plan your shoot around the weather. Partly cloudy days often deliver the most balanced lighting, while very overcast days might call for rescheduling to avoid dull footage.
Step 2 – Prepare the property
Before capturing any photos or videos, take the time to walk through the entire home and prepare it to look its absolute best.
Key steps to get your space camera-ready include:
- Thoroughly clean, tidy, and organize every room
- Remove personal touches like family photos to create a neutral, inviting atmosphere
- Clear clutter from all surfaces—counters, tabletops, shelves—so the space feels open and spacious
- Temporarily relocate pets to avoid distractions
- Close all cabinet and closet doors for a polished look
- Smooth out wrinkles on bedspreads and linens
- Close toilet lids and pull shower curtains neatly
- Neatly arrange throw pillows, adjust window treatments, and straighten artwork and plants for visual harmony
Meticulous preparation not only enhances the home’s appeal on camera but also streamlines the entire shoot, helping you capture flawless, inviting visuals with ease.
Step 3 – Plan your shot list
Planning your shoot is absolutely crucial—there’s no such thing as too much preparation. Start by creating a detailed list of the rooms and features you want to showcase, tailored thoughtfully to the profile of your ideal buyer. Understanding who you’re selling to allows you to highlight the aspects of the home that will resonate most.
Here’s a solid shot list to guide your video tour:
Indoor Highlights:
- The welcoming main entrance
- Cozy living, great, and family rooms
- The heart of the home—the kitchen—with its appliances, countertops, and cabinetry
- The dining room or designated dining space
- Every bedroom and bathroom, capturing comfort and style
- Special touches like fireplaces, whirlpool tubs, window nooks, and spacious closets
Outdoor Essentials:
- A smooth walk from the street to the front door, inviting viewers inside
- The moment you open the door, setting the tone for what’s inside
- Multiple angles of the home’s exterior to reveal its curb appeal
- Backyard features—pools, gardens, decks, and inviting seating areas
For standout rooms such as the kitchen, living room, and master suite, be sure to capture a variety of shots and angles to create a rich, immersive experience for buyers.
Don’t forget to extend your lens beyond the property itself. Show off the surrounding neighborhood to help buyers imagine life there—nearby parks, vibrant downtown spots, business districts, and local amenities all add valuable context.
Step 4 – Film the walkthrough video
Quality is everything — your home walkthrough video should look professional and deliver crisp, HD visuals that captivate viewers.
Smoothness is key to a pleasant viewing experience. Avoid shaky footage or jarring movements by mastering the art of slides and glides.
Slides create gentle, controlled camera movements, usually gliding forward or backward to reveal a space gradually. One crucial tip: ensure the slider itself never sneaks into the frame.
Glides and slides are surprisingly simple to execute:
- Begin with the slider positioned just outside a doorway to elegantly introduce each room
- Use a combination of sliding and panning to craft a seamless wrap-around effect that immerses the viewer
- If you don’t have access to a slider, skillful pans and tilts can still achieve detailed, dynamic shots—perfect for showcasing features like gleaming hardwood floors, intricate tile work, or sleek countertops
Mastering these smooth movements will elevate your video from ordinary to extraordinary, giving buyers a polished, immersive tour they won’t forget.
Step 5 – Add aerial drone shots (Optional)
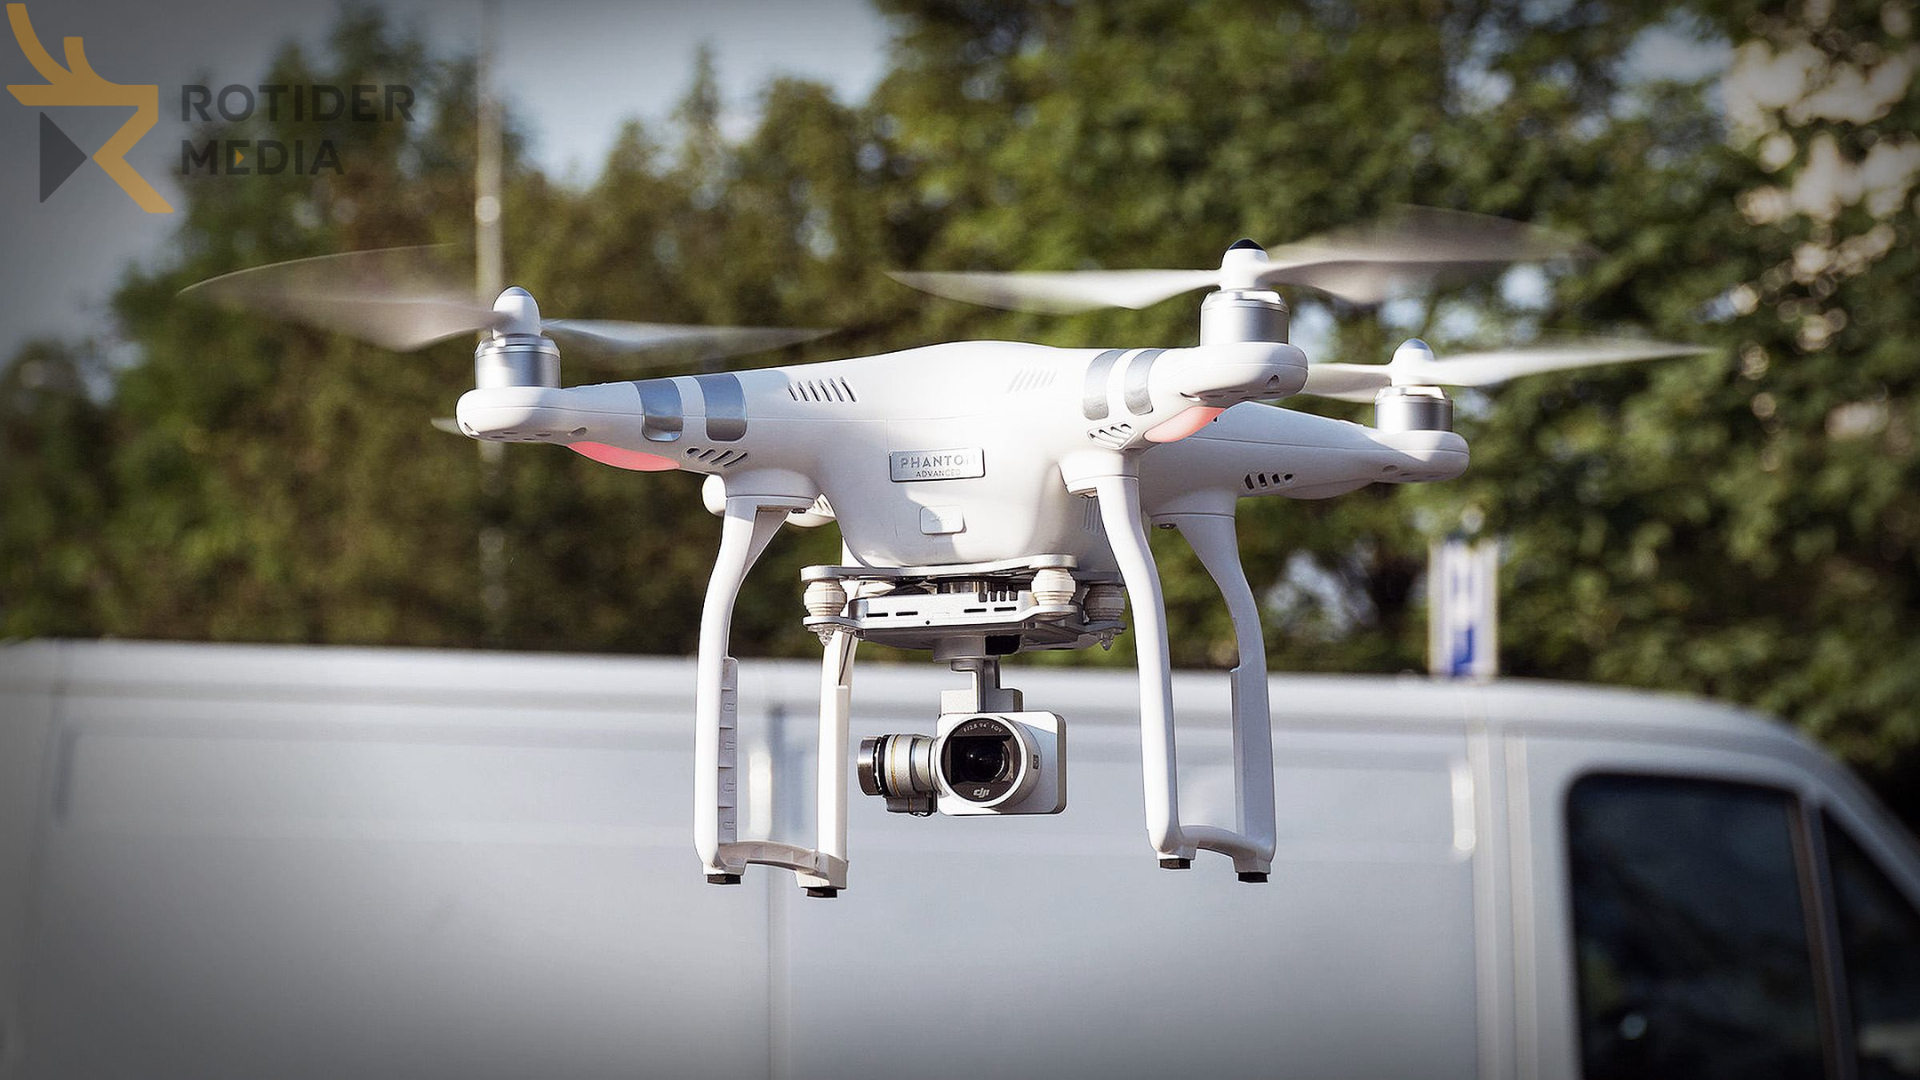
Adding drone footage may be optional, but it is one of the most effective ways to elevate a real estate video walkthrough and make it more visually compelling.
Why Are Drone Shots Needed for Walkthroughs?
- Show the full property context: aerial views help buyers understand the home’s position, layout, and surroundings.
- Bring out the location aspect of the property: capture other features like roads or other attractions located near the property.
- Increase production value: using drone shots makes videos look more cinematic.
What Drone Shots Should You Capture?
- Aerial shots front and rear: shoot all angles of the exterior of the house for an accurate depiction.
- Wide shots of the area: provide additional context by including the neighboring area.
- Lifestyle shots: take shots of any lifestyle additions such as waterways, parks, or picturesque surroundings.
Read more: The Essential Guide to Expert Real Estate Drone Photography in 2026
Types of Real Estate Video Walkthroughs
Walkthrough videos aren’t all the same. Based on how much money you have, what kind of equipment you use, and what you’re trying to achieve, you can select from many different types of walkthroughs.
Basic Walkthrough
This is the easiest approach. All one needs for this type of video production is a simple cell phone, and the process is completed quickly.
- Useful for rapid property listings and lower budget productions
- Convenient filming and uploading process
- Suitable for agents who require fast completion
Stabilized Walkthrough
This level of video production takes things to the next step by using a gimbal to produce professional-quality camera movements all around the property.
- Shake-free video recording
- Improved viewer experience
- Ideal blend of performance and value
Cinematic Walkthrough
It involves the creation of a good story with good visuals through the use of good camera movement and editing.
- It uses special effects such as slow motion
- It uses music and color grading
- Suitable for high-end or luxury homes
Drone + Walkthrough Hybrid
This style includes interior tour video footage along with drone photography to highlight not only the property itself but also the surrounding environment.
- Stresses location, surroundings, and exterior elements
- Provides a high-end, movie-quality experience
- Ideal for properties with significant outdoor appeal
Common Mistakes to Avoid in Walkthrough Videos
Despite having all the necessary tools and preparations in place, small errors can greatly impact the quality and effectiveness of your video. By avoiding such pitfalls, you will be able to produce a better result.
- Shaky video: if you move around too much, it will make the video look very amateurish. Use a tripod or stabilizer to get better quality.
- Bad lighting: rooms can look gloomy because of poor lighting, and things can be hidden because of it. Try to use only natural light whenever you can.
- Running around too quickly: running around the rooms at high speeds means the viewer won’t have time to explore the space properly. Take your time moving from room to room.
- No specific order: skipping from room to room can confuse the viewer. Follow a specific route, just like you’d visit the house in person.
Should You Hire a Real Estate Video Editing Service?
Not necessary, but if you want your videos to attract more buyers, it is absolutely worth hiring video editing services. Editing is an essential part of creating a real estate video walkthrough, as it transforms raw footage into a polished and engaging final video. If you want consistent quality, faster turnaround, and a more professional result, outsourcing video editing is often the better choice.
When Should You Consider Outsourcing Video Editing?
- Scarcity of time: when you are handling several listings, editing can become a tedious process.
- Lack of technical expertise: video editing involves techniques such as color correction and proper pacing of your video.
- Need for consistent quality: for the sake of consistency across all your listings, you should consider outsourcing video editing.
Outsourcing your video editing can be a smart investment—especially if you want to scale your real estate marketing while maintaining high-quality visuals.
Let Rotider Media Edit Your Home Walkthrough Video!
For just around $20 – or even less, Rotider Media transforms your raw footage into a sleek, professional, and compelling home walkthrough video that truly sells. Our expert editing services include:
- Careful clip review, trimming, and seamless sequencing
- Custom branding with your business logo, plus polished intros and outros
- Personalized titles tailored to highlight key features
- Licensed music that adds the perfect soundtrack, elevating the overall viewing experience
- Professional transitions and color grading to make the video vibrant and visually appealing
- Video format optimization for various sharing platforms, ensuring the best display quality
With Rotider Media, your video will not only look great but also captivate potential buyers from start to finish.
Quick and Easy Process to Order Real Estate Video Editing at Rotider Media
Log In to Rotider Media
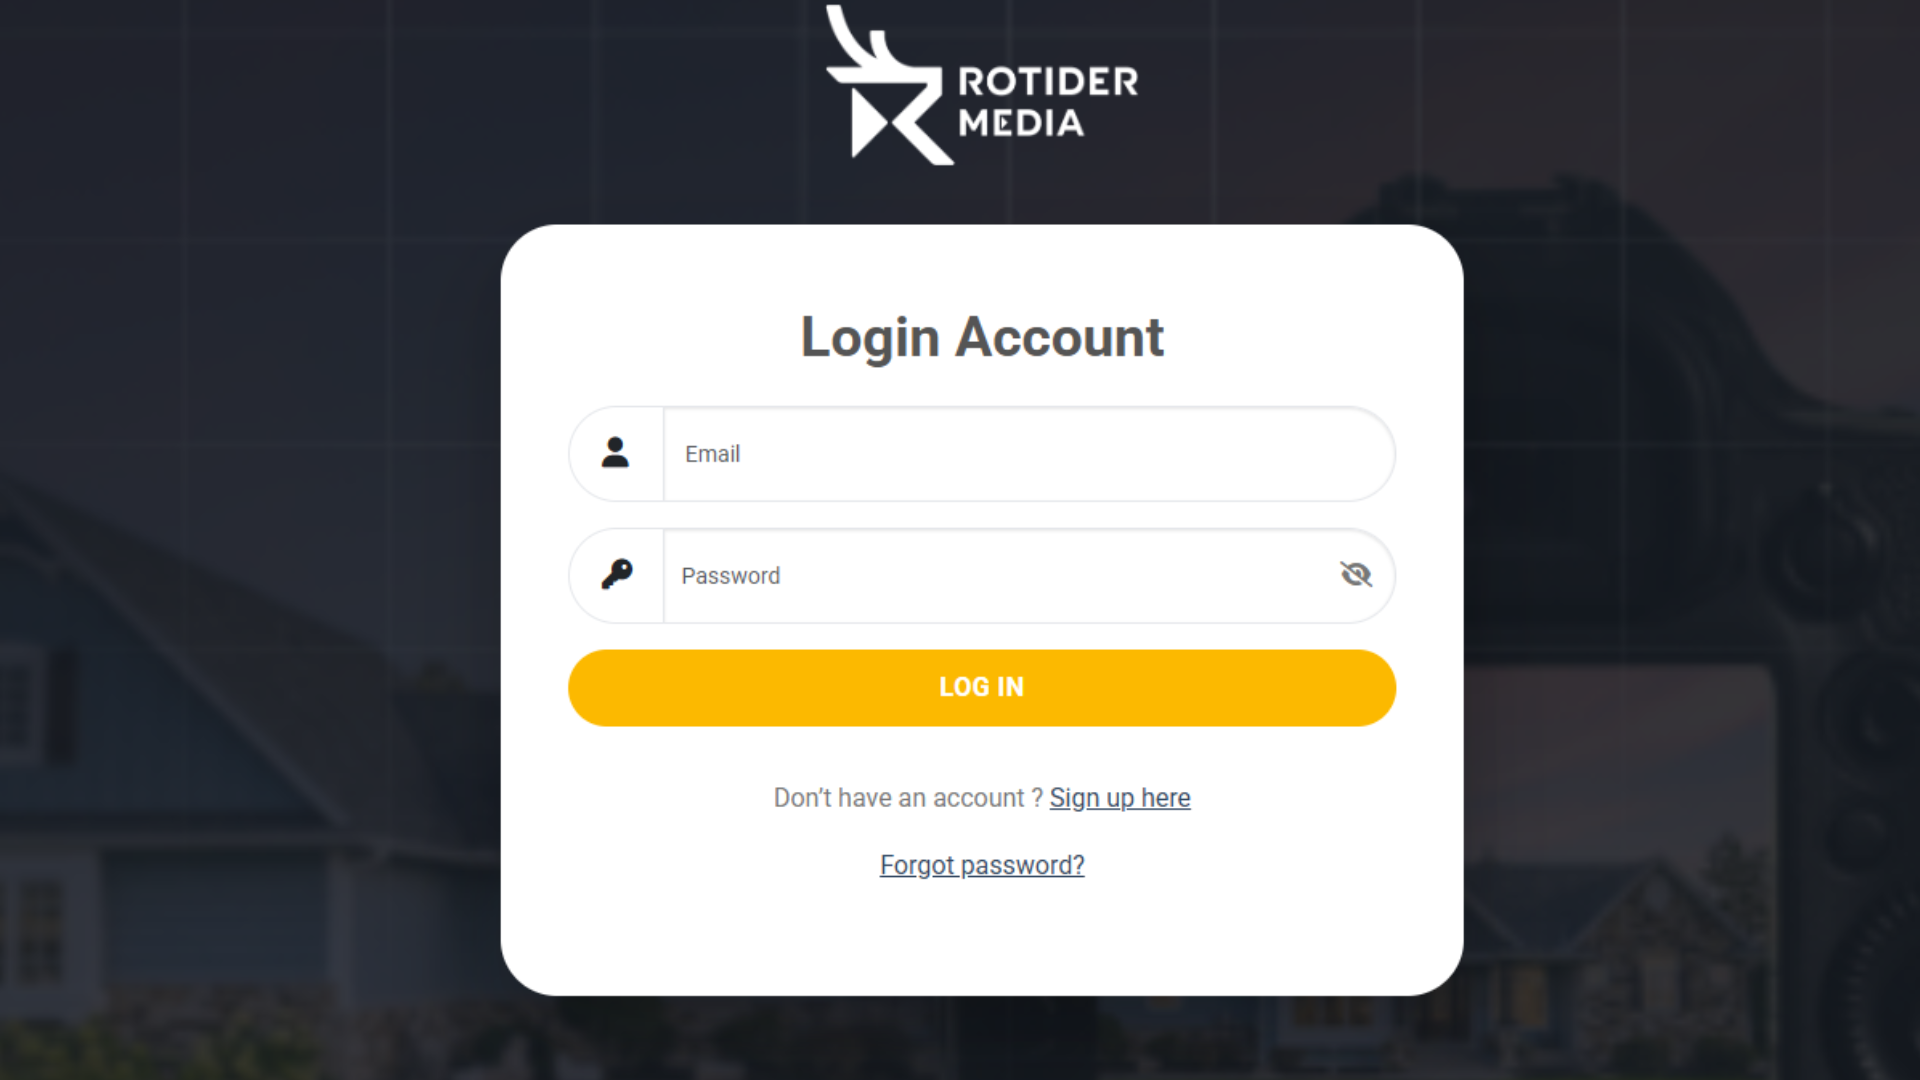
Create a free account, log in, and choose the video editing service to submit your order hassle-free.
Receive Your Stunning Walkthrough Video
Sit back and relax! Your expertly edited video will be delivered within 24–36 hours (for uploads during weekdays before 9:00 PM local time on Friday).
Your final video will be a sleek 2–3 minute showcase in crisp 1080p HD—with an option to upgrade to 4K for just 10 extra credits—ready for download via Dropbox.
At Rotider Media, we do more than just video editing — we are a world-leading real estate marketing company offering a full suite of services, including:
With powerful marketing tools like these, you can sell your listings faster and at prices above market value! So, why wait? Get started with Rotider Media today and let our team of expert editors help you create stunning, engaging home walkthrough videos—and so much more! We hope you enjoyed this guide on the quickest way to create a home walkthrough video.
FAQs about Real Estate Video Walkthrough
How long should a walkthrough video be?
Most walkthrough videos are between 2 and 5 minutes. This length is ideal for keeping viewers engaged while still showcasing all key areas of the property.
Can I use a smartphone to film a walkthrough video?
Yes, modern smartphones are more than capable of recording high-quality walkthrough videos. For better results, use a tripod or gimbal to keep your footage stable and smooth.
Is 4K necessary for real estate videos?
No, 4K is not required, but it can improve overall video quality. Shooting in 1080p is still sufficient for most listings, especially if lighting and stability are well managed.
Do I need a drone for a walkthrough video?
A drone is not essential, but it can enhance your video by adding aerial shots of the property and surrounding area, especially for larger homes or properties with strong outdoor features.
How much does it cost to create a real estate video walkthrough?
The cost can vary depending on equipment, production quality, and whether you hire professionals. It can range from low-cost DIY setups using a smartphone to more advanced productions with professional filming and editing services.