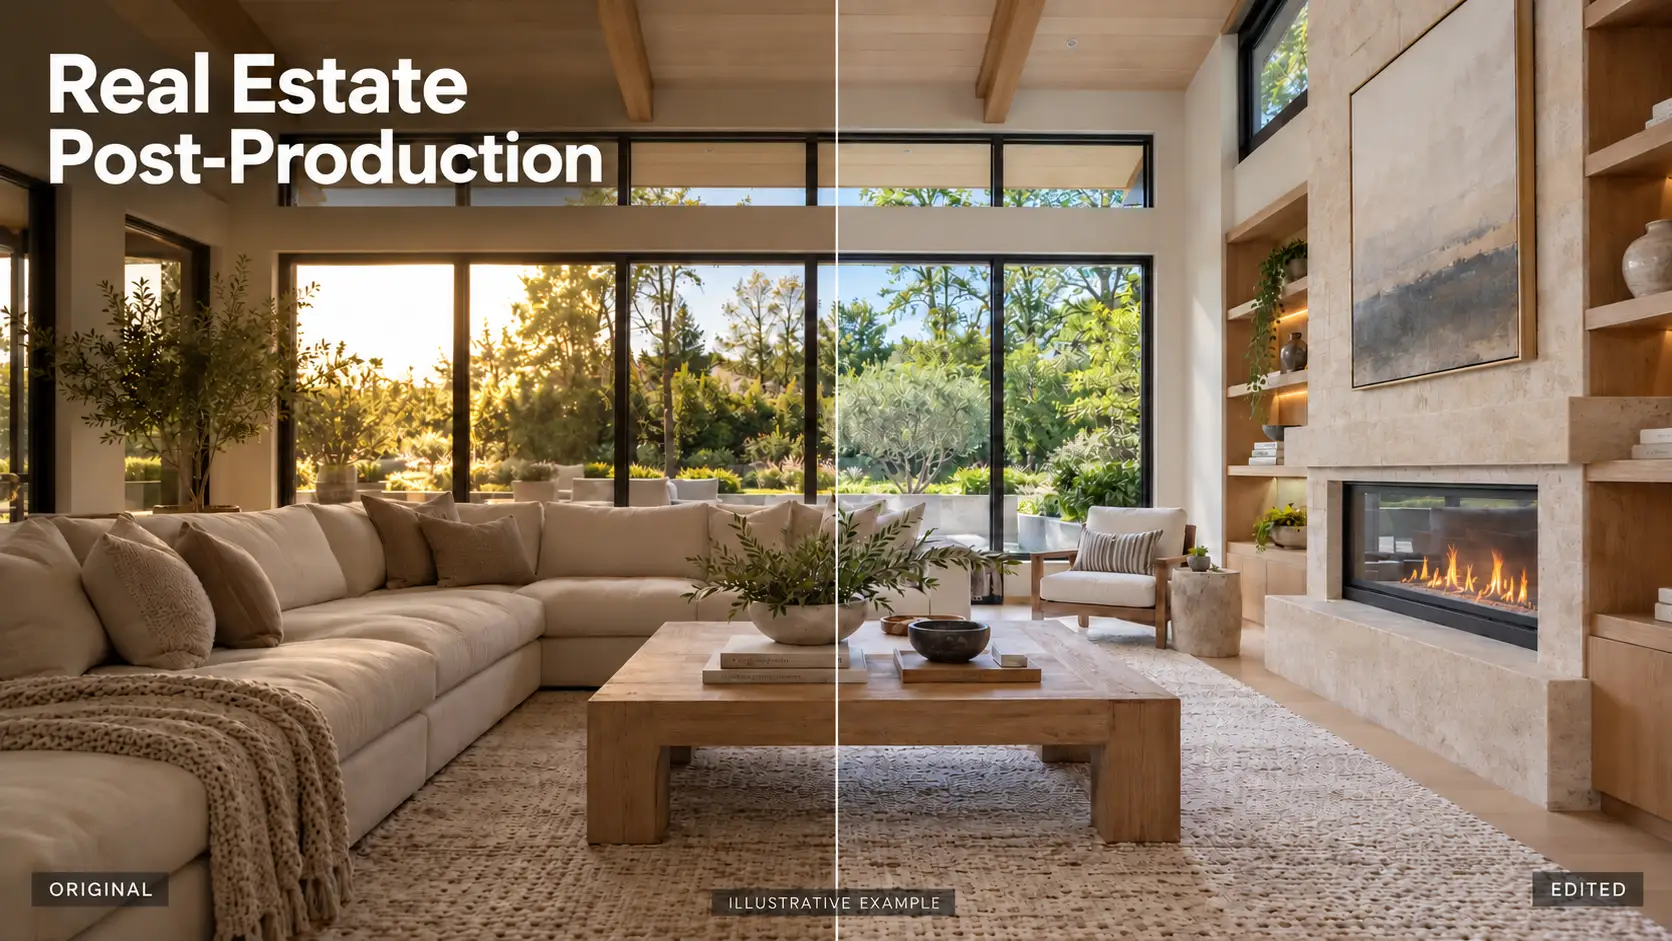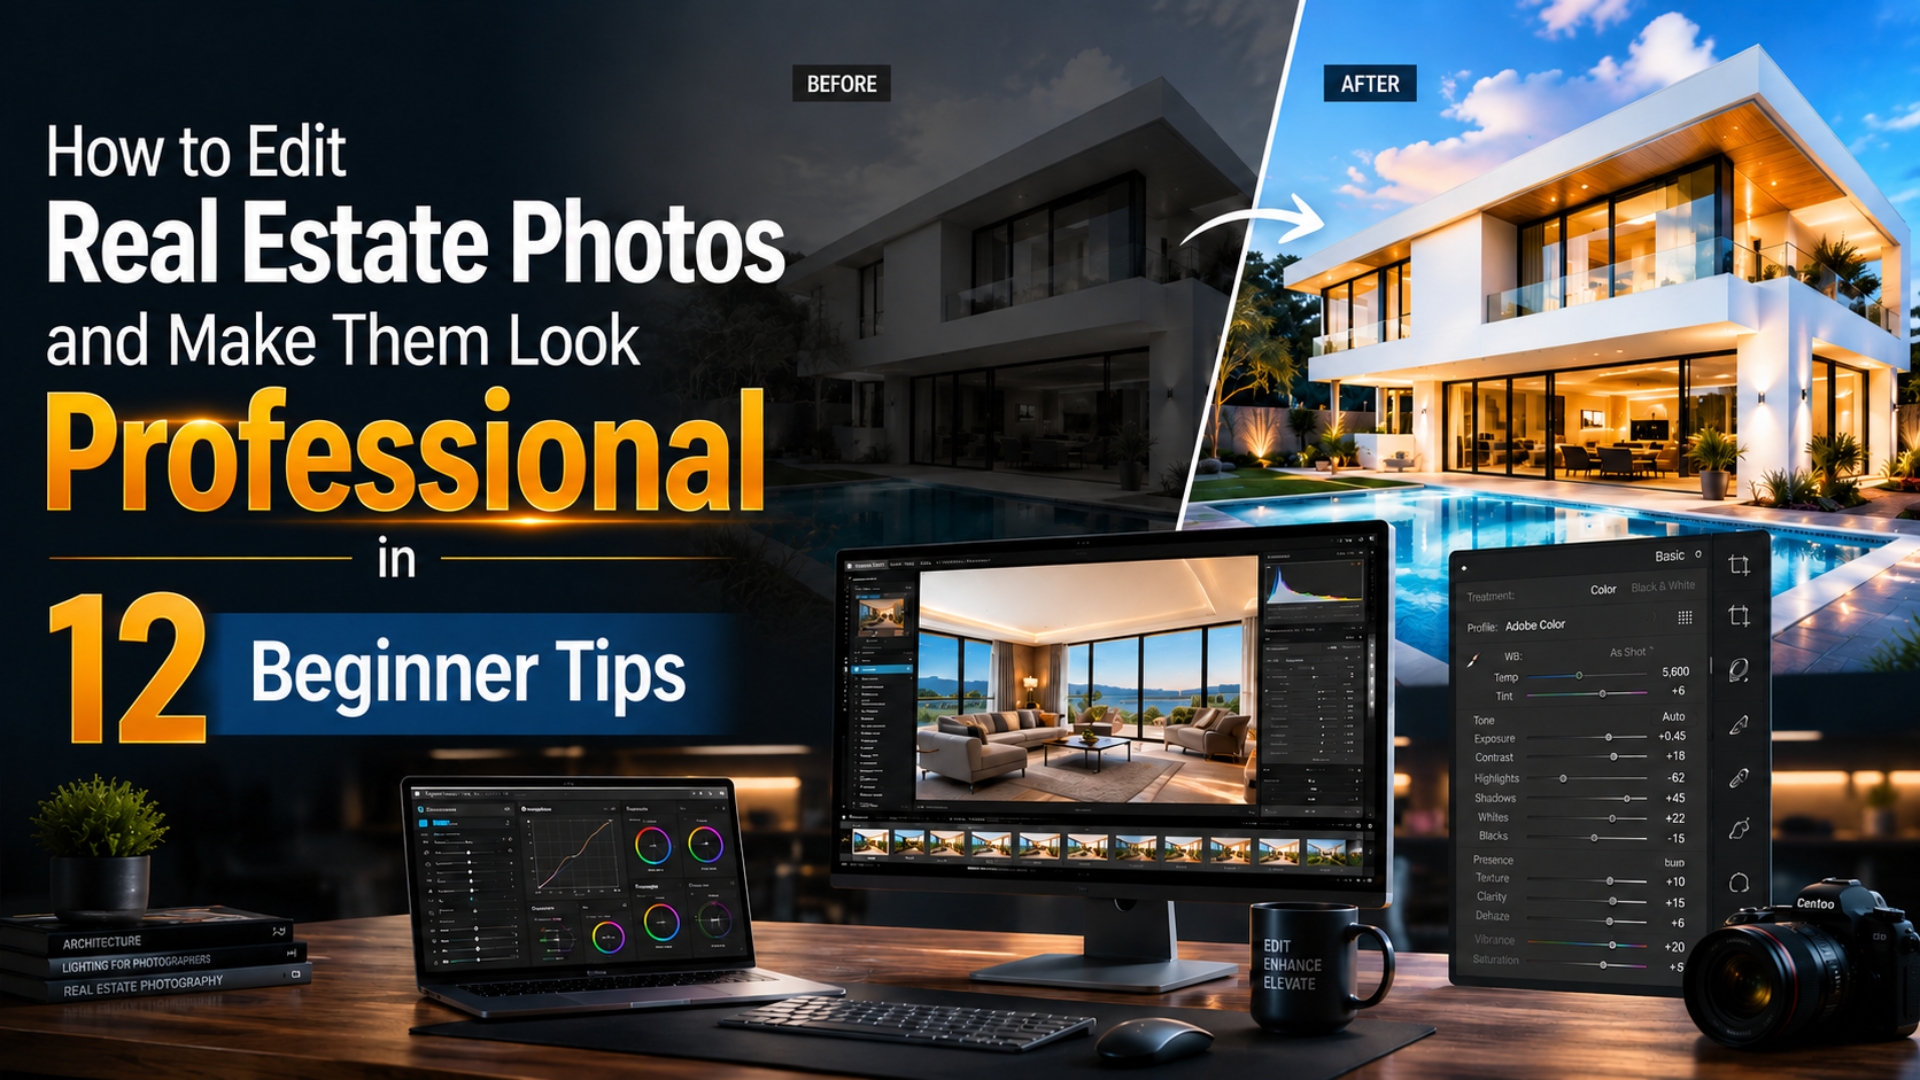
An unedited real estate photo is likely to be overlooked, but are you new to real estate photography? How to edit real estate photos for beginners? We’ll show you all the essential tips to help make your listing attractive and ready to sell.
What Makes Real Estate Photos Look Professional?
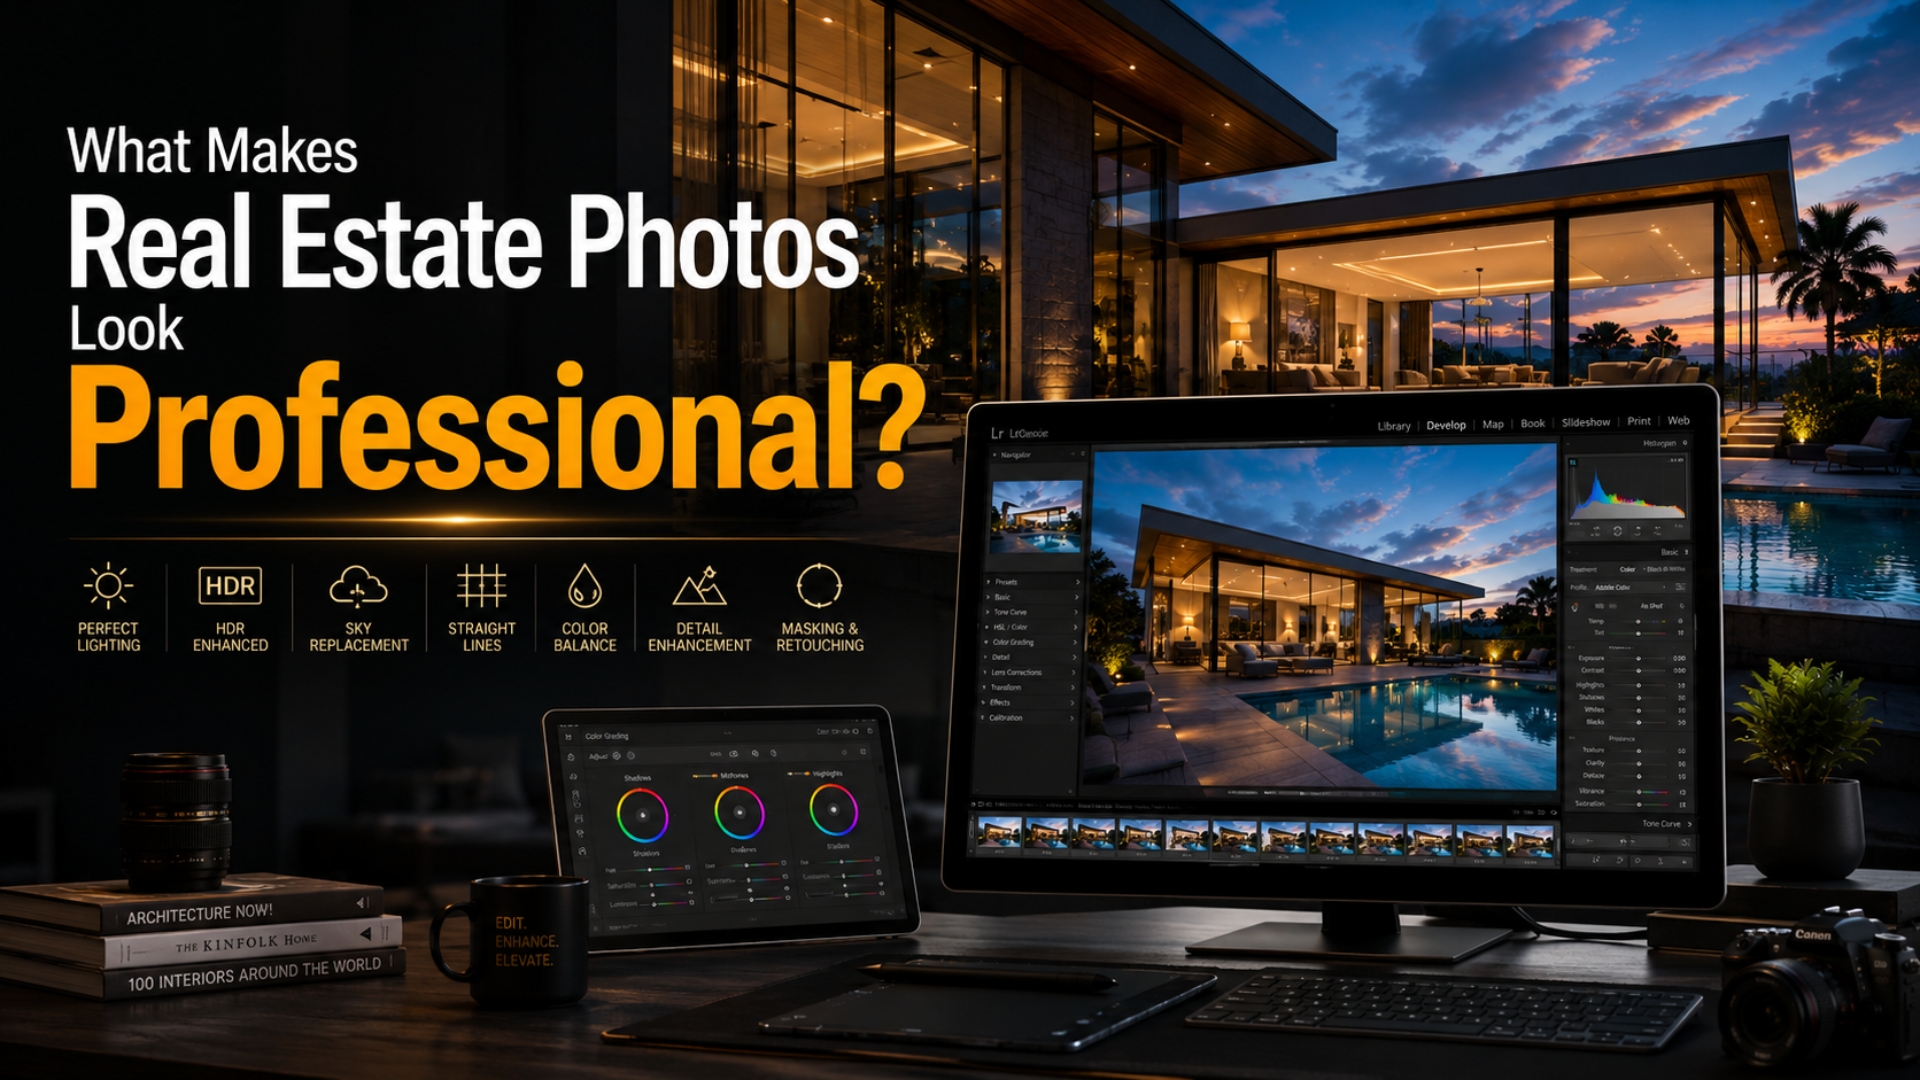
Buyers first notice lighting in professionally made real estate listings. Lighting that is not too harsh but creates a feeling of brightness and airiness is essential for making the environment attractive and visually accessible.
Another critical factor in professional photography is proper perspective. Inadequate perspective, such as slanted walls and distorted lines, can give viewers the impression that something is amiss. By aligning vertical lines correctly, the room will get an architectural appeal.
As important as the other elements discussed above, colors must also be accurate. Excessively warm or cool tones point to an amateurish touch. Colors need to stay neutral and natural to match their appearance in person.
Lastly, a neat composition is a necessity as well. Framing needs to be intentional to draw the attention of the viewers to important details and exclude any unnecessary visual disturbances.
A Simple Real Estate Photo Editing Workflow for Beginners
If you’re just getting started with real estate photo editing, the process doesn’t have to be overwhelming. Following a consistent workflow helps you work faster and deliver results that look polished every time.
- Exposure and brightness. Before touching anything else, get the overall light right. Bring up the shadows to reveal detail in darker areas and pull back the highlights if the windows are blown out. A well-balanced exposure is the foundation on which everything else builds.
- White balance. Move on to white balance: it is what gives your photos that natural, true-to-life color. If the room looks too yellow or too blue, adjust the temperature slider until the whites look clean and neutral. Getting this right early saves a lot of time later.
- Lens correction and perspective. This is what you should pay attention to next. Most editing software has an automatic lens correction option that removes distortion from wide-angle shots. After that, straighten any vertical lines that are leaning inward or outward so the walls look solid and true.
- Tone adjustments. Slightly boosting clarity and dehaze can add sharpness and depth to a room without making it look over-edited. Keep it subtle. The goal is to enhance what is already there, not to create something artificial.
- Crop, straighten, and export. Straighten the horizon if needed, then export at the right resolution for the listing platform you are using. Consistency in your export settings ensures your photos look sharp wherever they are displayed.
With practice, this workflow becomes second nature and can be completed in just a few minutes per image.
How to Edit One Real Estate Photo Step by Step in Lightroom
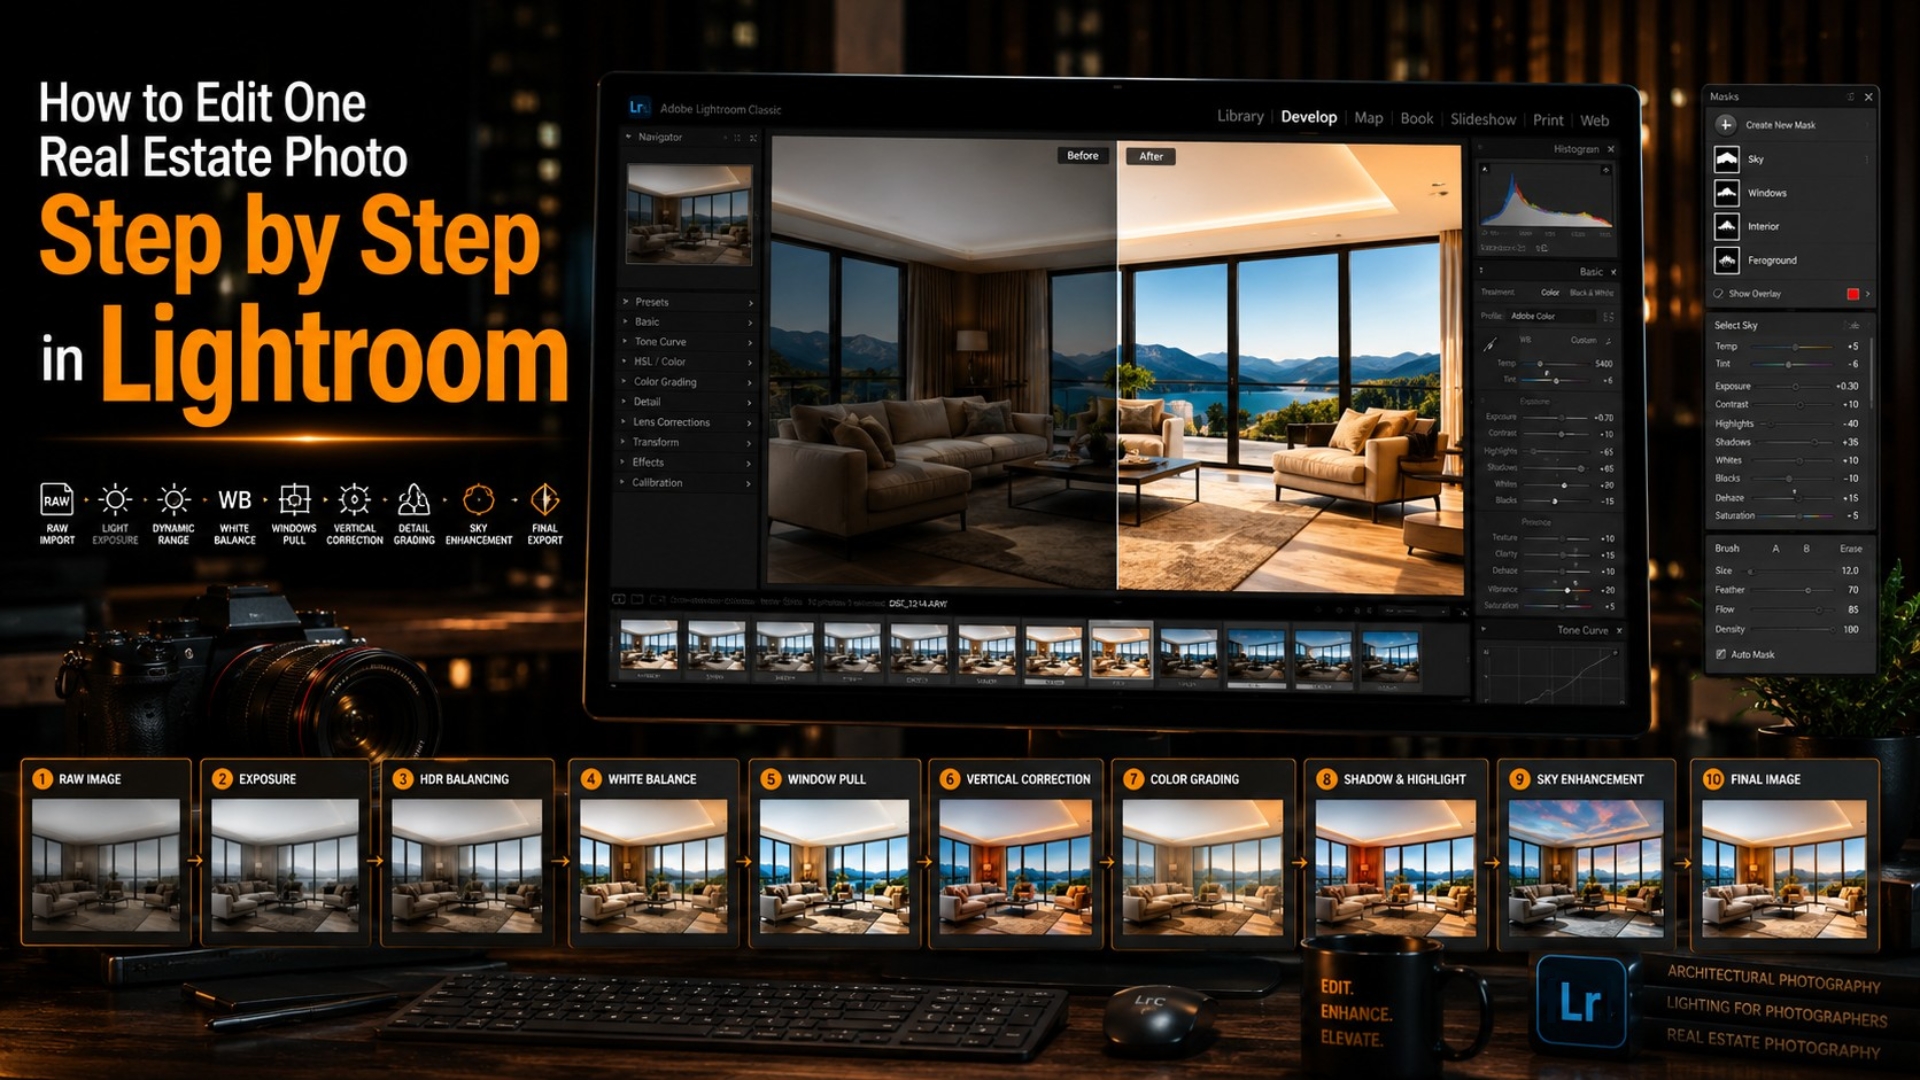
We recommend Adobe Lightroom for newbies, as the software is programmed to support both newbies and seasoned editors. It provides essential tools for editing real estate photos, from basic exposure adjustments to advanced HDR and local masking. Below is a step-by-step guide to applying these features effectively.
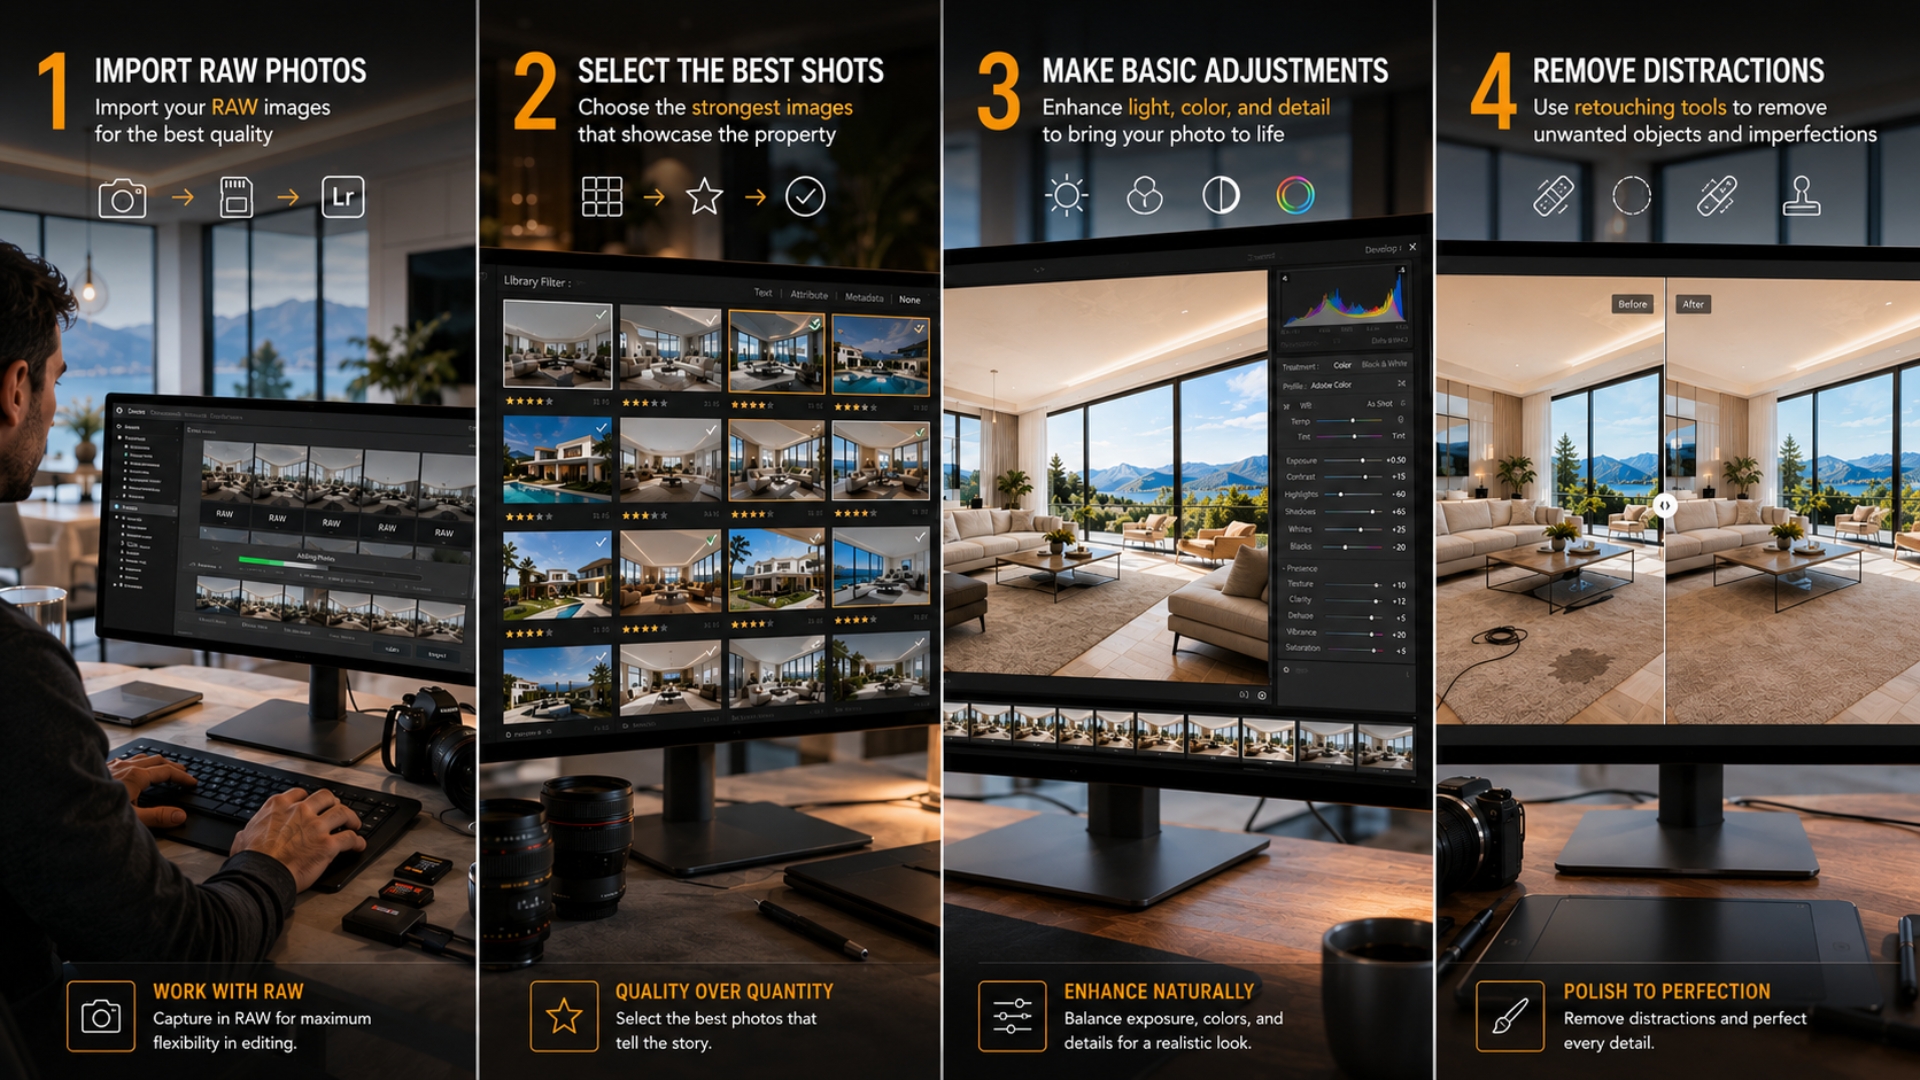
Step 1: Import Photos into Lightroom
Start by importing your images into Lightroom Classic. Open the Library module and click Import in the bottom-left corner. Select the folder containing your images. Shooting in RAW format is highly recommended, as it provides greater flexibility for exposure and color adjustments. On the right panel, choose the destination folder. You can also add keywords, metadata, or apply a preset to streamline your workflow. Click Import to add the photos to Lightroom’s catalog.
Step 2: Select Photos to Edit
Once the images are imported, review and select the best shots. Press G to enter Grid View. Flag your preferred images using P, or rate them with 1 to 5 stars. After selecting the final images, switch to the Develop module to begin editing.
Step 3: Basic Adjustments
Basic adjustments form the foundation of real estate photo editing and ensure balanced lighting and natural colors.
For light adjustments, open the Basic panel in the Develop module. Use Exposure to adjust overall brightness, Highlights to recover details in bright areas such as windows, and Shadows to brighten dark interior spaces. Set your Whites and Blacks to define contrast points, then use the Contrast slider to add depth and separation between tones.
For white balance, use the WB Eyedropper and click on a neutral white or gray area in the image. You can also adjust manually using the Temperature slider, warmer for a cozy feel or cooler for a modern look, and the Tint slider to correct any green or magenta color casts.
For clarity and texture, use the Texture slider to enhance fine surface details such as wood or stone, Clarity to increase midtone contrast for a sharper appearance, and Dehaze to reduce haze and add depth to flat lighting.
To crop and straighten, press R to open the Crop Overlay. Crop the frame neatly and use the Auto or Vertical options to align the image with walls and doors.
Step 4: Remove Unwanted Objects
Real estate photos often contain small distractions such as trash bins, power outlets, cables, or wall marks. Use the Remove Tool or Healing Tool and select Content-Aware Remove. Brush over the unwanted object, and Lightroom will automatically fill the area with surrounding textures.
Step 5: HDR Blending
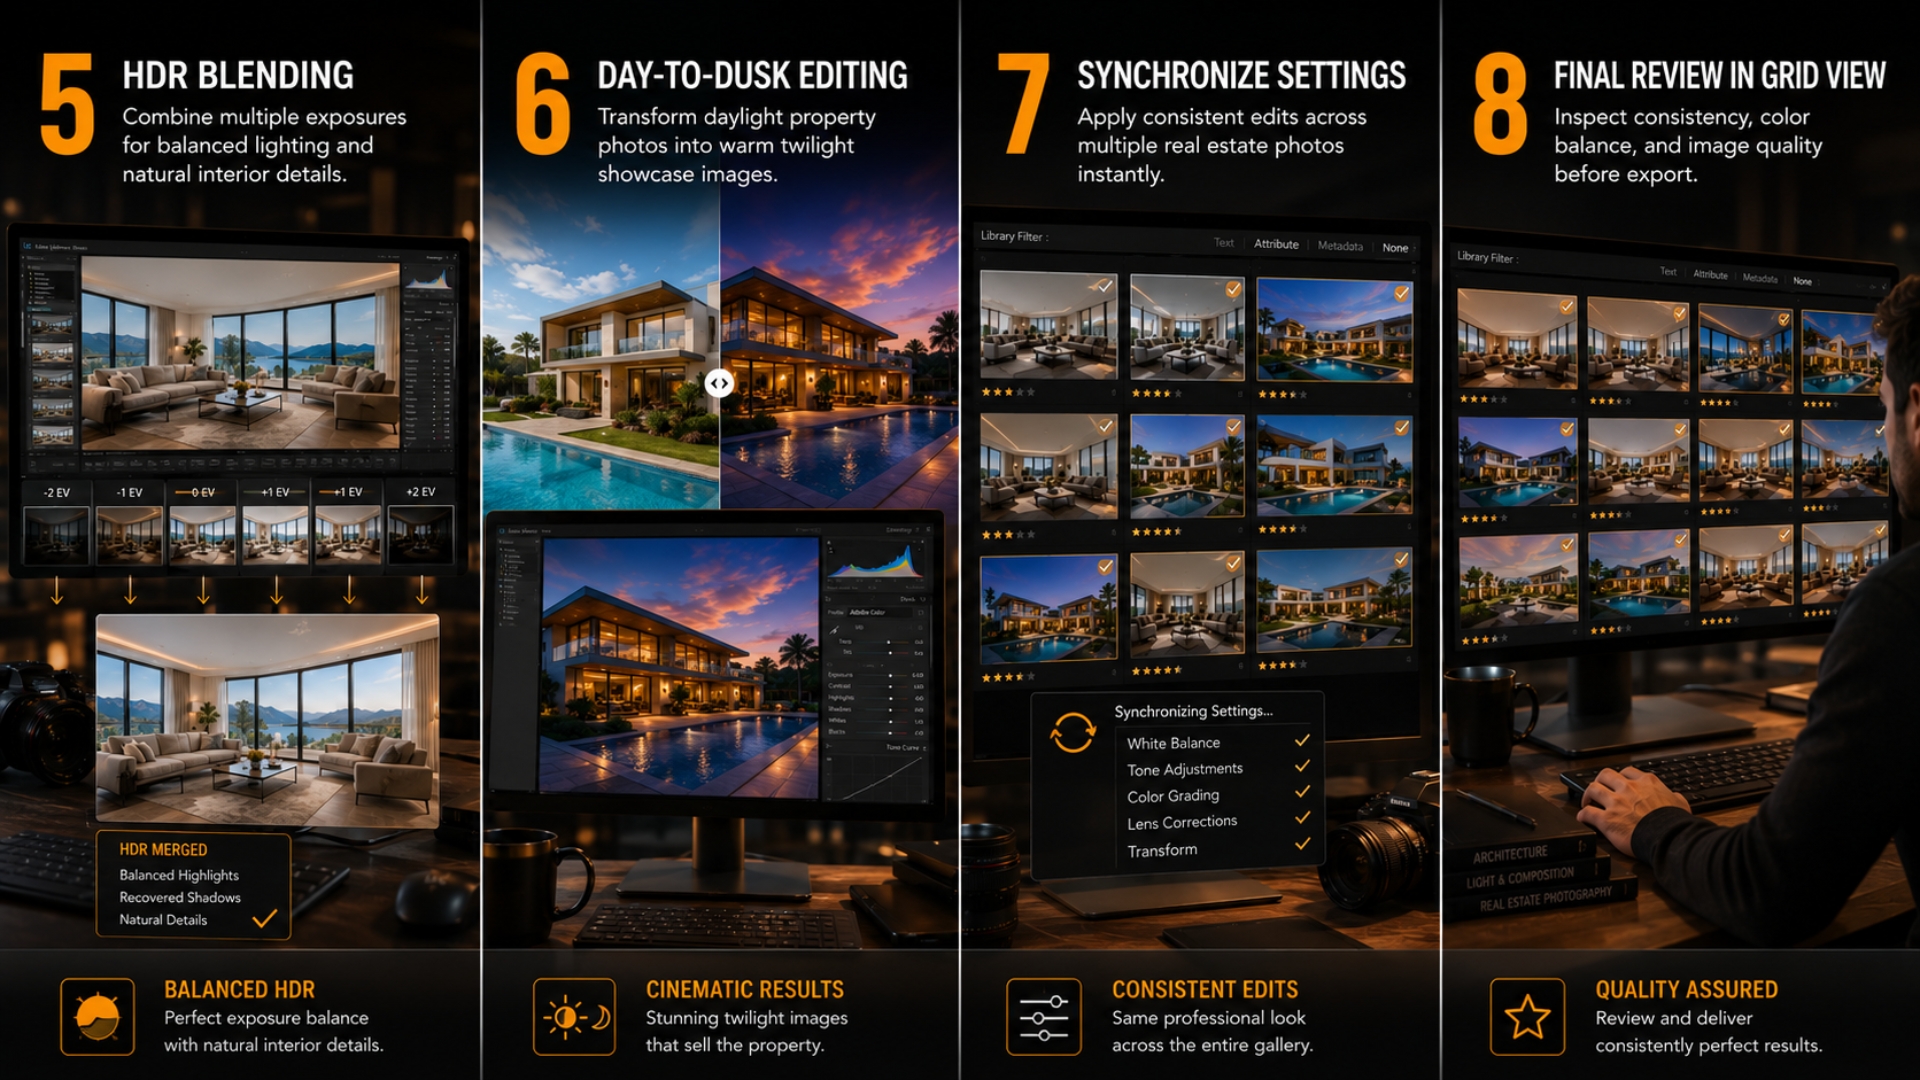
HDR blending is essential for scenes with extreme light contrast. In the Library module, select your bracketed images, then right-click and choose Photo Merge and then HDR. Adjust the Deghost setting if needed, then click Merge.
Step 6: Day-to-Dusk Editing
Day-to-dusk editing transforms a daytime exterior photo into a warm twilight scene. Start by slightly lowering the Exposure, then cool down the sky using the Temperature slider. Apply a Graduated Mask to darken the sky, and use a Brush to enhance interior and exterior lighting. Fine-tune the Highlights and Whites to make the lights glow naturally.
Step 7: Synchronize Settings Across Multiple Photos
To maintain consistency and save time, fully edit one reference photo first. Then select similar images using Shift and click, and click Sync in the Develop module. Choose the settings you want to copy across, such as Light, Color, and Lens Corrections, then click Synchronize.
Step 8: Final Review in Grid View
Before exporting, return to Grid View by pressing G. Review all images together and check for consistency in lighting, color, and composition. Flag or rate your final images for export. This step ensures professional quality and visual consistency across the entire set.
Breaking Down 12 Tips for Beginner Editors
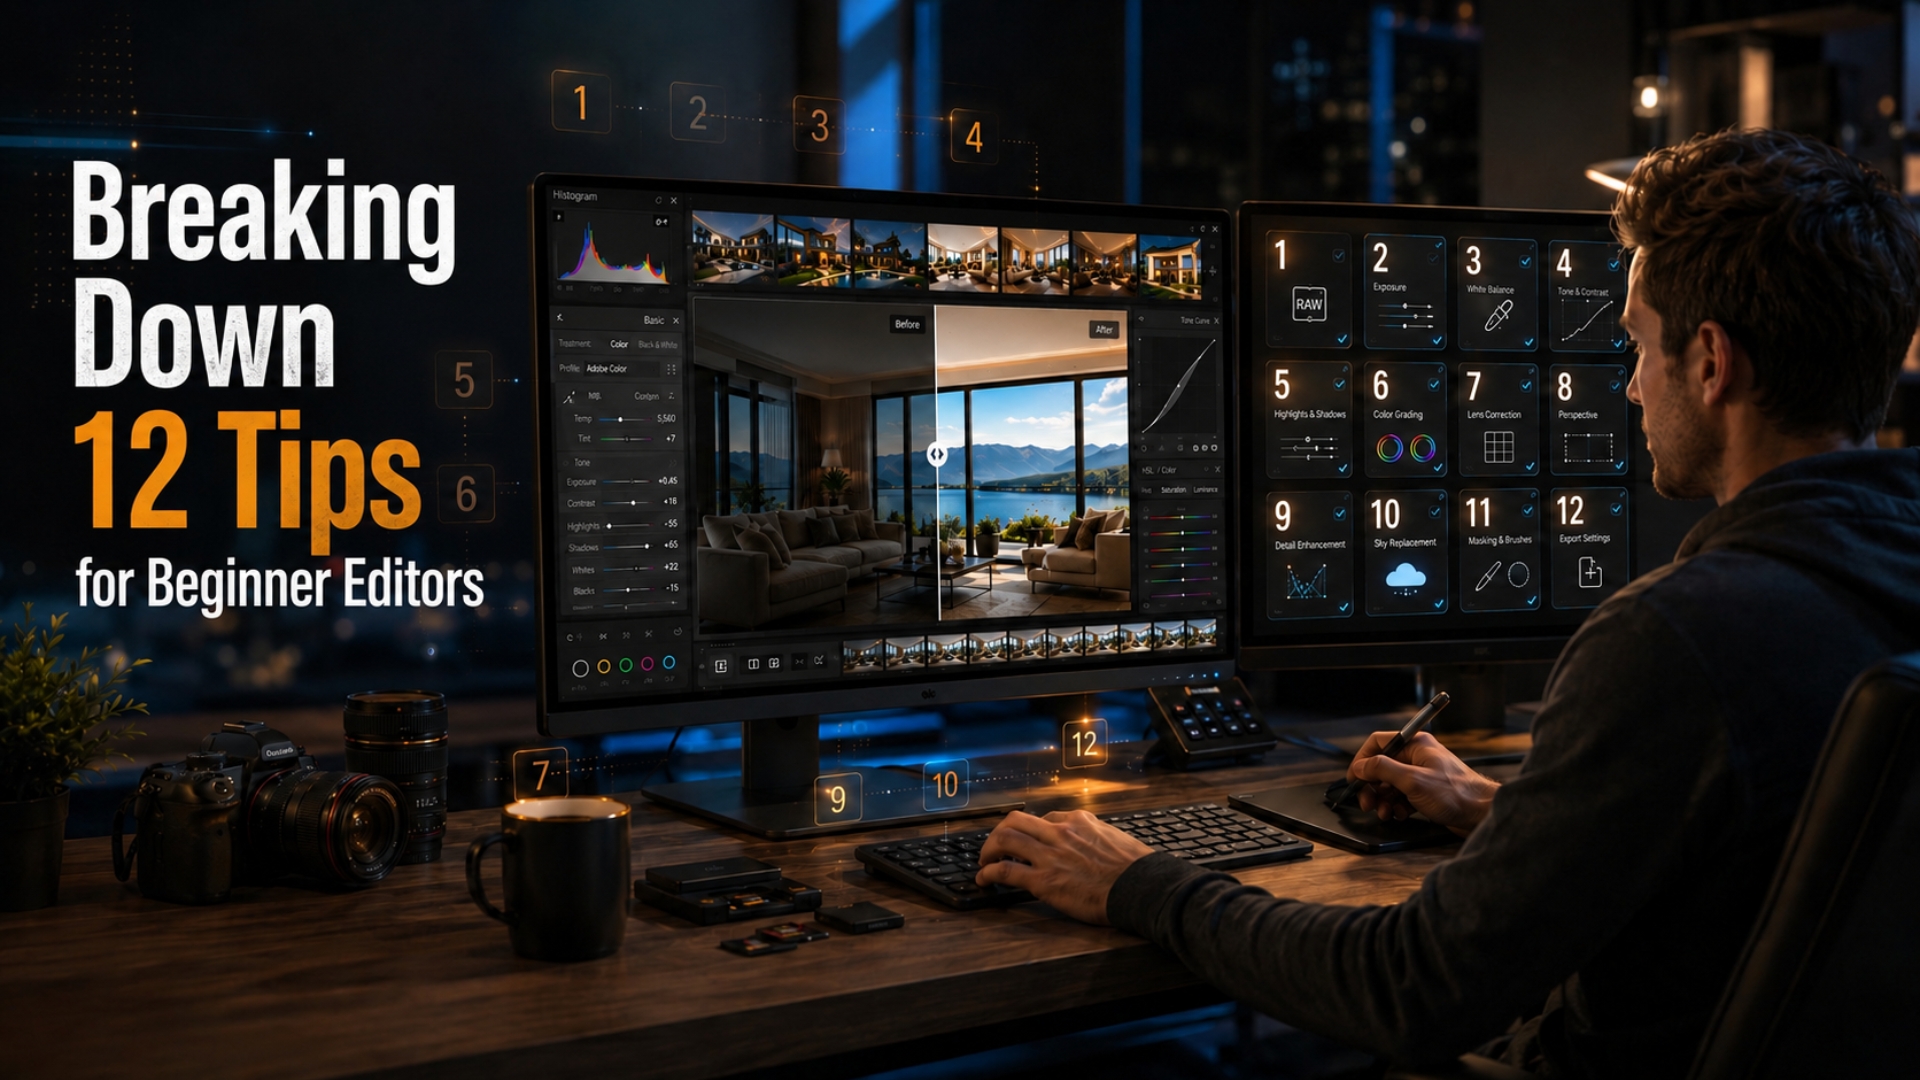
Professional photo editing for the real estate industry does not involve creating overly dramatic photographs or over-editing images. The idea is to edit your photos in such a way as to make them vibrant, clear, and realistic, thus helping make properties more attractive to potential buyers. Even the smallest editing adjustments can improve the appearance of your listing photos.
If you have no experience in photographing real estate or if you want to streamline your photo editing process, you can try out these easy-to-follow editing tricks. The following photo editing tips represent some of the most important ones used by professionals in the real estate photo editing industry.
Tip 1: Start With Exposure and White Balance
Before working on such features as sharpness, sky replacement, or even object deletion, it would be better to ensure the image is sufficiently bright and natural-looking. Otherwise, even a well-composed photograph will not have a professional look if there is something wrong with the lighting.
In the case of proper exposure, the photographer is supposed to increase brightness but not to go too far and lose natural shadows and realism of the images. In order to fix white balance issues, set the temperature and tint values until the picture appears natural. In a good picture, a white object must actually be white, and the wood material must look like itself without over-saturation.
Tip 2: Straighten Vertical and Horizontal Lines
Vertical and horizontal straight lines immediately give a photo a more professional look. When the line of the wall, door, window, or cabinet is slanted, then the whole image will seem distorted and unaligned. Although buyers do not see the problem in an explicit way, the existence of slanted lines can make any property seem unfinished.
The most significant technique involved in editing real estate photos is known as perspective correction. The most common wide-angle lens used to photograph houses and properties results in a distorted perspective where walls and architectural lines are either slanted inward or outwards.
Tip 3: Use HDR Blending Carefully
HDR blending is probably one of the most popular types of editing among real estate agents due to the fact that it allows them to equalize bright windows and dark interiors. Using several shots of the same scenery, an editor will be able to highlight all the important elements that could hardly be captured with a single photo.
If done correctly, HDR blending creates bright, well-balanced, and realistic property photos. Nevertheless, if there is an excess of HDR edits, the photos become fake, unnatural, and extremely processed. The point is not to process a property in order to improve its appearance but rather to enhance the lighting inside.
You must always remember to avoid over-processing HDR images. Overprocessed HDR images often have glowing edges, flat lighting, gray shadows, and unnatural textures that make the property look unrealistic.
Tip 4: Remove Small Distractions
Minor distractions may greatly affect the visual appeal of real estate images. As people tend to notice any distracting or imperfect things within a photo, even if the real estate object is perfect, eliminating such distractions in editing helps achieve high-quality and professional listing photos. Real estate editing aims at cleaning up the picture without deceiving clients. In other words, the purpose of editing is to get rid of all distracting details but keep the look of the room unchanged.
Tip 5: Enhance Sharpness Without Overdoing It
The sharpness effect allows real estate pictures to be detailed and look clear and professional. Correctly done, sharpening will help you highlight textures, details of buildings and rooms, floors, and pieces of furniture. But too much sharpening is probably the quickest way to make photos look fake. When applied incorrectly, it creates a lot of artifacts, such as halos and grain.
Tip 6: Make Colors Look Natural
Natural color correction can be considered one of the key aspects of professional real estate photo editing. The main thing that clients want from an image is for their home to look neat, well-lit, and natural, and not overdone or oversaturated. Inaccurate color editing can instantly ruin even the best picture if white surfaces are overly blue, lighting is overly orange, and flooring looks unnatural.
Tip 7: Improve Window Views
The window is another difficult area in photography for real estate, as the level of lighting outside the building and inside is usually very different. The window cannot be edited properly, and the room can become too bright or too dark. In professional real estate editing, there are special techniques used to deal with this problem. Some of them are carefully pulling windows, balancing indoor and outdoor exposure.
Tip 8: Replace the Sky Only When Necessary
Sky replacement is a common real estate editing technique used to improve dull or overcast exterior photos. A clean blue sky can make a property appear brighter, more inviting, and visually attractive.
The replacement of the sky must be done cautiously. It is important to remember that real estate editing aims to create an appealing image of the property, but not to mislead the buyers.
Tip 9: Keep the Property Looking Realistic
One of the main objectives of professional photography editing in real estate is to ensure the edited photographs look professional but still believable. Clients will want to see houses as clean, bright, and beautiful as possible; however, at the same time, the listing photographs must be realistic. Over-editing results in a situation where the home appears unrealistic, leaving the viewer disappointed on site visits.
Tip 10: Use Lightroom Presets to Speed Up Workflow
However, the editing process could prove tedious due to the large number of images being edited, especially when done manually. The use of presets is helpful in increasing efficiency through automated editing processes. New editors can benefit greatly from using presets as a basis for their editing styles. Presets are used by many photographers as a base on which they edit each image individually.
However, every property has different lighting conditions, wall colors, and exposure challenges. Therefore, applying the same preset to every image without adjustments can create inconsistent results and potentially change the entire room.
Tip 11: Export Images Correctly for MLS and Social Media
Professional editing of photographs can still lead to reduced image quality due to incorrect exporting methods. Correct export methods guarantee high image resolution, fast loading speed, and optimal format for different platforms.
Beginners tend to concentrate on image editing but ignore exporting settings. Many MLS sites require certain image dimensions and a level of compression. If the images are not exported properly, then the uploading speed may slow down, or the picture may suffer from low quality.
At the same time, social media websites apply compression to pictures in their own way. For example, Facebook requires separate optimization of images before uploading them. It is always important to have proper export settings to help real estate photos look polished across every marketing channel.
Tip 12: Outsource Editing When Scaling Your Business
With the rise in the number of photographs taken, editing may soon become one of the processes that takes the longest time in the real estate process. Many photographers and companies involved in taking pictures often resort to outsourcing for editing purposes.
Read more: Keeping up with the latest trends in real estate photo editing
Essential Real Estate Photo Editing Tools for Beginners
To get started editing real estate photos, you’ll need the right tools, especially ones that are simple and easy to use for beginners. Here are some popular real estate photo editing tools:
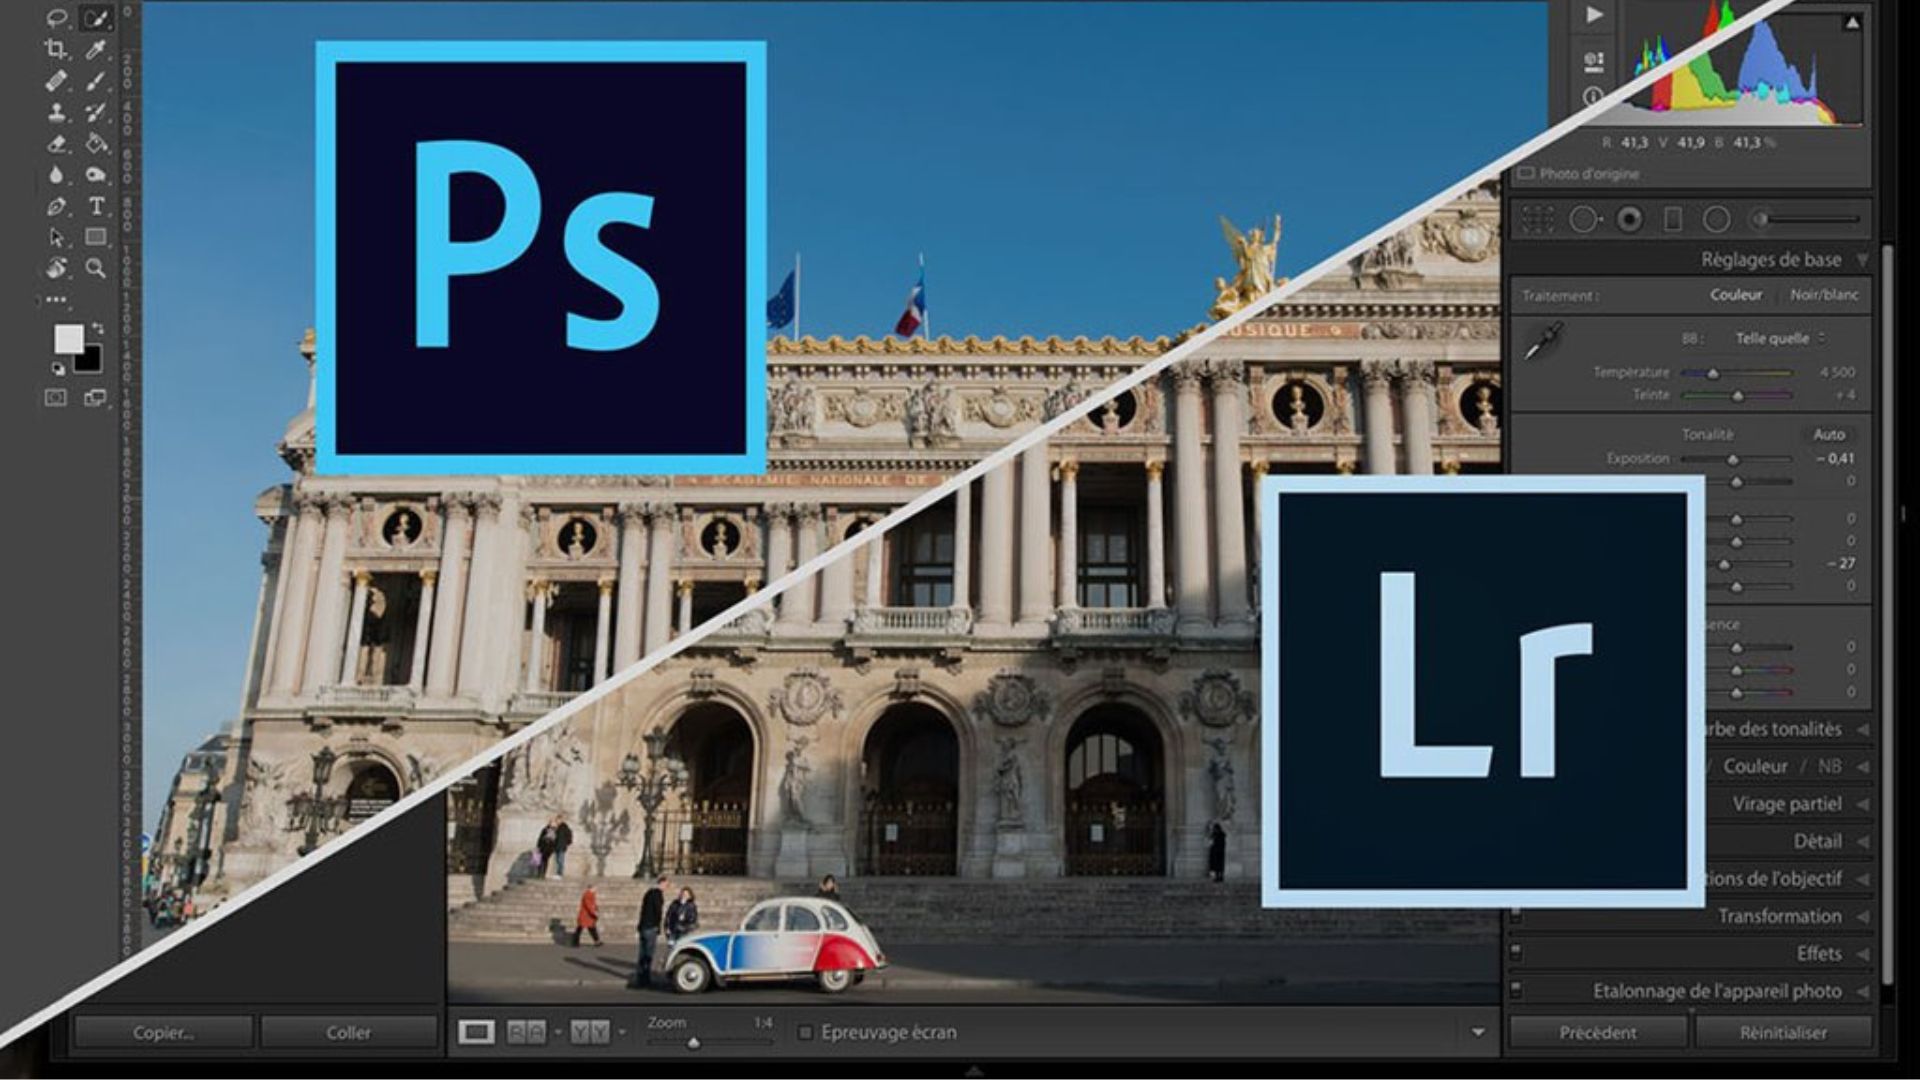
Adobe Lightroom
Adobe Lightroom is a photo editing tool that is quite familiar to many professional photographers with a friendly, easy-to-use interface. With this tool, you can adjust the exposure, color balance, and contrast for your real estate, including interior or exterior photos.
Lightroom is ideal for editing real estate photos that need consistent lighting, natural color correction, and efficient batch processing. It works especially well for: Interior Photos, Exterior Photos, and Batch Editing Multiple Shots.
Adobe Photoshop
Photoshop is an essential and familiar tool for every photographer and photo editor.
Renowned for its precision and flexibility, Photoshop allows you to go far beyond basic adjustments, giving you full creative control over every pixel. For real estate professionals, it becomes a powerful asset when you need to enhance details, remove distractions, or completely transform the mood of an image.
Adobe Photoshop is best suited for advanced and detailed real estate photo editing tasks that go beyond what Lightroom or AI tools can handle. It gives you full control over every pixel, making it ideal for: Day-to-Dusk Edits, Object Removal, Sky Replacement, virtual Staging & Image Composites, Detailed Retouching.
Luminar Neo
Luminar Neo is a powerful photo editing software known for its cutting-edge AI features that simplify and speed up the editing process.
Designed for both beginners and professionals, it allows users to enhance real estate photos quickly, without needing deep technical knowledge.
This is the right tool for editing real estate photos such as: Exterior Photos with Poor Skies, Virtual Twilight / Day-to-Dusk Conversions, Interior Shots That Lack Lighting Balance, Photos Requiring Object or Distraction Removal…
Common Real Estate Photo Editing Mistakes to Avoid
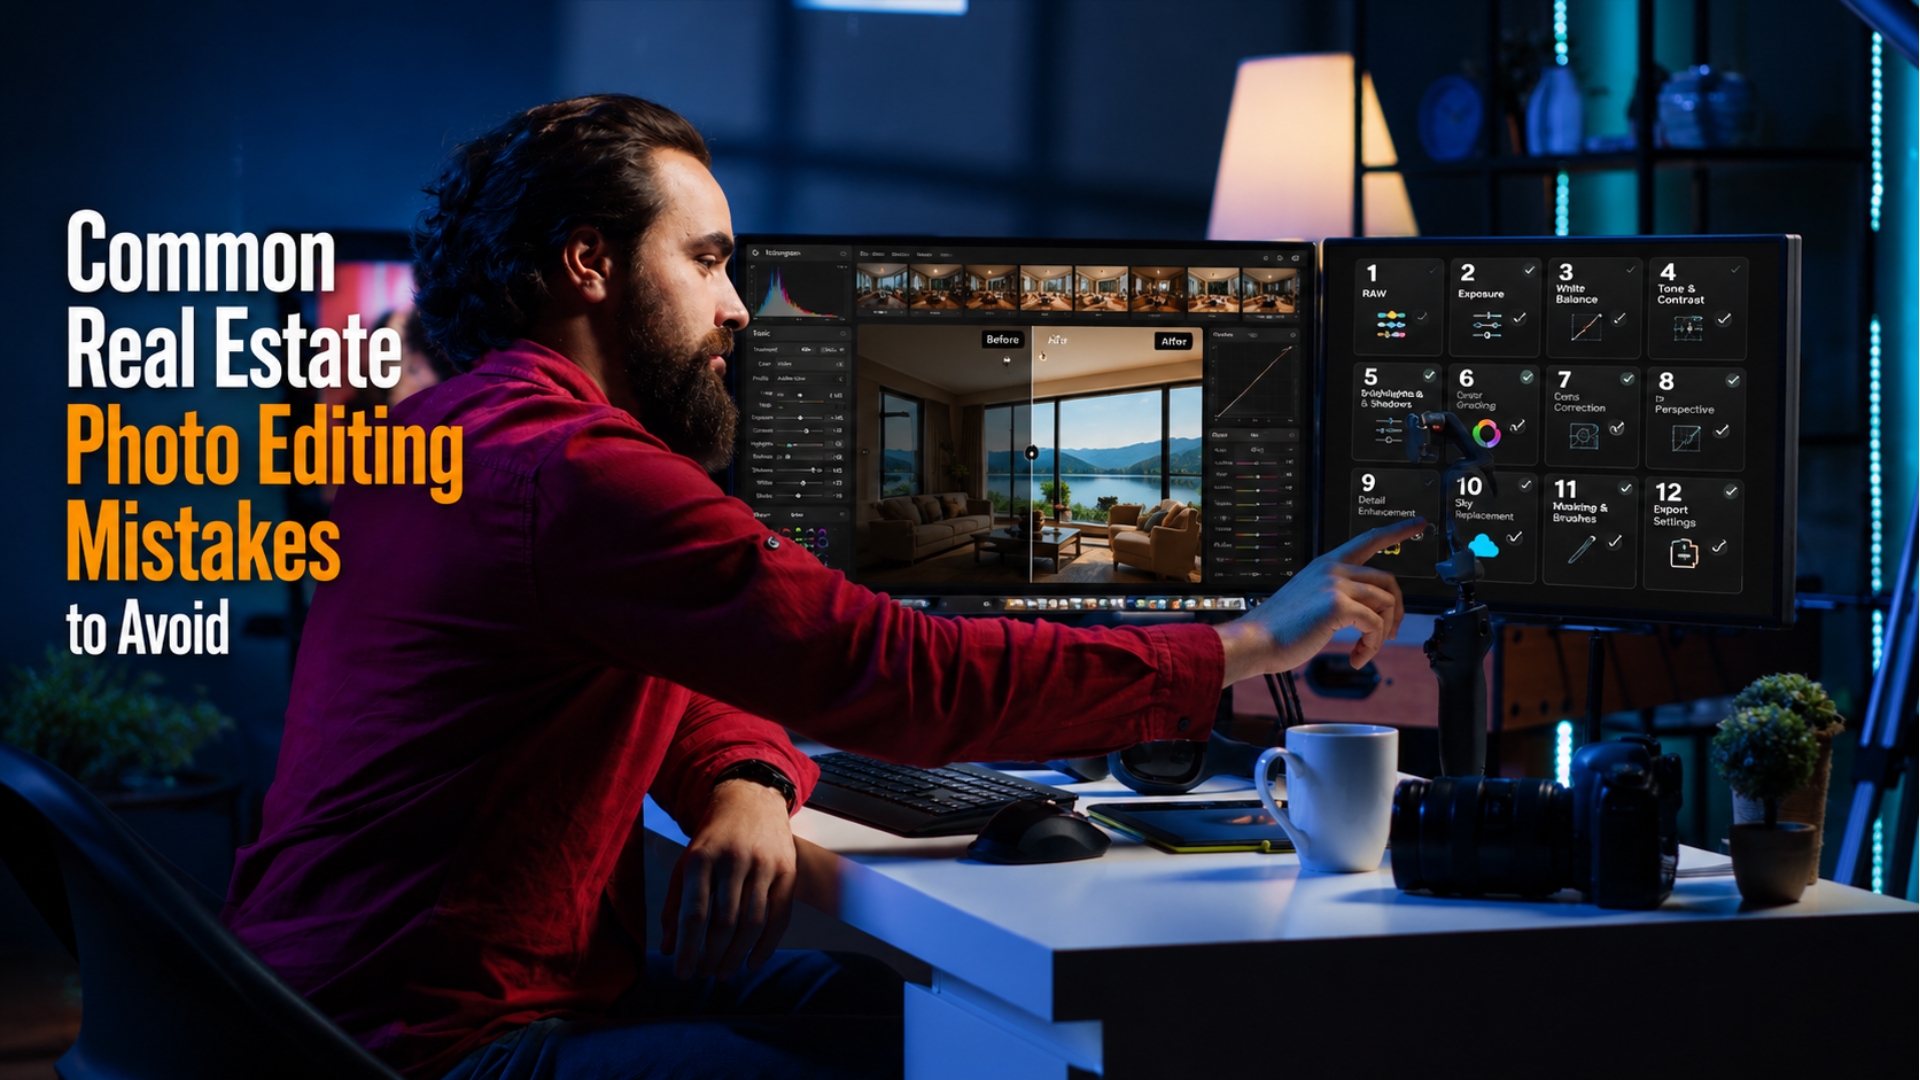
Editing real estate photos is not too difficult to do, but you also need to be careful to avoid making some of the following basic mistakes, especially for beginners:
Not removing clutter
If you only focus on color correction without removing clutter from your images, such as personal belongings, shoes, electrical cords, etc., it will make your space look cramped, less appealing, and distracting to potential buyers. This can cause your property to be passed over immediately.
Removing fixtures
Removing fixed features such as nearby telephone booths or railroad tracks can result in a false representation of the surroundings. This can make buyers feel hidden and potentially lead to legal trouble.
Over-editing
Over-editing images that distort the layout or color or add non-existent features that make your space look completely different, can be misleading to buyers.
Hiding Flaws or Damage
Covering up property flaws such as wall cracks, damaged floors, or broken fixtures might seem like a way to attract more interest, but it can seriously undermine trust and even backfire once buyers visit the property.
Changing the Background or View
Altering what’s outside the windows, for example, replacing a city skyline with a beach view, is a serious breach of ethical standards. Buyers rely on accurate representations of not just the interior, but also the environment and surroundings.
Should You Edit Real Estate Photos Yourself or Outsource Them?
Once you have a solid understanding of the editing process, the next question most photographers and agents face is whether to handle editing in-house or hand it off to a professional editing service. Both options have their place, and the right choice depends on your volume, budget, and how you value your time.
Editing Yourself
Editing your own photos gives you full creative control and a deeper understanding of your work. If you are just starting out or shooting on a smaller scale, doing it yourself is a great way to build your skills and keep costs low. The downside is time. A proper edit on a full property shoot can take anywhere from one to three hours, and that time adds up quickly when you are managing multiple listings at once.
Outsourcing to a Editing Service
Professional real estate photo editing services can turn around a full set of images within 24 to 48 hours, often at a surprisingly affordable price per image. This frees you up to focus on shooting, client relationships, and growing your business. The trade-off is that you give up some control over the final look, and finding a reliable service that matches your style can take some trial and error.
Which One Is Right for You?
A good rule of thumb is to edit yourself when you are starting out and learning, then consider outsourcing once your volume grows to the point where editing is eating into your shooting or business development time. Many photographers find a middle ground, handling basic edits themselves and outsourcing more time-consuming tasks like HDR blending or sky replacements.
At the end of the day, the best approach is the one that allows you to consistently deliver high-quality photos without burning out or slowing down your business.
If you find yourself leaning toward outsourcing, choosing the right editing partner makes all the difference. That is where Roitder Media comes in. Built specifically with real estate photographers and agents in mind, Roitder Media combines professional-grade editing with fast turnaround times and a style-matching process that takes the guesswork out of finding a service that feels like your own.
Professional Real Estate Photo Editing Services by Rotider Media

When it comes to real estate photography, the edit is just as important as the shoot. At Rotider Media, we specialize in professional real estate photo editing that helps photographers and agents present every property in its best possible light. Our services are built for speed, consistency, and quality, so you can focus on growing your business while we handle the rest.
We offer a full range of editing solutions to cover every situation you encounter on the job:
- HDR Photo Editing: Blend multiple exposures into a single, perfectly balanced image with rich detail in both bright and shadowed areas.
- Day to Dusk: Transform an ordinary daytime exterior into a warm, golden-hour shot that stops scrollers in their tracks.
- Twilight: Replace flat skies with a dramatic sunset backdrop that gives any property an instant curb appeal boost.
- Object Removal: Clean up distracting elements so the home itself takes center stage.
- Flash Blending: Merge flash and ambient light photos into a natural, inviting image that feels true to life.
- Single Image Edit: A fast, polished touch-up for individual shots, perfect for on-location or quick-turnaround needs.
Whether you are editing your first listing or managing a high-volume shoot schedule, Rotider Media is here to help you deliver consistent, professional results every time. Contact our team today to find the right service for your workflow.
FAQs
Why is photo editing important in real estate marketing?
Edited photos enhance the visual appeal of a property, highlight its best features, and create a professional look that attracts more buyers or renters online.
How do you make interiors look brighter and more spacious?
Increase exposure, adjust white balance, reduce shadows, and correct lens distortion. You can also use wide-angle shots and declutter during editing.
Should you always do sky replacement?
Not always. Only replace skies when the original is overexposed or dull, but make sure the result looks natural and consistent with lighting conditions.
Is HDR editing necessary for real estate?
HDR (High Dynamic Range) is widely used to balance interior lighting and outdoor brightness, especially when photographing windows and views.
Can I remove objects like power lines or trash bins from the photo?
Yes, using content-aware tools or cloning in Photoshop can help remove distractions and make the property look cleaner.
How can I edit photos quickly for bulk listings?
Use Lightroom presets or batch editing features, or consider outsourcing to real estate editing services for large volumes.
What resolution should real estate photos be exported at?
For MLS and web listings: 1500–2500 pixels wide is standard. For print, use a higher resolution (300 DPI). Always follow platform-specific requirements.
Is it okay to digitally enhance a property too much?
Enhance carefully – the goal is to represent the property honestly while showing it in the best light. Over-editing can lead to buyer disappointment and legal issues.
Can Beginners Edit Real Estate Photos Professionally?
Yes, beginners can absolutely edit real estate photos professionally with the right workflow and consistent practice. Modern editing software like Lightroom and Photoshop makes it easier to correct exposure, straighten lines, balance colors, and improve overall image quality even without advanced experience.
Is Lightroom Enough for Real Estate Editing?
Lightroom is often enough for basic and intermediate real estate photo editing. It is widely used for:
- Exposure correction
- White balance adjustments
- HDR merging
- Perspective correction
- Batch editing
- Export optimization
For many real estate photographers, Lightroom handles most of the editing workflow efficiently.
How Much Editing Is Too Much for Real Estate Photos?
Real estate photo editing becomes excessive when images no longer represent the property realistically. Overediting can make rooms look misleading, reduce buyer trust, and create unrealistic expectations during showings.