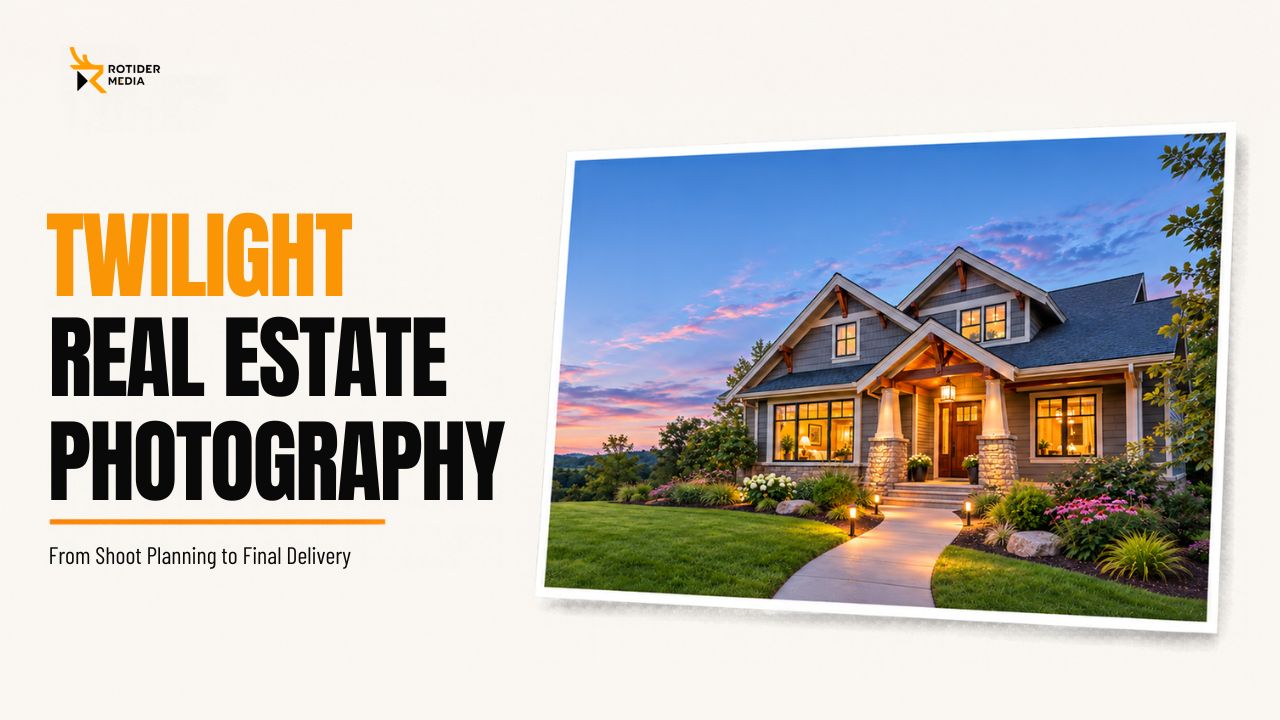
Twilight real estate photography can show what daytime listing photos often miss: how a home’s windows, entry, and outdoor spaces look once the lights come on. The key is to set up before sunset, photograph the main exterior while there’s still detail in the sky, and use the remaining light for angles that add something to the listing.
What Is Twilight Real Estate Photography and When Is It Worth It?
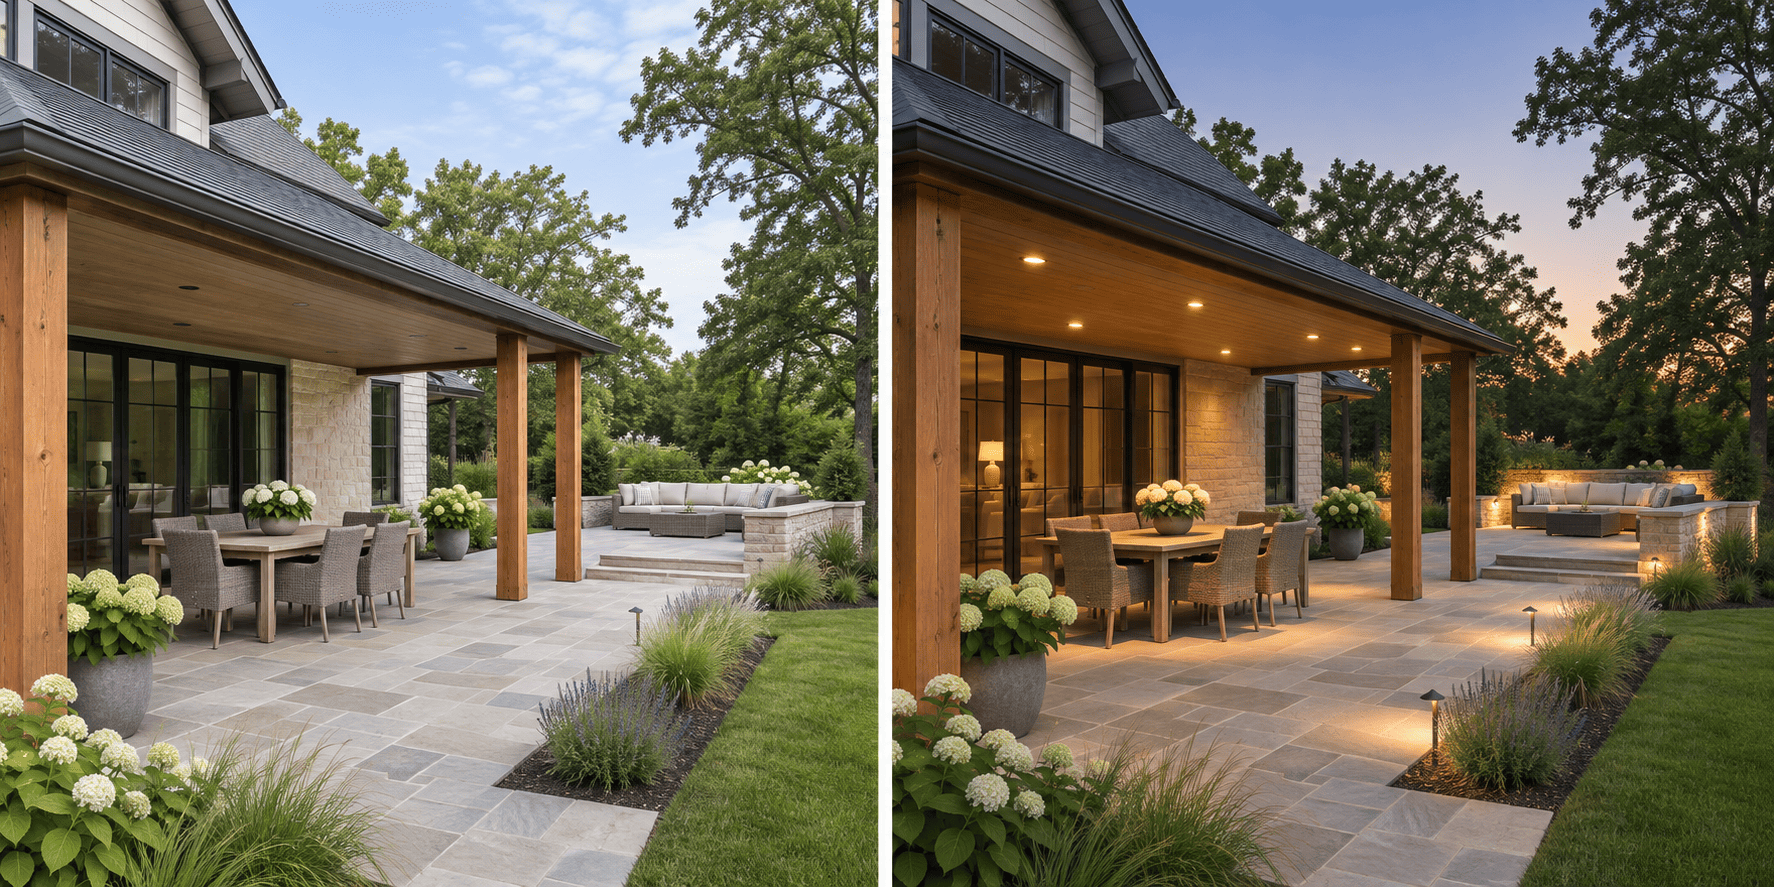
Capturing a property at sunset typically involves photographing the home during the dusk transition, when residual ambient light lingers in the sky and interior fixtures begin to glow warmly. Adding these evening frames to a listing is well worth the effort whenever nighttime illumination highlights architectural features buyers might overlook in bright daylight, such as an inviting lit entryway, a functional al fresco dining patio, or the seamless visual flow between a swimming pool and rear terrace after dark.
What Twilight Photos Can Show That Daytime Photos Miss
At dusk, lights can explain how people use a property. Along a front walkway, they show the route from the driveway to the entry. On a patio, they can define the seating and dining areas. And in a straight-on exterior photo, illuminated windows can give depth to a facade that looks flat in daylight.
Before booking a twilight session, identify the feature the photo needs to show. “Show the covered patio with its built-in lights on” is a more useful brief than “make the listing look luxurious.” It tells the photographer where to set up, which lights to test, and which angle to prioritize if time is short.
When Daytime Exterior Photos Are Enough
Daytime exterior shots work better when a listing needs to clearly show siding materials, roofline geometry, landscaping, driveway access, or how the home sits relative to neighboring properties. If exterior lighting is minimal, or if the property's primary selling view becomes hard to read after sunset, prioritize your strongest daytime exterior frame as the lead listing photo. Add twilight images only when they contribute practical context or highlight specific evening features of the property.
Real Twilight vs Virtual Twilight
|
Option |
What it involves |
When to choose it |
|
On-site twilight photography |
Photographing the property as daylight fades, using the scene and lighting present at the time. |
The listing needs to show actual outdoor lighting, reflections, or an evening view. |
|
Virtual twilight |
Editing a daytime exterior to depict a dusk scene. |
A suitable daytime image already exists and the listing needs an illustrative evening view without a return visit. |
Both approaches can produce a twilight-style image. The choice depends on whether the evening conditions themselves are something the listing needs to document.
When to Book an On-Site Twilight Shoot
Schedule an on-site twilight shoot whenever the property's actual appearance after dark plays a key role in the listing. For example, if a primary selling feature is a patio with built-in lighting overlooking a city skyline, photographing at dusk captures how those elements work together in real conditions. Shooting on location also gives you the flexibility to choose the best camera placement for evening lighting, a vantage point that often differs from the optimal daytime angle.
When a Day-to-Dusk Edit Makes Sense
A day-to-dusk edit can work when you already have a sharp, well-composed daytime shot and need a matching evening frame. Start by evaluating the source file carefully: harsh midday shadows, clipped window highlights, blocked shadows, or reflections that clash with a darker sky can make a virtual conversion look unconvincing.
Keep all permanent structural features of the property accurate, and avoid adding exterior fixtures or lighting that do not actually exist on-site. Before publishing the edited image, review your local MLS or listing platform guidelines regarding virtual twilight labeling and disclosure requirements.
How to Plan a Twilight Real Estate Photo Shoot
A twilight shoot is easier to manage when you’ve already made the decisions that don’t depend on the light: where to put the tripod, which lights to turn on, and what to photograph first.
Check Sunset Time, Weather, and Property Orientation
Look up sunset and the end of civil twilight for the property’s location and shoot date. The U.S. Naval Observatory’s daily Sun and Moon data provides both. Use those benchmarks to plan your arrival and equipment setup, while letting the actual ambient light on-site dictate the ideal moment to trigger the shutter.
Evaluate the orientation of the building facade alongside any obstructions along the horizon. A neighboring structure or tall tree line can cast the front elevation into shadow well before official sunset. Heavy cloud cover can flatten sky tonal depth, while wind may blur foliage or ripple pool water between bracketed exposures. If the rear patio is the primary feature the listing agent wants to highlight, scout that space independently rather than assuming it peaks at the exact same minute as the front exterior.
Test the Property Lights and Set Up the Main Angle Before Sunset
Check with the listing agent or homeowner on how to operate porch fixtures, landscape lighting, pool lights, and any timer-controlled switches. Turn everything on and inspect the property directly from your camera position. A fixture that looks fine up close can shine straight into the lens, while a single unlit window stands out awkwardly against otherwise illuminated rooms.
With the owner’s permission, clear away temporary clutter, lock in your primary composition, and take a test frame while ambient daylight is still available. Verify vertical architectural lines, check window reflections, and inspect the edges of the frame. You should also identify a backup camera angle so you can pivot quickly if your primary position develops glare or framing issues. Finalizing your main composition before sunset frees up valuable time to adapt as ambient light drops rapidly.
How to Shoot Twilight Real Estate Photos
Start With a Stable Camera and Adjust Exposure as the Sky Dims
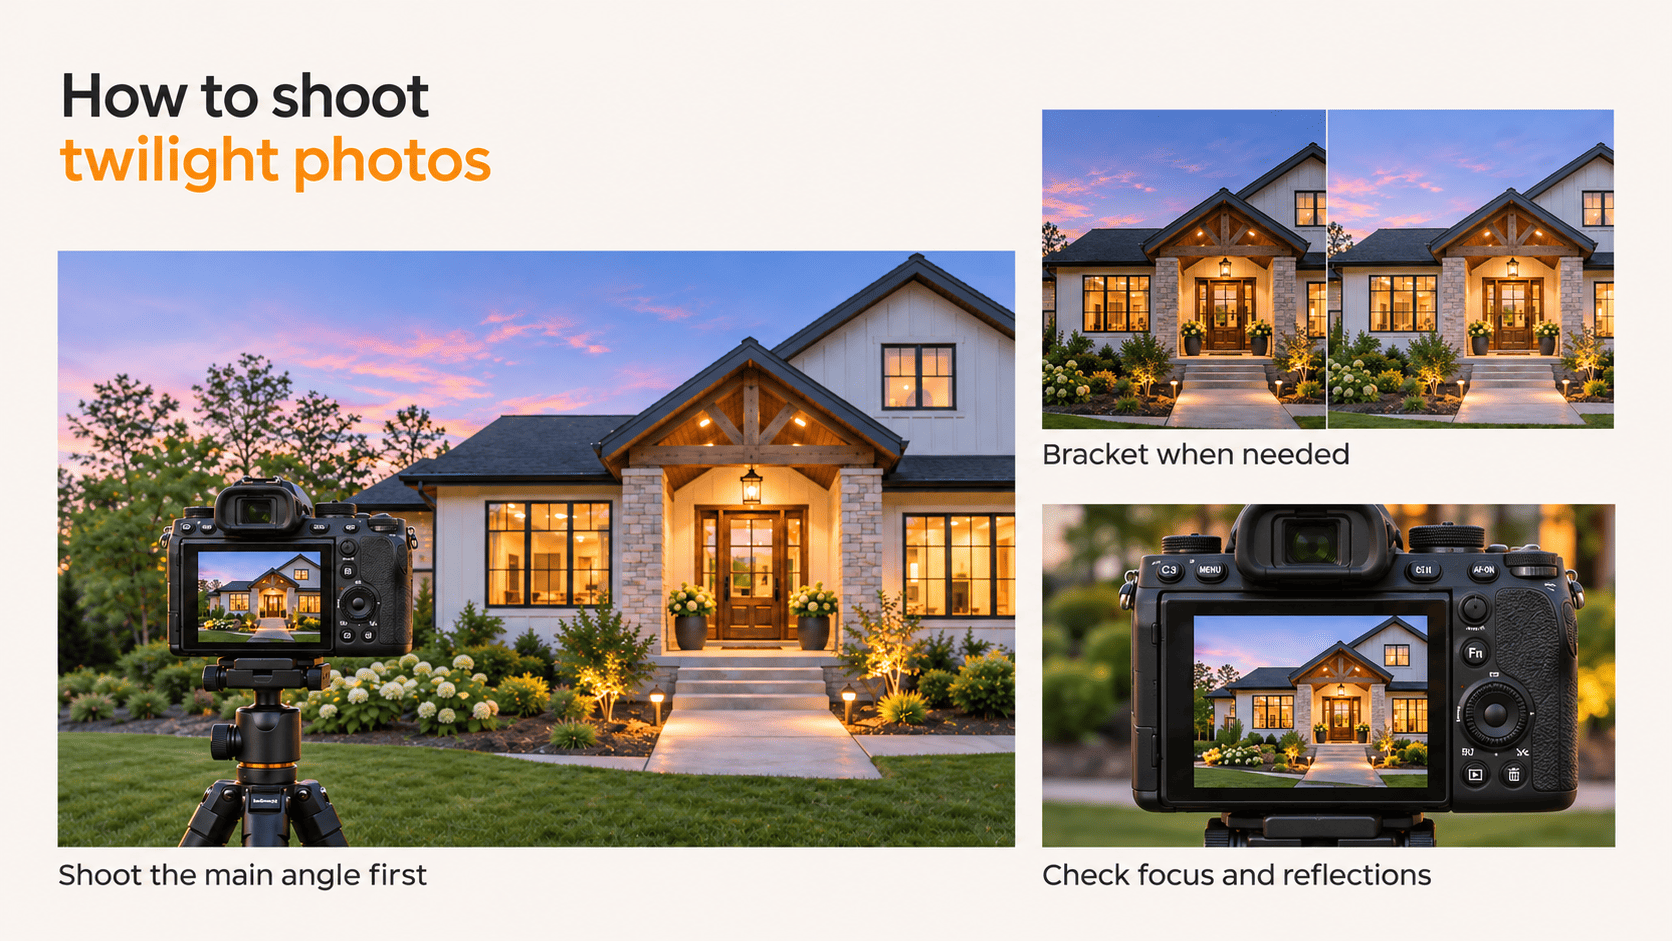
Mount your camera on a tripod, shoot in RAW, and select an aperture that keeps every critical exterior detail within the depth of field. For a static facade, starting around ISO 100 and f/8 is a practical baseline, depending on your specific camera body, lens, and framing. Set your shutter speed to match current ambient light levels and adjust as the sky darkens. If wind blurs foliage or other moving elements, shorten the shutter speed and raise your ISO accordingly. Treat these figures as starting benchmarks rather than rigid rules for every property.
Capture multiple versions of the same primary composition as the lighting balance shifts. Early frames will clearly render structural textures like siding and landscaping, though light fixtures may not stand out yet. Later frames will bring out the warm glow of interior and exterior lighting, even as darker exterior surfaces begin to lose detail. Compare these versions to select the frame that best communicates the property's key features. Monitor your histogram and highlight warnings, then zoom in on the LCD to verify exposure across windows and major light fixtures.
Bracket When the Windows and Exterior Need Different Exposures
If a single RAW file already preserves sky tones, key highlights, and sufficient exterior shadow detail, stick with that single frame. When dynamic range exceeds what one exposure can hold, capture an exposure bracket without shifting the tripod. Keep focal length and aperture locked, varying only the shutter speed. Verify that your darkest frame retains critical highlight detail, while your brightest frame records clean texture across the building facade and surrounding landscaping.
Fire your bracketed sequence as rapidly as possible. Windblown foliage, rippling pool water, or passing traffic can shift between exposures, causing double edges or ghosting during alignment. If motion artifacts appear, compare the merged composite against your strongest single exposure before deciding which file to edit. Lightroom Classic’s HDR merge controls include deghosting for frames with movement.
Capture the Main Exterior First, Then Add Supporting Angles
Capture the primary exterior elevation while facade textures are still legible and light fixtures begin to stand out. If the listing brief prioritizes a rear patio over the front facade, shoot the patio as your very first frame. Your shot sequence should follow the exact hierarchy of features the listing needs to communicate.
For instance, at a property featuring a lit entryway and a backyard pool, start with the main front exterior, then capture a second version as the sky deepens. Next, move to the rear for a wider angle showing how the pool connects to the patio. If ambient light still holds, take a tighter detail shot of the seating area. When time is tight, skip the close-up and prioritize the two wide angles that most clearly explain the property's layout.
Check Focus, Reflections, and Bracket Sets Before Leaving
Zoom in on your primary frame to verify focus sharpness along a clear architectural edge, such as a doorframe or window trim. At the same time, inspect the frame for unwanted tripod reflections, lens flare, or unexpected motion blur. If you shot an exposure bracket, confirm that the full sequence recorded properly and captured the necessary highlight and shadow detail. Whenever a reshoot is required, prioritize your main composition immediately before sky brightness shifts further.
How to Edit and Deliver Twilight Listing Photos
Balance the Sky, Windows, and Exterior Lights
Begin with the single frame or merged composite that most accurately represents the ambient light conditions observed on-site. Establish a balanced visual relationship between the sky and the building before diving into local adjustments. Interior windows can maintain a warm color temperature without shifting into an oversaturated orange, while shaded walls should retain structural texture rather than being lifted to match harsh daylight levels. Inspect rooflines and foliage borders closely to ensure no digital halos appear, and cross-reference surface reflections with surrounding light sources and sky gradients.
Certain light fixtures may bloom intensely, clipping local details. Instead of trying to eliminate that brightness entirely, evaluate whether adjacent surfaces still preserve realistic color and material texture. A porch light is designed to illuminate the immediate entryway it serves; artificially brightening the entire building facade to a uniform level destroys the very lighting contrast you went on-site to capture.
Choose the Main Twilight Photo and Pair It With Daytime Views
Even at thumbnail scale, the house and its key architectural features must remain instantly identifiable. If a dusk capture offers the clearest and most striking introduction to the property, and the listing platform permits, set it as the primary cover photo. If a daytime shot communicates the overall architecture or entryway more effectively, prioritize that as your lead image and place the twilight photo immediately following it. Together, these two frames should answer distinct questions: How does the property look under clear daylight, and how does that presence transform once the evening lights turn on?
Frequently Asked Questions
How Long After Sunset Should You Take Twilight Real Estate Photos?
There’s no universal number of minutes. Set up before sunset, start testing as the light fades, and shoot when the sky still has useful detail and the property lights are clearly visible. Weather, orientation, and obstructions can change when that balance occurs.
Can You Shoot Twilight Photos on a Cloudy Evening?
Yes. A colorful sky is optional, especially if the purpose is to show the entry, landscape lighting, or an outdoor living area. If heavy cloud leaves the main exterior hard to read, try shooting earlier in the session or use a daytime exterior as the lead image.
Do You Need HDR for Twilight Real Estate Photography?
No. A single RAW exposure is enough when it holds the detail the listing needs. Bracket when the bright windows or sky and the darker facade can’t be captured adequately in one frame. If there’s visible movement across the set, inspect the merged image for ghosting before using it.
Conclusion
A useful twilight photo shows something specific about the property after dark. Decide what that is before the shoot, set up while there’s still daylight, and capture the main angle before moving on. In the final gallery, pair the evening image with daytime views that show the details buyers still need to see.