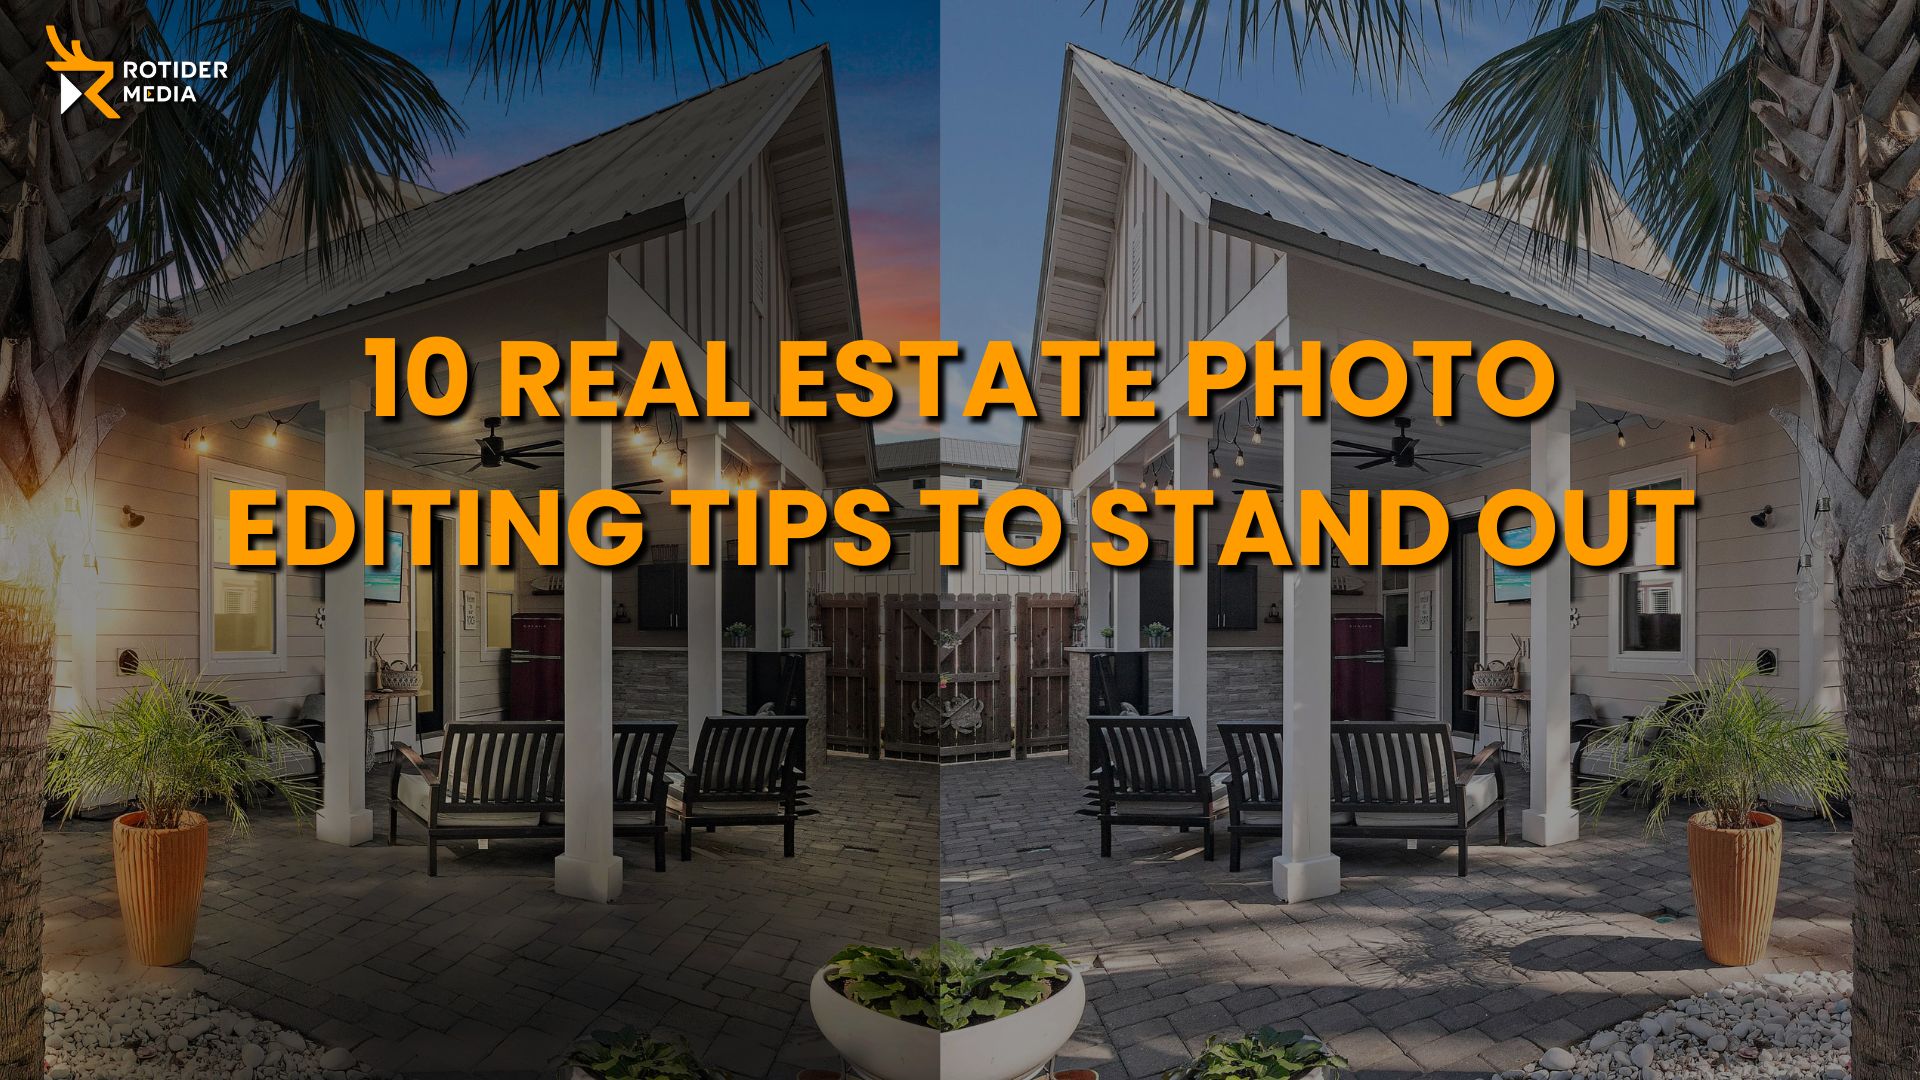
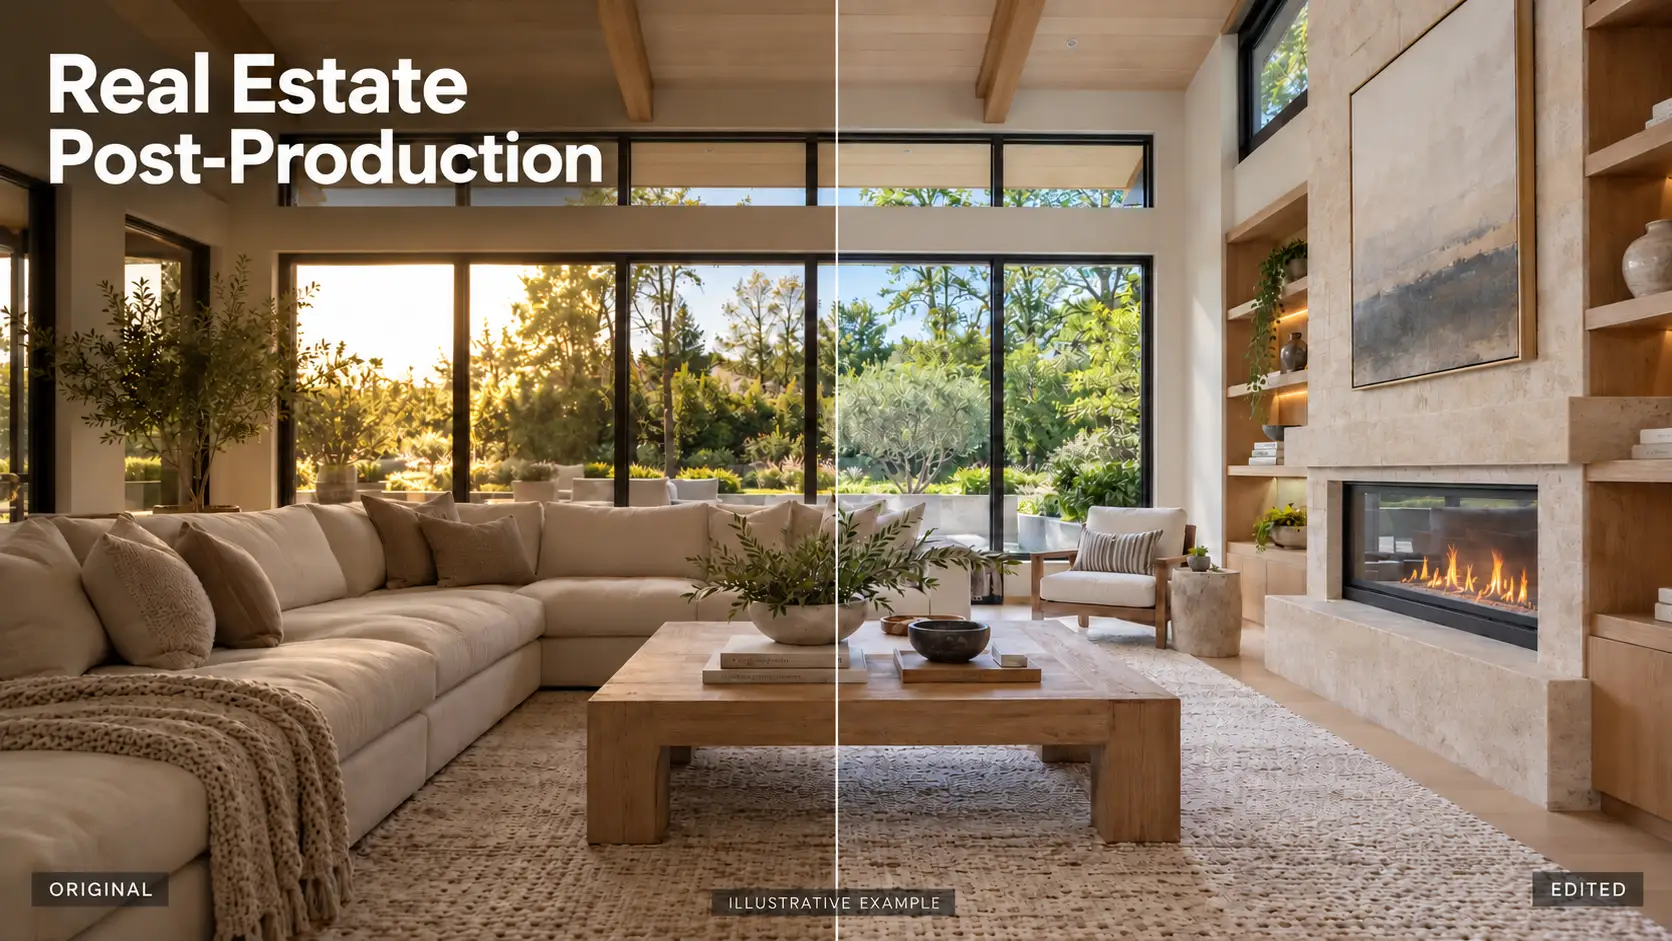
In today’s competitive property market, high-quality visuals play a crucial role in attracting buyers. Applying the right Real Estate Photo Editing Tips can help your listing photos look brighter, cleaner, and more professional. In this guide, we share 10 practical editing tips to help your real estate photos stand out and leave a strong first impression.
Why Real Estate Photos Are Harder to Edit Than Normal Photos
Editing real estate photos is more demanding than editing normal photos because each image must meet both technical standards and marketing goals. Unlike casual or lifestyle photography, property images need to be accurate, bright, natural, and persuasive at the same time. Below are the key reasons why real estate editing is more complex:
– Complex Lighting Conditions
- Mixed lighting from windows and indoor fixtures
- Strong highlights near windows and dark shadow areas
- Different color temperatures in one single frame
- Risk of overexposed skies or underexposed interiors
Editors must carefully balance exposure, white balance, highlights, and shadows to create a natural yet appealing look.
– Strict Perspective and Alignment Requirements
- Vertical walls must remain perfectly straight
- Wide-angle distortion needs correction
- Ceilings, floors, and door frames must look proportional
- Small perspective errors can reduce professionalism
Precision is essential because even slight distortion can make a space feel unrealistic.
– Detail-Oriented Retouching
- Remove distractions such as wires, stains, or small objects
- Clean up reflections in mirrors or windows
- Enhance lawn, sky, and exterior elements when needed
- Maintain a realistic finish without over-editing
Every detail matters because buyers zoom in and analyze listing photos carefully.
– Commercial Purpose, Not Just Aesthetic
- Photos must help sell the property
- Consistency across the entire listing is required
- Images should feel bright, spacious, and inviting
- Editing must follow platforms standards
Why is Real Estate Photo Editing Important?
According to NAR, 97% of homebuyers start their search online, and photos are the first thing they see. So if you upload an unedited photo, harsh lighting and colors can cause your property to be overlooked. Especially in today’s competitive market, editing real estate photos is even more important because:
– Make a good first impression so your listing doesn’t get overlooked
– Increase click-through rates to reach potential buyers
– Make your property stand out, giving you a competitive edge among thousands of posts
– Give you the potential to close a deal at a better price because editing photos makes you look professional and makes your property look more upscale.
Real Estate Photo Editing Tips (10 Simple Tips)
Editing plays an important role in how real estate photos are perceived. With the right editing approach, even simple images can look clean, bright, and professional. Below are 10 practical real estate photo editing tips you can apply to improve your listing photos:
Tip 1: Adjust Lighting and Exposure
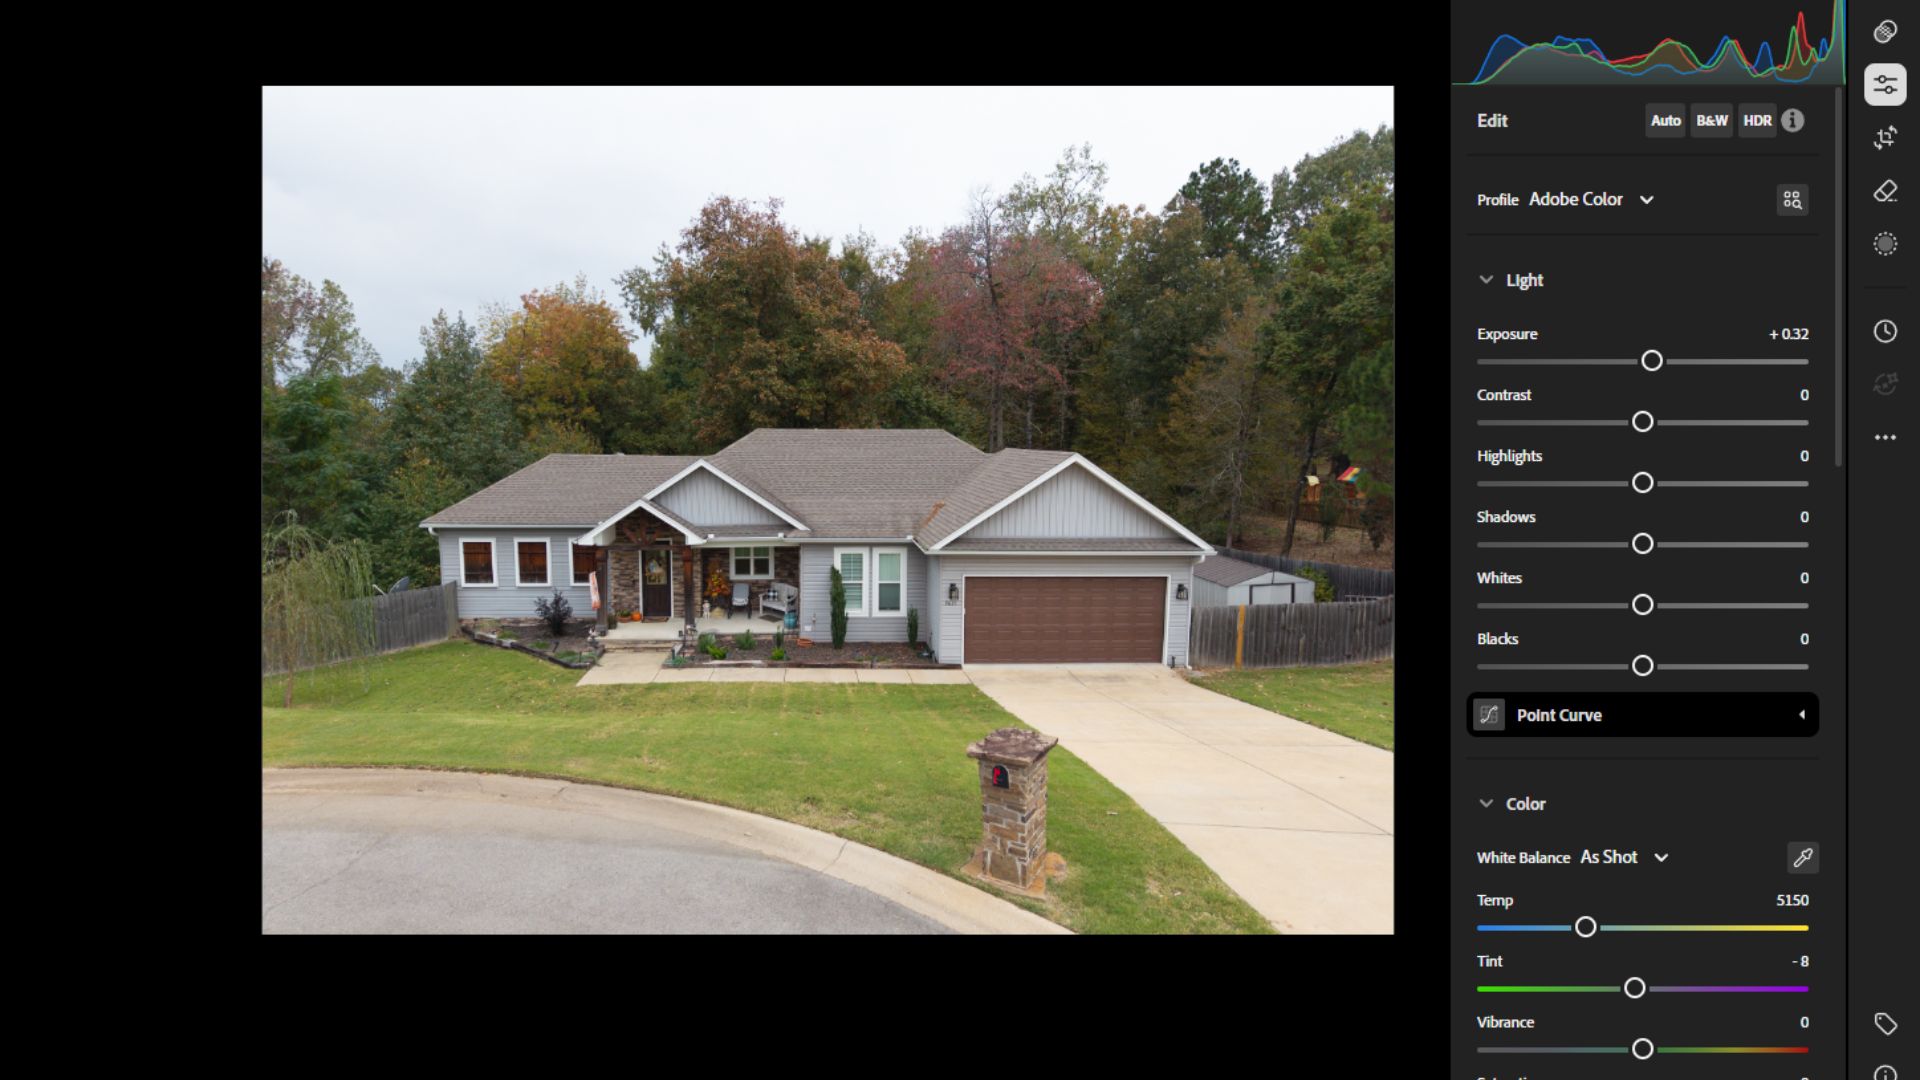
Lighting and exposure correction are always the starting point, because no image can look professional if it is too dark or unevenly lit. Interior photos often suffer from deep shadows, while bright windows can easily become overexposed.
Apply this step whenever important areas of the room lack detail or when the overall image feels heavy and closed in. Use exposure, brightness, highlights, and shadows to lift dark areas while protecting bright spots such as windows.
When done correctly, the room looks brighter, more spacious, and more inviting, which immediately improves buyer perception.
Best apps: Adobe Lightroom, Capture One, Luminar Neo
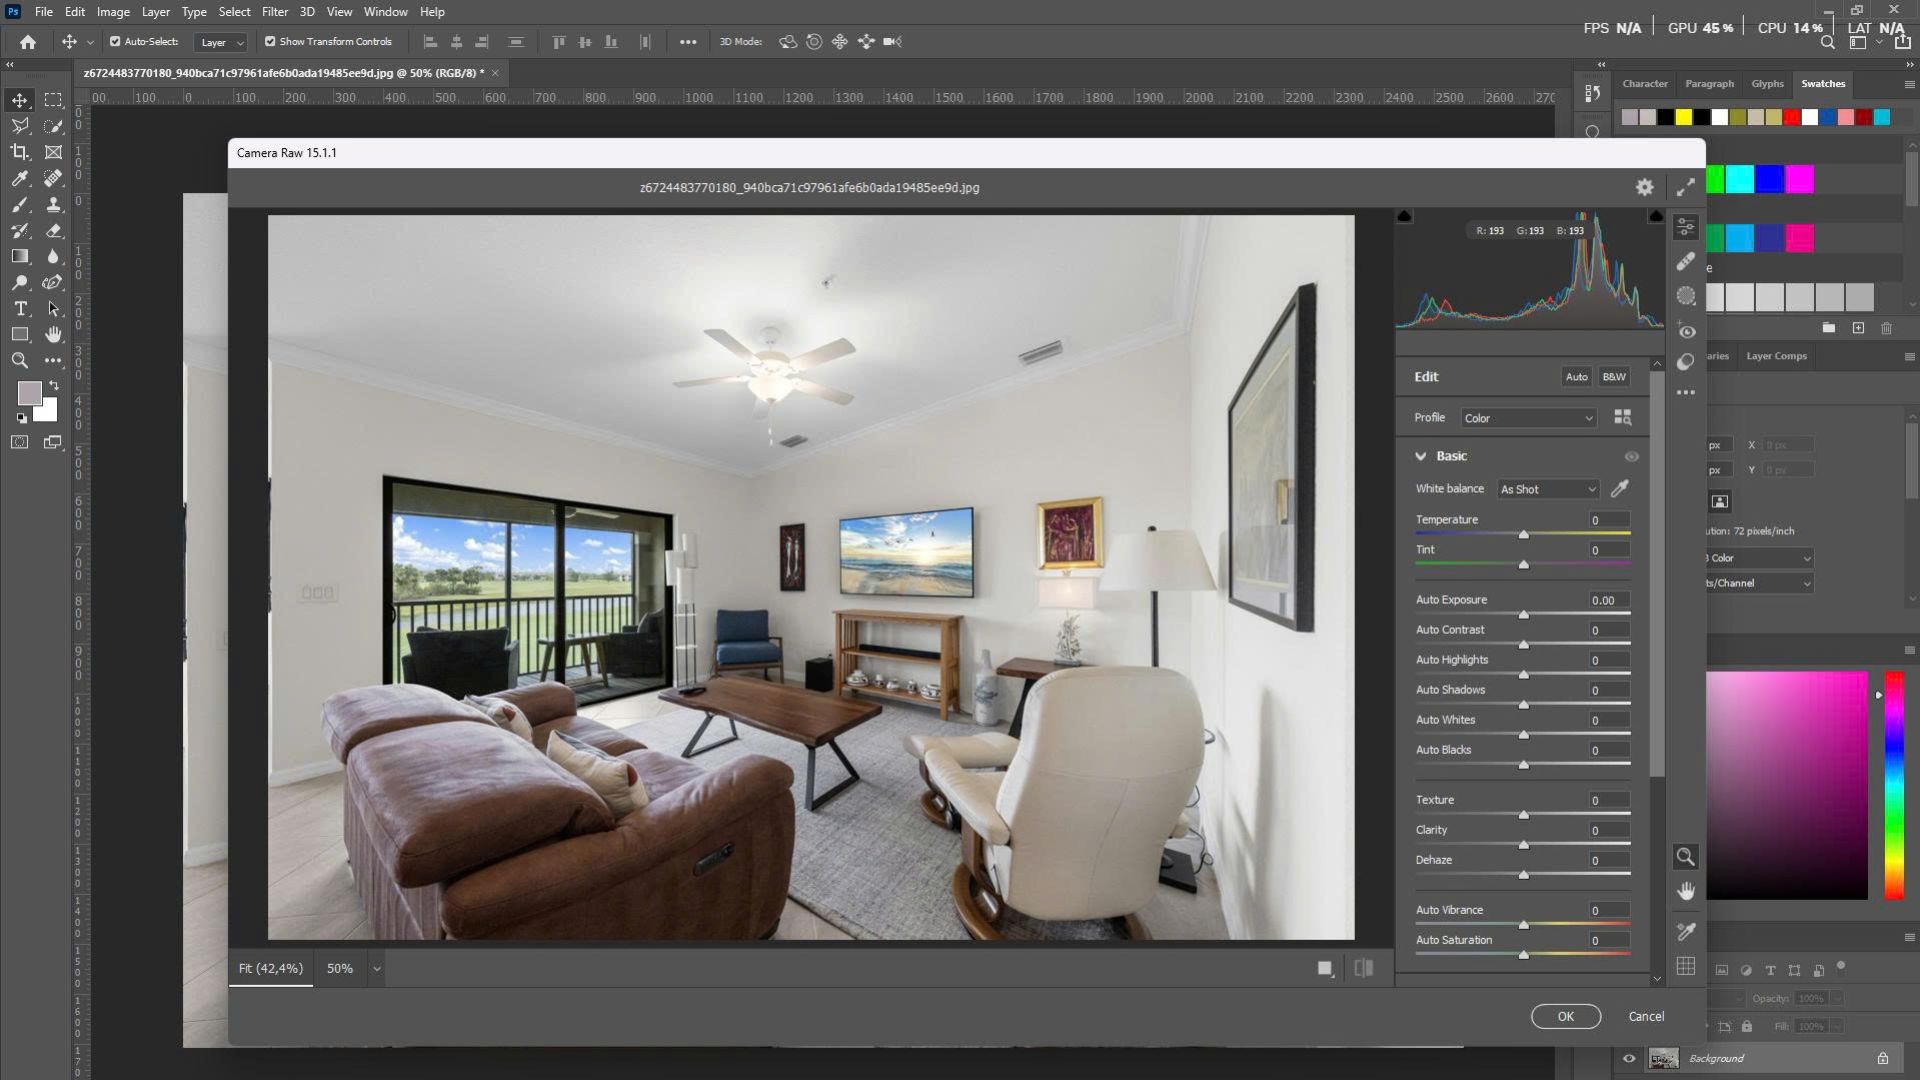
Tip 2: Correct White Balance
Once lighting is balanced, color accuracy becomes the next priority. Mixed light sources, such as daylight and artificial lighting, often create yellow or blue color casts that misrepresent the property’s true appearance.
This adjustment is needed when whites do not appear neutral or when wall and floor colors look unnatural. Use white balance controls or an eyedropper tool to neutralize color casts.
Correct white balance builds trust by showing accurate colors, helping buyers feel confident about what they see online.
Best apps: Adobe Lightroom, Photoshop Camera Raw, Darkroom (iOS)
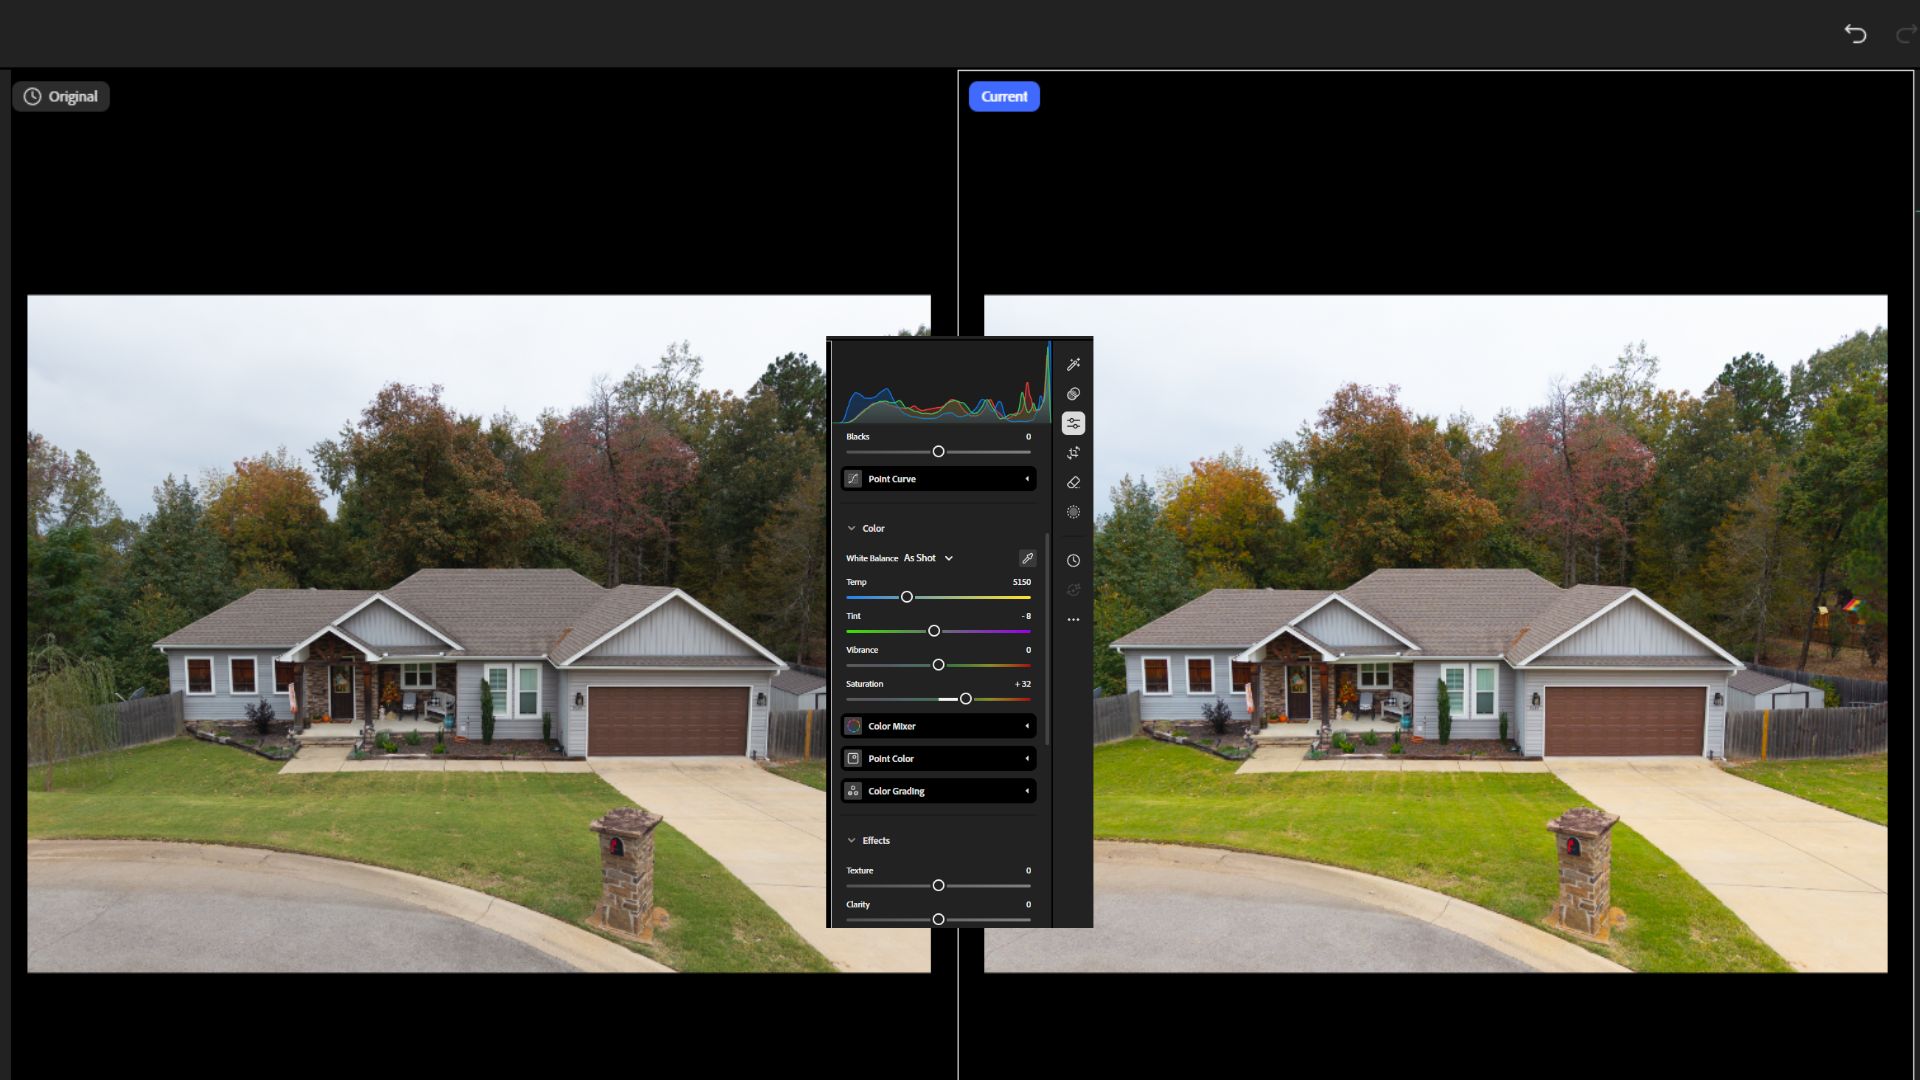
Tip 3: Control Color Saturation
After white balance is corrected, color saturation should be refined to enhance visual appeal without exaggeration. Flat images feel lifeless, while oversaturated images look unrealistic.
Apply this step when photos lack vibrancy or when certain colors dominate too strongly. Adjust saturation and vibrance gradually, paying close attention to walls, furniture, and decor.
Balanced saturation makes images attractive and emotionally engaging while maintaining realism.
Best apps: Adobe Lightroom, Capture One, VSCO
Tip 4: Reduce Image Noise
Low-light interiors often introduce noise, which appears as grain on walls and ceilings. This reduces image quality and gives photos an unpolished look.
Noise reduction is necessary when grain becomes noticeable, especially in shadow areas. Apply noise reduction carefully to smooth textures while preserving sharp details.
Clean images instantly feel more professional and suitable for high-end listings.
Best apps: Topaz DeNoise AI, Adobe Lightroom, DxO PureRAW
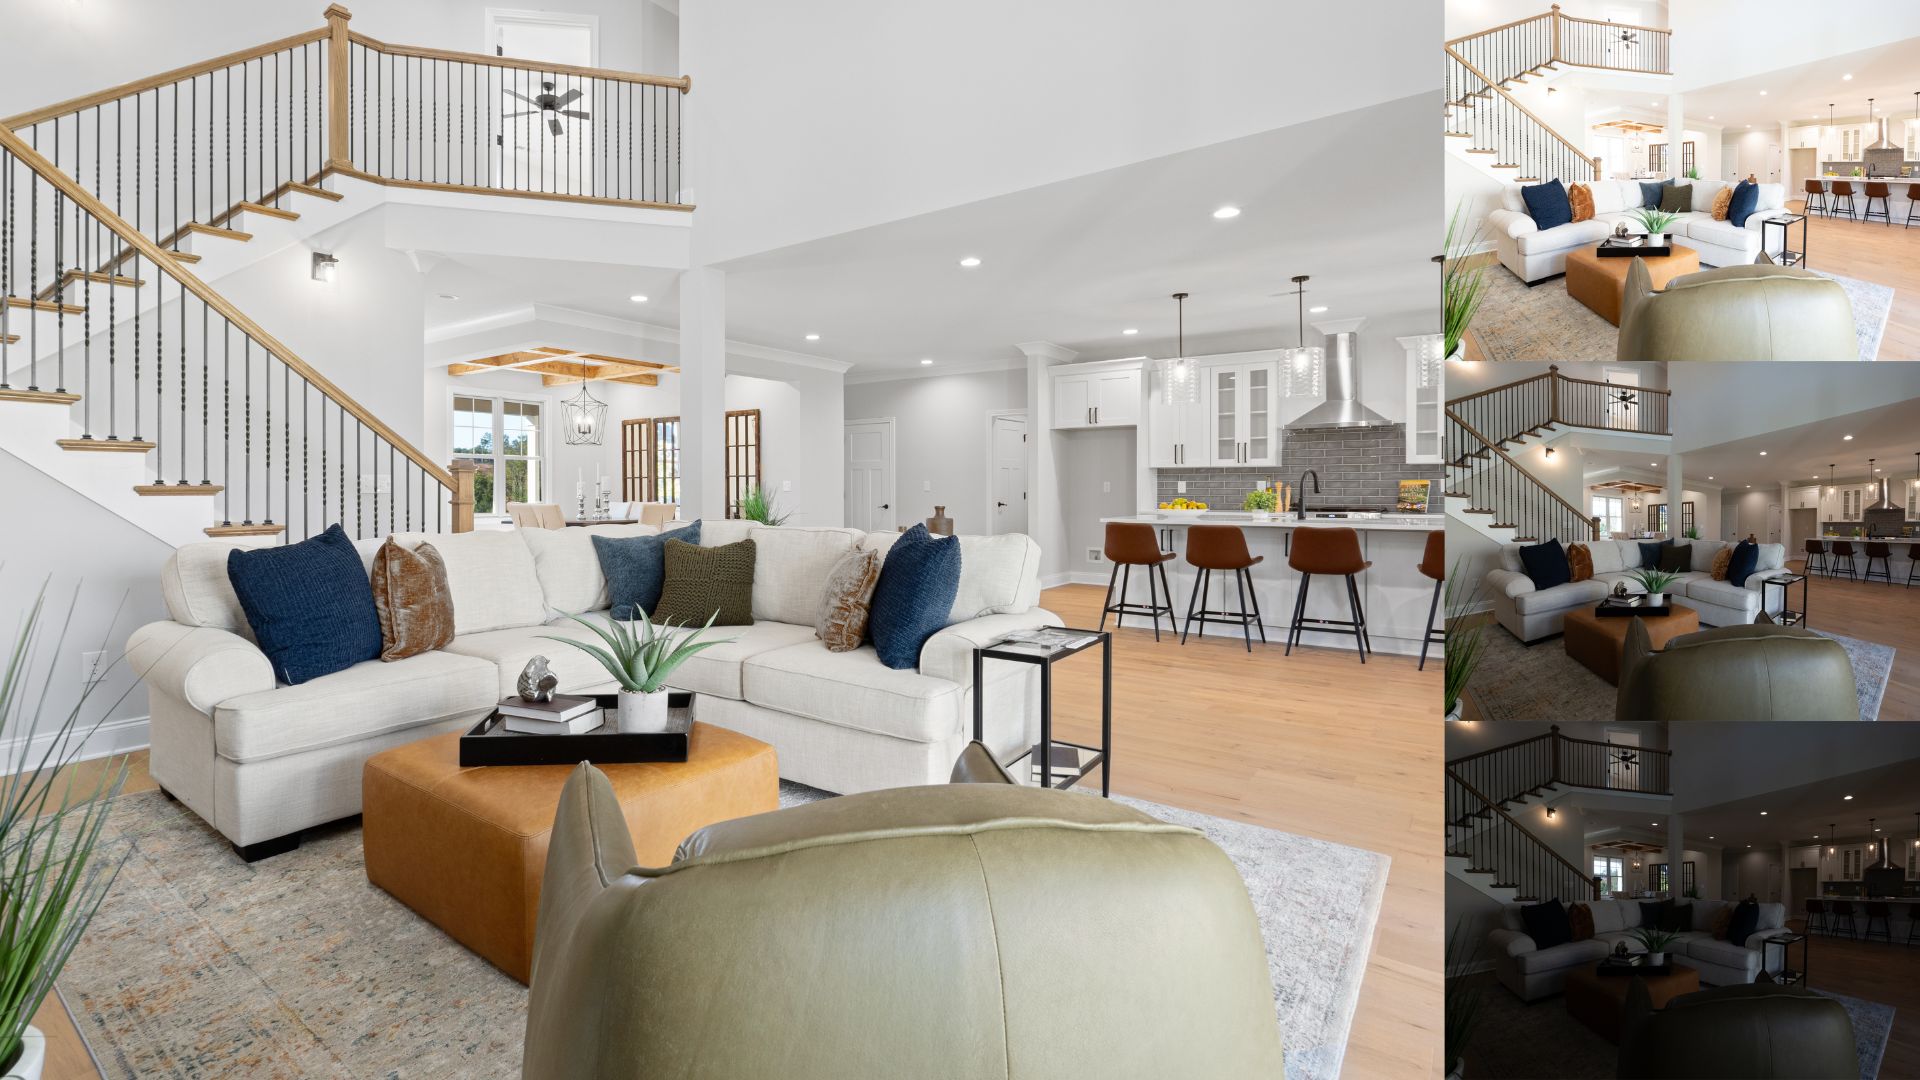
Tip 5: Apply HDR Blending When Needed
Some scenes cannot be fixed with a single exposure. Bright windows combined with dark interiors create contrast that exceeds camera limits.
HDR blending is required when both indoor and outdoor details need to be preserved. This technique merges multiple exposures into one balanced image. Because HDR can easily look unnatural if overdone, experience or professional services are often recommended.
Proper HDR blending produces evenly lit images that feel natural and comfortable to view.
Best apps: Lightroom Classic (HDR Merge), Aurora HDR, Photomatix Pro
Tip 6: Straighten and Correct Perspective
Even with perfect lighting, distorted lines can make a room feel unstable. Wide-angle lenses often cause walls and doors to lean.
Perspective correction is needed when vertical or horizontal lines appear tilted. Use straightening and geometry tools to align architectural elements accurately.
This step restores realism and gives the image a clean, professional structure.
Best apps: Adobe Lightroom, DxO ViewPoint, SKRWT (mobile)
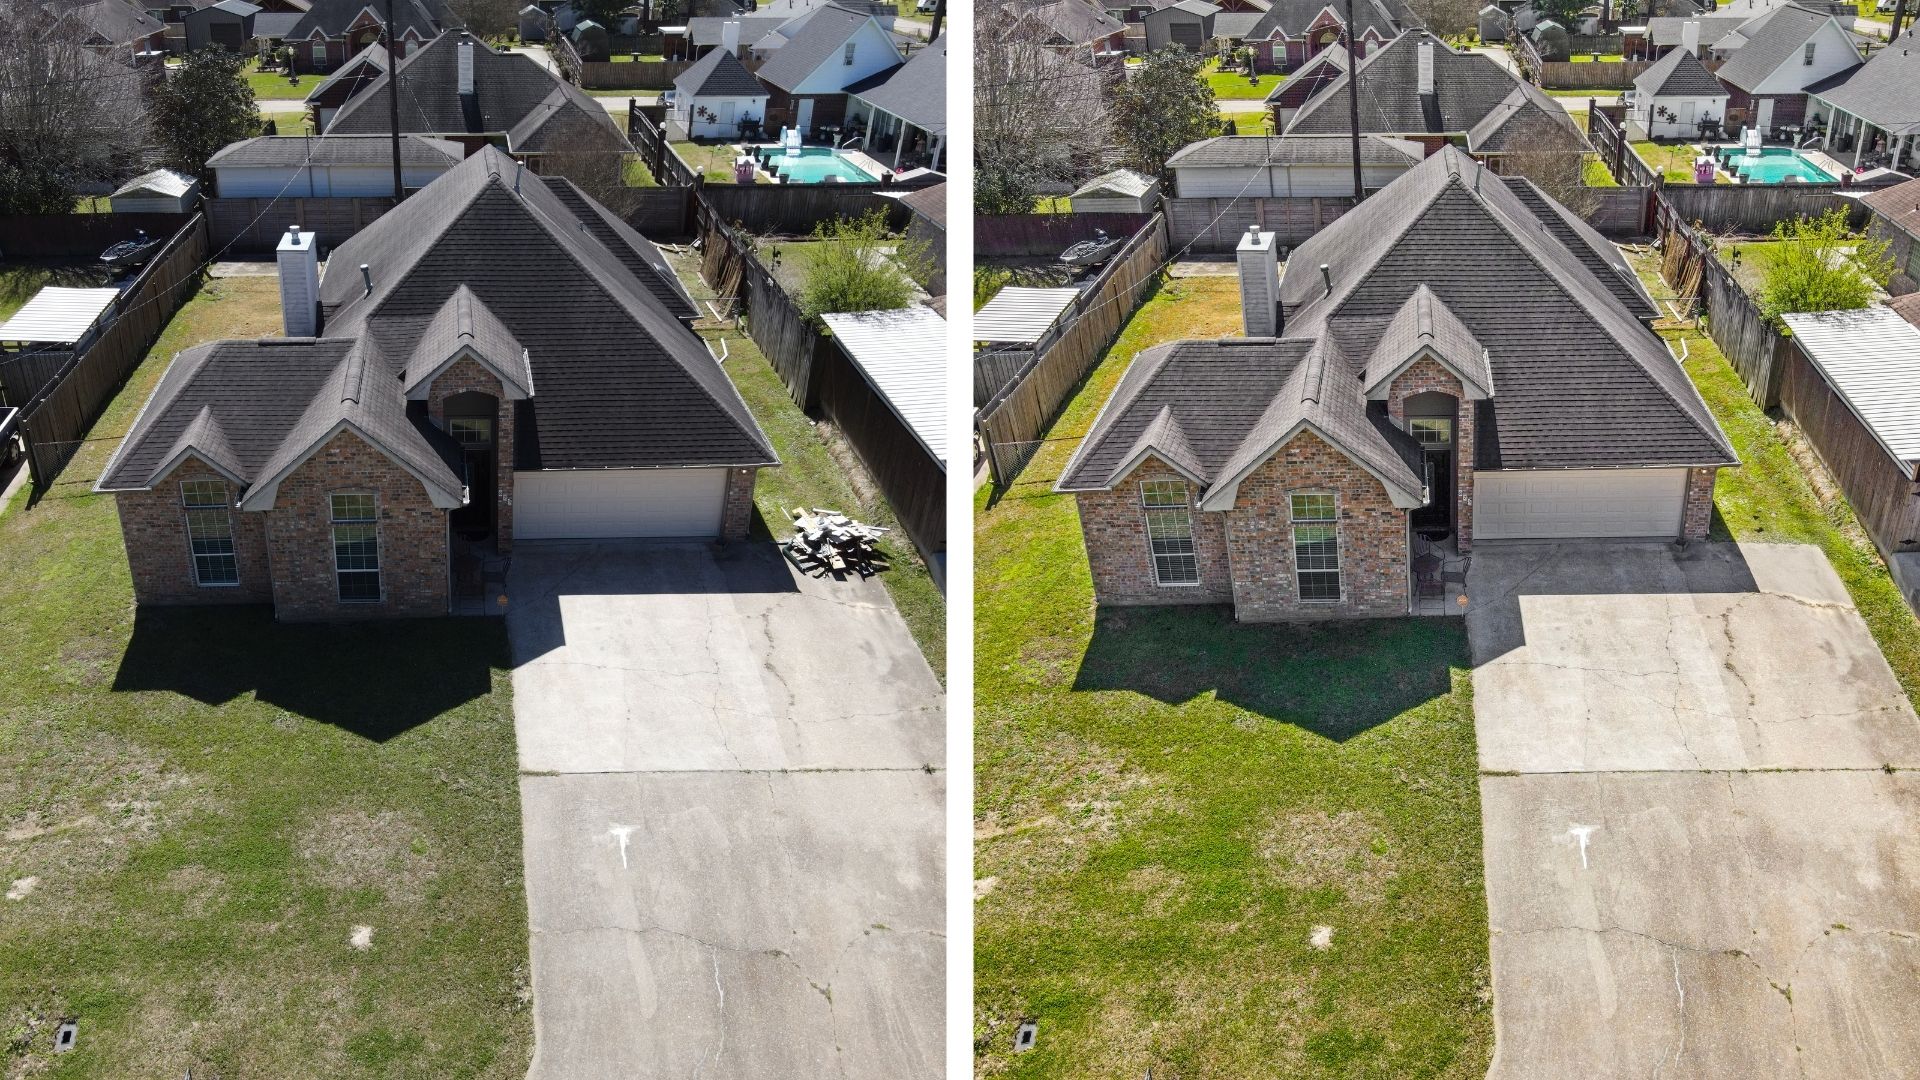
Tip 7: Remove Clutter and Distractions
Small distractions can reduce the perceived value of a property. Personal items, cables, reflections, or trash bins pull attention away from the space itself.
Remove distractions when unnecessary objects appear in the frame. Use retouching tools carefully so the image remains natural and believable.
Clean visuals help buyers focus on layout, space, and potential rather than details that do not matter.
Best apps: Adobe Photoshop, TouchRetouch, Luminar Neo
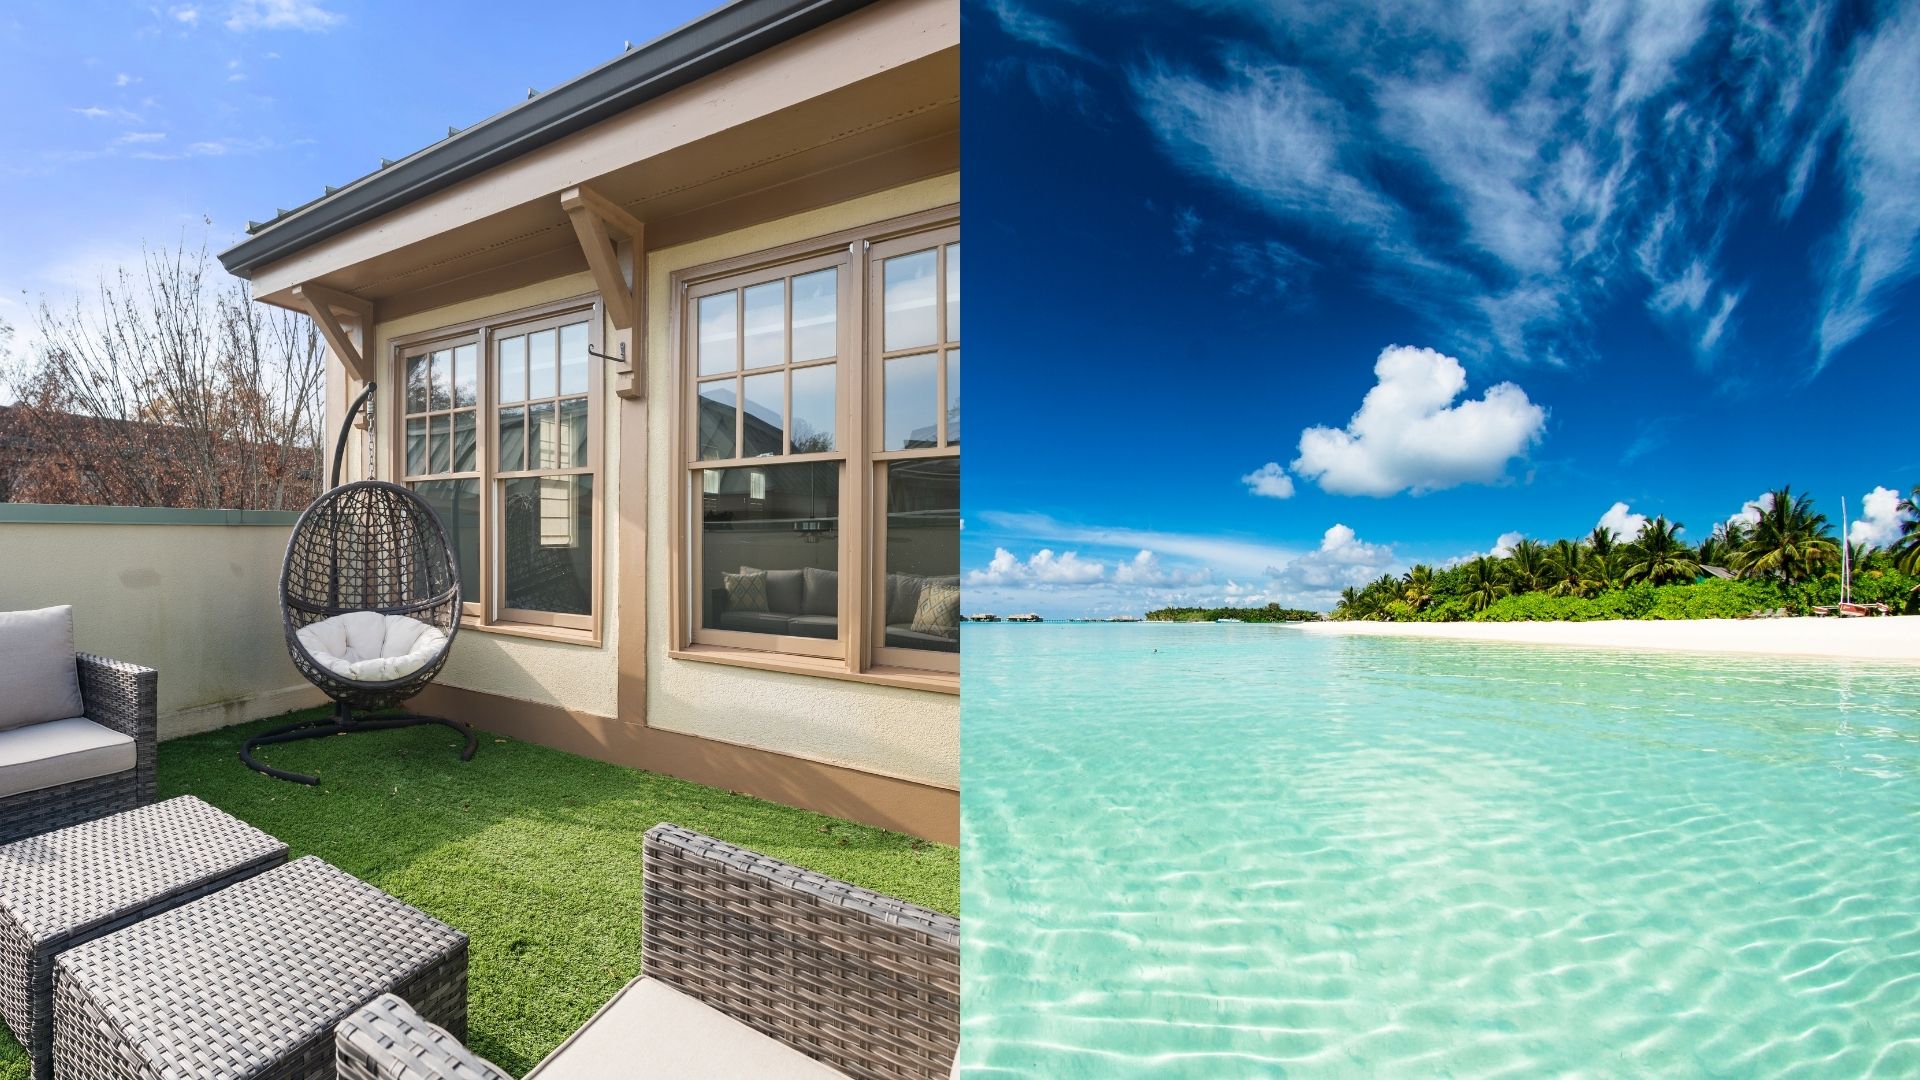
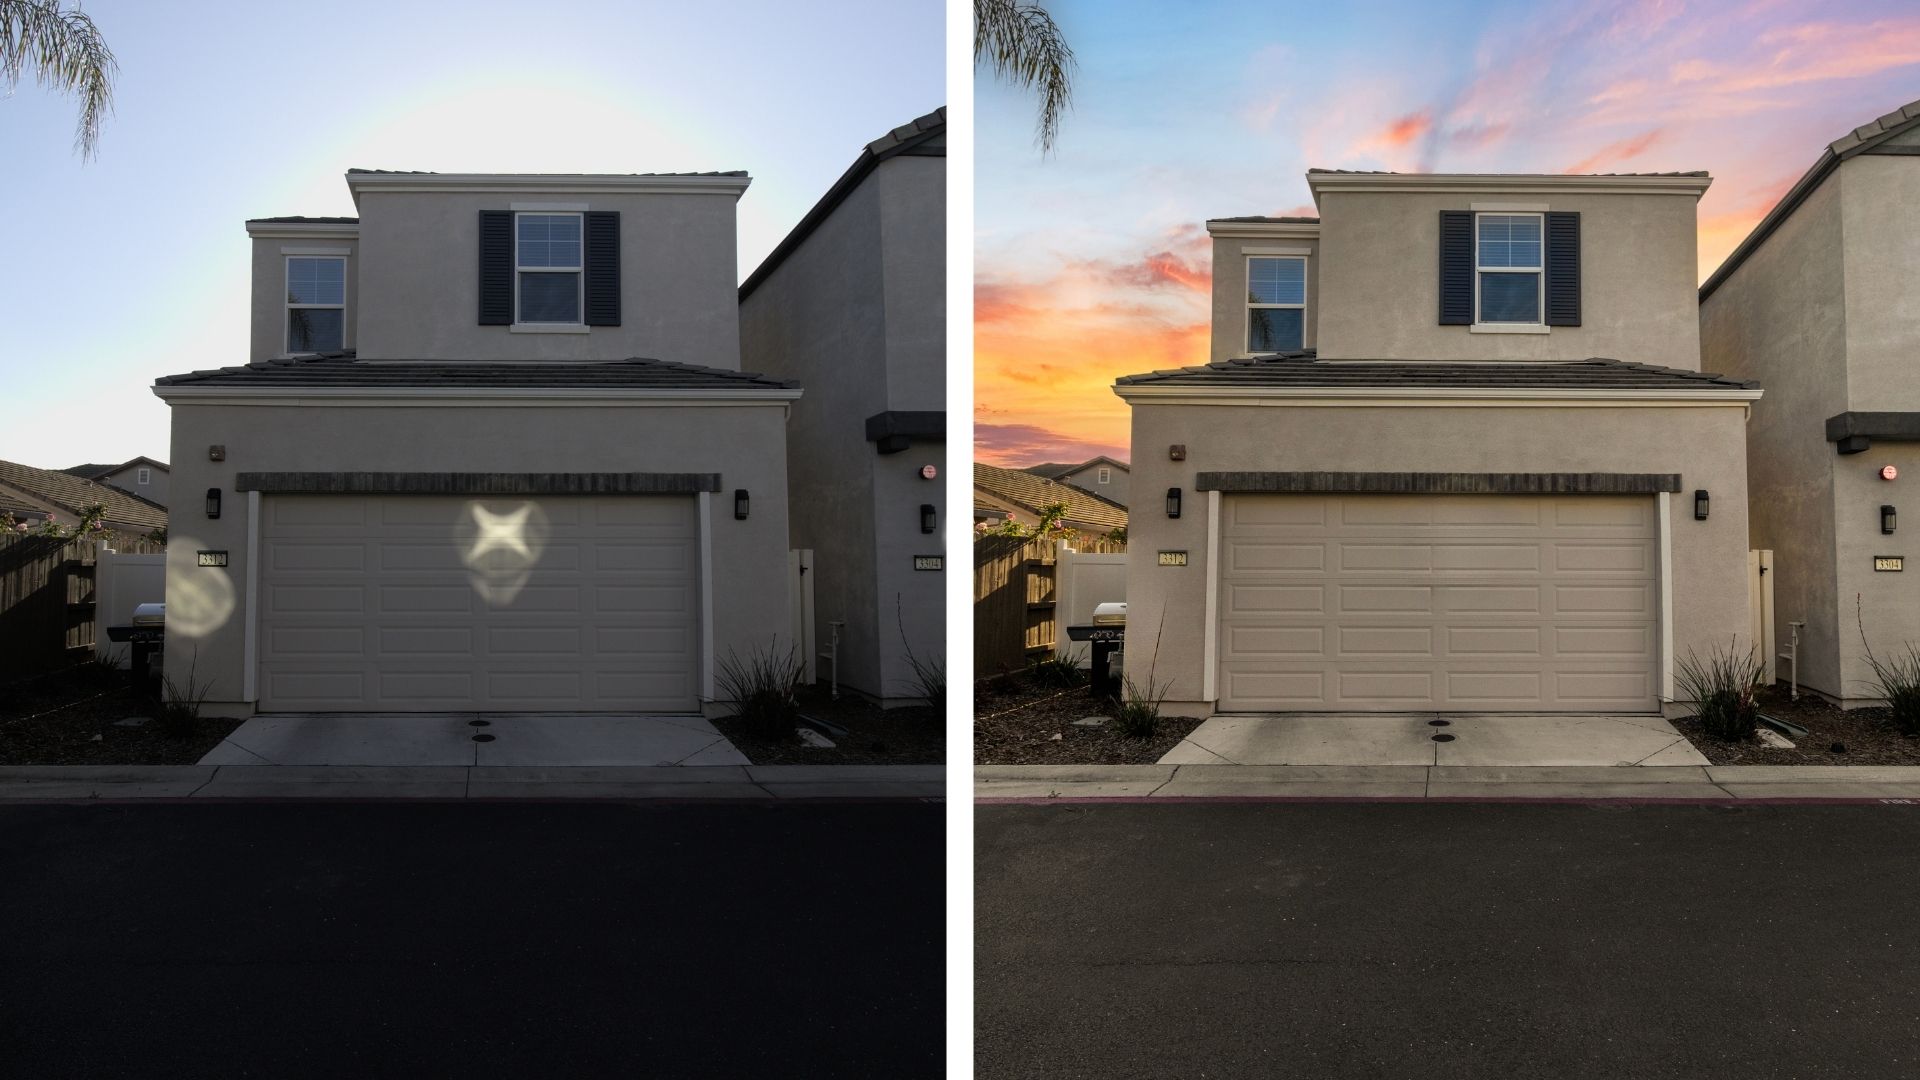
Tip 8: Replace a Dull Sky
Exterior photos often suffer from poor weather conditions, resulting in grey, flat skies that weaken curb appeal.
Sky replacement should be used when outdoor images look dark or uninspiring. Replace the sky with a clear blue or warm sunset tone, and enhance window lighting if needed.
This creates a strong first impression and helps listings stand out on crowded platforms.
Best apps: Luminar Neo, Adobe Photoshop, Lightroom Classic
Tip 9: Enhance Image Clarity
Once the image is clean and balanced, clarity can be added to subtly enhance texture. This step improves depth without altering colors or lighting.
Apply clarity when surfaces like wood, tiles, or fabrics appear soft. Increase clarity and texture gently to avoid harsh edges.
The result is a crisp, detailed image that still looks natural.
Best apps: Adobe Lightroom, Capture One, Nik Collection
Tip 10: Use Batch Editing for Consistency
The final step focuses on workflow efficiency and consistency. Real estate listings usually include many images, and inconsistent edits weaken brand professionalism.
Batch editing is ideal when working with photos from the same property. Copy core adjustments such as exposure, white balance, and sharpness across all images.
This saves time and ensures a cohesive, professional look throughout the entire listing.
Best apps: Adobe Lightroom, Capture One, ON1 Photo RAW
Step-by-Step Editing Workflow for a Property Photo
Step 1: Scene Evaluation Before Editing
Before any adjustment is made, the image is analyzed.
Editors assess:
- Light direction
- Dynamic range level
- Presence of mixed lighting
- Structural distortion
- Distractions in the frame
This evaluation determines whether the image requires single-exposure correction, exposure blending, or advanced retouching.
Step 2: Global Corrections First
Instead of jumping into small fixes, professionals correct the overall balance of the image first.
This stage focuses on:
- Establishing natural brightness
- Balancing highlight and shadow contrast
- Achieving neutral color tone
- Creating a realistic light foundation
Step 3: Structural & Spatial Accuracy
After global corrections, the next priority is architectural accuracy.
At this stage:
- Vertical alignment is verified
- Proportions are preserved
- Wide-angle distortion is controlled
Step 4: Controlled Refinement
Once the image is technically accurate, controlled refinement begins.
This includes:
- Cleaning visual distractions
- Enhancing textures subtly
- Improving visual depth
- Guiding attention toward key areas
Step 5: Realism Check
One of the most overlooked steps in amateur editing is realism control.
At this stage, editors ask:
- Does the lighting feel natural?
- Do colors match real-life tones?
- Does the image look believable?
If any adjustment feels exaggerated, it is reduced.
Step 6: Final Quality Assurance & Export
After the final quality check is completed, the image is exported in the optimal size and format
Real Estate Photo Editing Mistakes to Avoid
While editing can make your photos more appealing, over-editing or mis-editing can have the opposite effect. Here are some common mistakes to avoid when editing real estate photos:
❌Over-Saturating the Colors
Vibrant photos are great, but pushing saturation too far can make walls look neon, grass look fake, and the entire space feel artificial. Keep color enhancement subtle and true to life.
❌Overexposure
Overexposure — especially near windows or light fixtures — removes important details and creates harsh white areas. Use HDR blending or manual adjustments to balance exposure throughout the image.
❌Misaligned Verticals and Horizontals
One of the most overlooked errors is failing to straighten vertical and horizontal lines. Tilted ceilings or leaning walls make rooms feel distorted and unprofessional. Always correct perspective and alignment.
❌Leaving Clutter and Distractions
Not removing items like trash bins, tangled cords, or personal objects can make a space look messy. Clean visuals let buyers focus on the features of the property, not the flaws.
If you don’t have experience or don’t have time to edit every detail, you don’t have to do it yourself.
There are many real estate photo editing services available that are time-saving and cost-effective. Check out the photo editing services at Rotider Media. We are a real estate post-production editing company that has you covered – whether you need simple lighting adjustments, sky replacements, or HDR blending. etc. With a professional team, we will give you high-quality images within 12 hours.
Contact us to start editing. FAQs
What software do you use to edit real estate photos?
The most commonly used tools include Adobe Photoshop, Lightroom, Photomatix for HDR blending, and specialized platforms like Aurora HDR or Enfuse. Professional editors often use a combination of these for the best results.
Why should I use real estate photo editing services?
Using professional photo editing saves you time and effort — no need to spend hours fixing lighting or retaking shots. Editors deliver high-quality, consistent results that make your listings look polished and market-ready. You get better photos, faster turnaround, and more time to focus on selling. It’s a smart way to work more efficiently and professionally.
How much does real estate photo editing cost?
Prices vary depending on the type of edit and the volume. Typically, editing a single real estate photo can range from $0.50-$4 for a typical photo. A complex photo can cost around $10.
Custom packages are also available for large orders.
How long does it take to receive the edited photos?
Turnaround time is usually 12 to 48 hours, depending on the order size and complexity. Express delivery options are available upon request.
How can I place an order for photo editing services?
You can place an order by:
- Visiting our website and uploading your files through the order form
- Using file-sharing platforms (e.g., Google Drive, Dropbox) and sharing the link
- Once we receive your files, we’ll confirm the details and start processing your order.
Do you need to edit your real estate photos now? Start an order. What is HDR photo editing?
HDR (High Dynamic Range) editing combines multiple images taken at different exposure levels to create a final photo with balanced lighting, improved details in both shadows and highlights, and a more natural look.
How many photos do I need to send for HDR editing?
Ideally, you should send 3 to 5 bracketed images per shot:
- One underexposed
- One correctly exposed
- One overexposed
This gives us enough data to blend and create a high-quality HDR image.
I only have daytime photos. Can they be edited into twilight or sunset images?
Yes! With day-to-dusk editing, we can transform your daytime photos into beautiful twilight shots. This process includes adjusting lighting, replacing the sky, and adding realistic outdoor lighting effects (e.g., warm windows, ambient glow).
Reference Day-to-dusk photo editing services