Do you want to know how to edit real estate photos to attract potential buyers and increase their value? All this can be achieved through better lighting, color correction, better composition, and getting rid of distractions. The real estate industry is currently highly competitive, and unedited photos may not attract any attention. Realtors need to understand how to edit photos effectively so that their listings will stand out and have greater value. This article provides all the information needed on how to go about editing real estate photos.
Why Editing Real Estate Photos Matters?
It is essential in making buyers view the house in a certain way and affecting their level of attention, interest, and even how much they will value the house. It should be noted that the first impression in the real estate business takes place within seconds, and the better the quality of the photos, the better the impression is created.
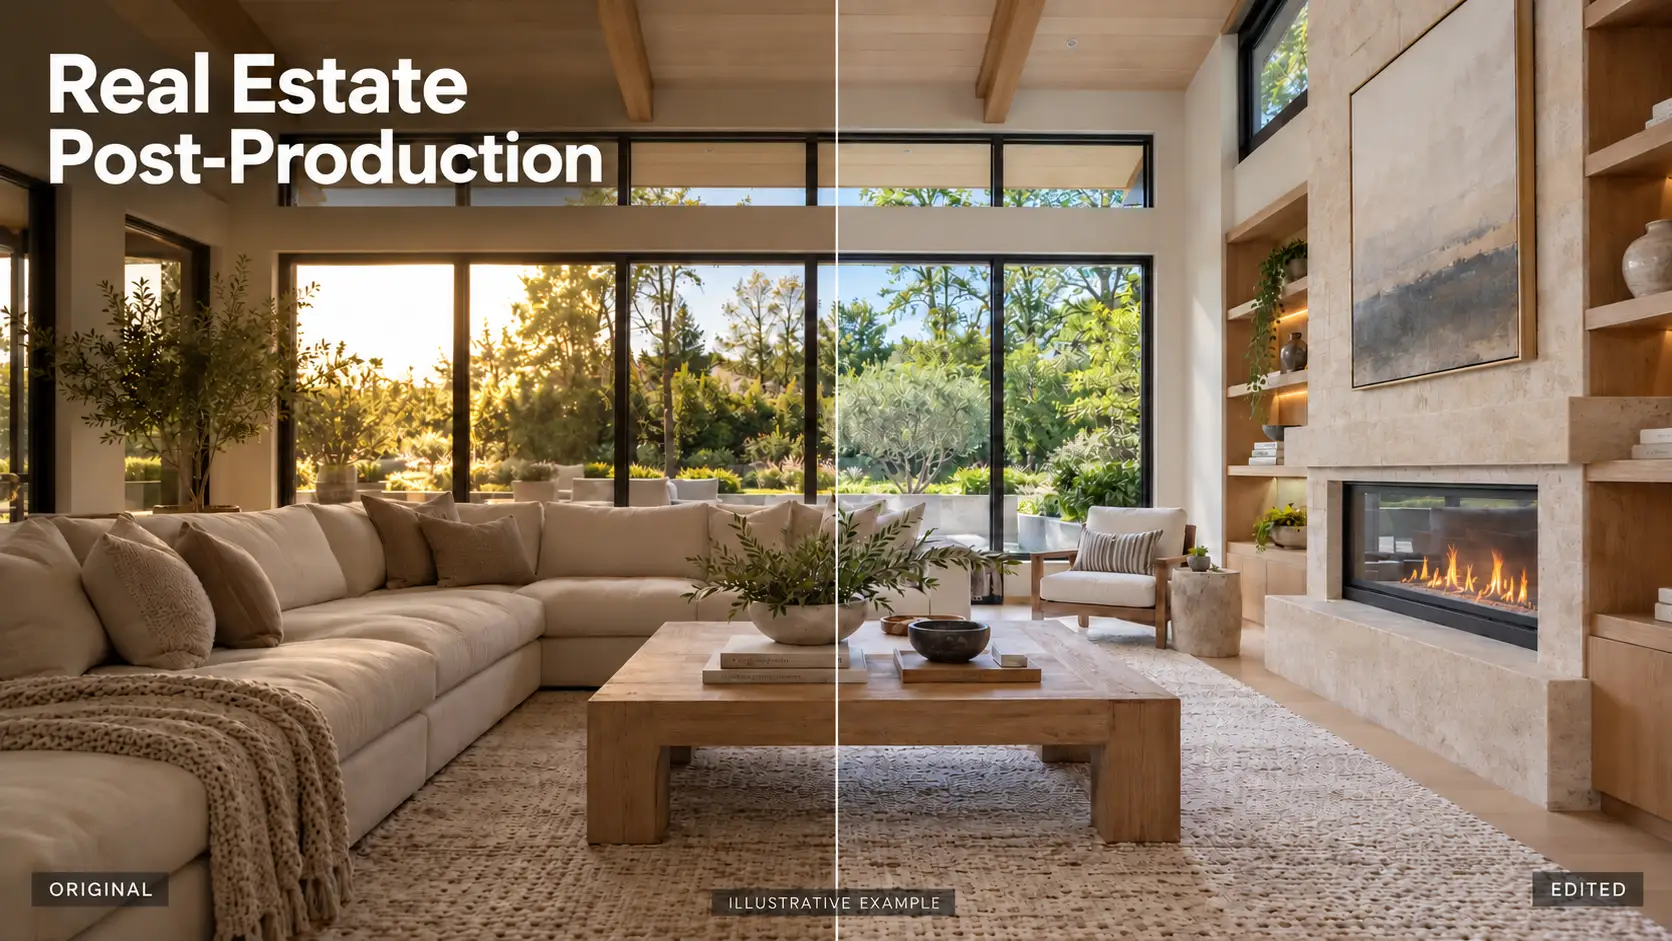
As for performance, edited pictures will always generate more traffic through increased click-through rate and inquiries since they will attract the viewer’s attention from all other listings. However, the most crucial factor here is the change between the before and after editing images, which can affect the perceived value of the home being sold.
Benefits of Edited Real Estate Photos:
- Strong first impression, enhanced sense of spaciousness, brightness, and property value
- Higher click-through rate, increased reach to potential buyers
- Greater listing differentiation, stronger visibility among competing ads
- Reduced time on market, faster sales cycle
- Improved closing potential, higher perceived value, stronger buyer trust, and professionalism
Overall Guide on How to Edit Real Estate Photos
In its simplest form, real estate photo editing can be described using the following principles: select your best photographs, improve lighting and colors, clarify images, and eliminate any distractions.
- For novices, the key to success lies in producing bright, natural, and clear photos; begin by choosing the best photos, followed by increasing their brightness, enhancing contrast, and correcting the white balance. After this, apply basic cropping techniques and perform any necessary cleanup work.
- For more experienced editors, all these processes require additional skills and techniques, such as blending several images using HDR technology, adjusting colors through vibrance and saturation, enhancing sharpness, and implementing special methods for eliminating distracting objects from the picture.
Step-by-Step Workflow: How to Edit Real Estate Photos
It’s not easy to adapt to a complicated workflow, but you can always start with an easy step-by-step process that both newbies and professionals can rely on to create bright, natural, and high-converting listing images.
Step 1: Upload and Select the Best Shots
After uploading the photographs to the software of your choice, select the best shots that have good composition and lighting. It will save you a lot of time and energy.
Step 2: Adjusting Brightness and Contrast
One of the most basic yet powerful edits in real estate photography is adjusting brightness and contrast. A photo that’s too dark can feel uninviting, while one that’s too bright may lose important detail.
By slightly increasing brightness, you make the image clearer and more pleasant to view, especially in dimly lit rooms. Contrast helps define edges and adds depth, making furniture and architecture stand out more. Together, these adjustments instantly improve the overall appeal and professionalism of the image.
Step 3: Correcting White Balance
White balance is essential to ensure the colors in your photos look true to life. If left uncorrected, indoor lighting can cause a yellow or blue tint that makes the room feel unnatural.
A well-balanced photo should reflect neutral whites, soft beiges, and accurate wall tones. Adjusting temperature and tint in post-processing will help you restore the space’s natural lighting, making it look fresh and clean
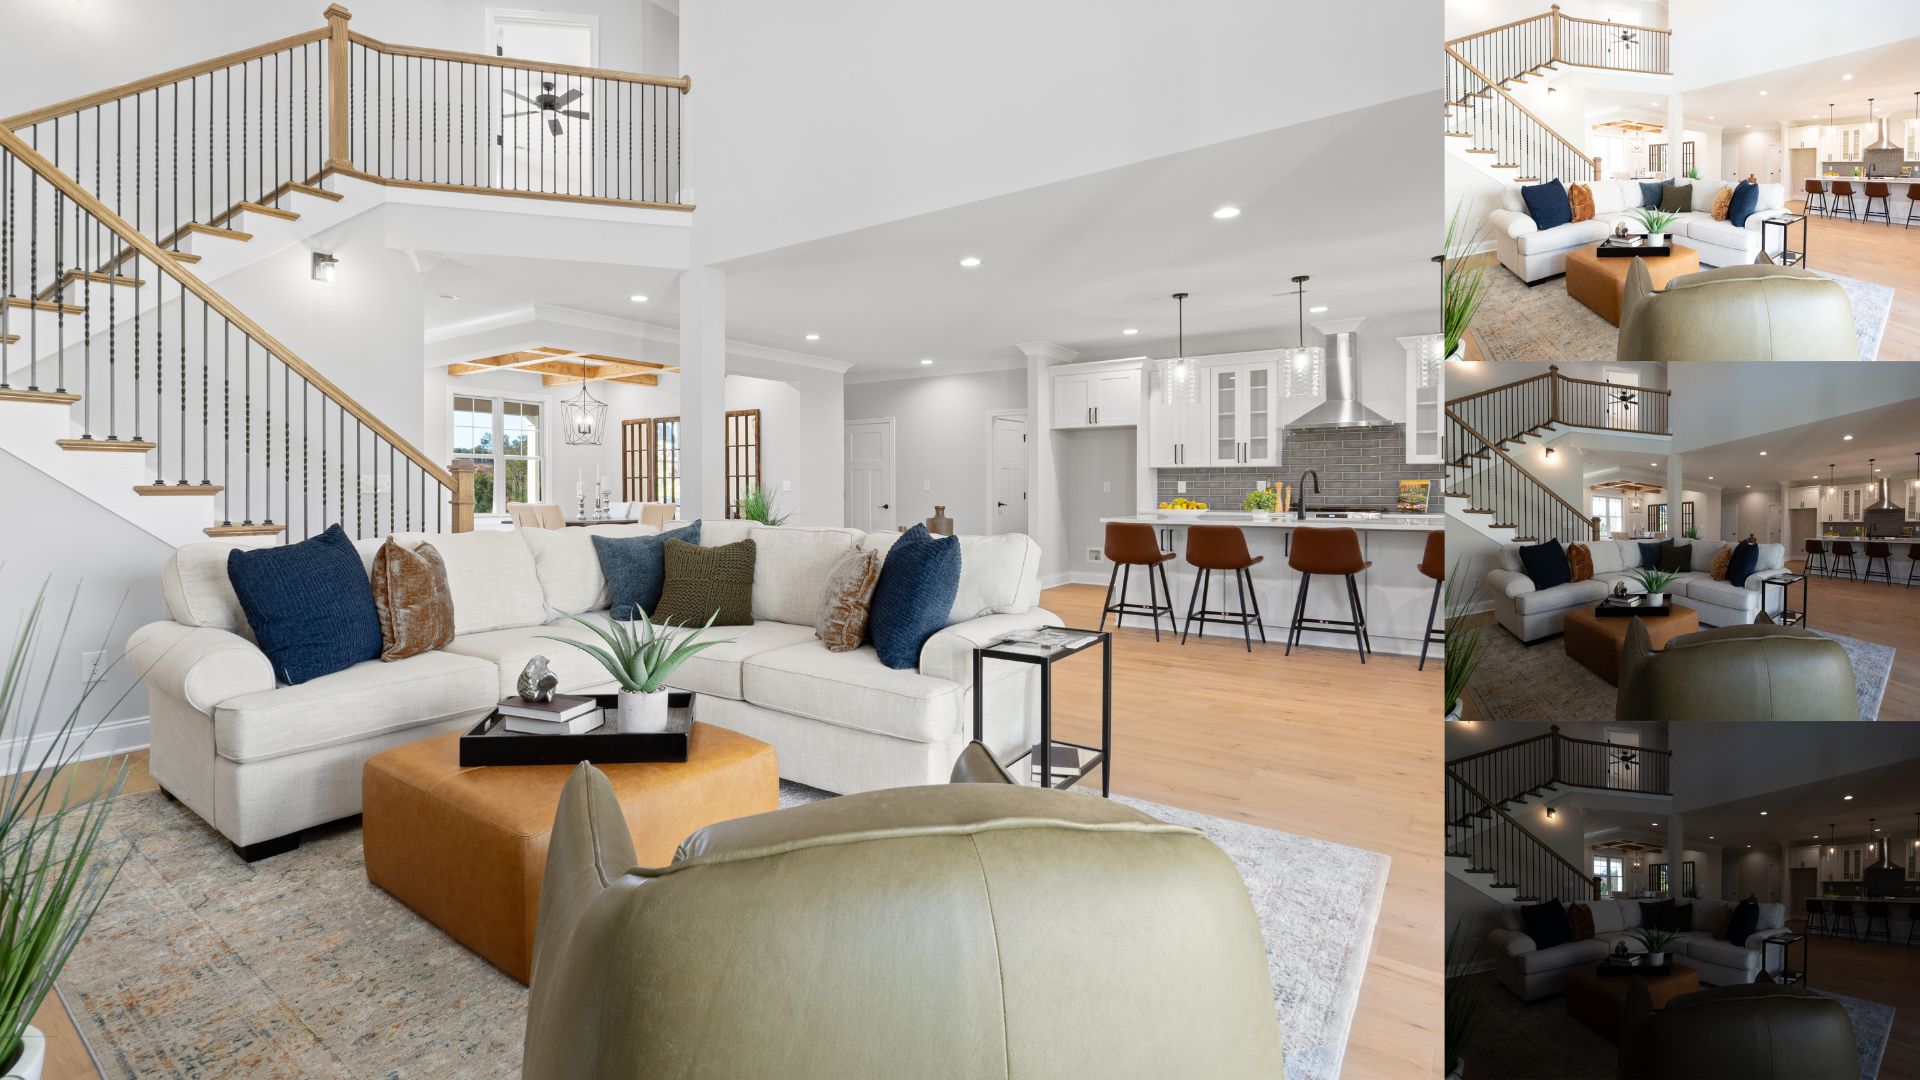
Step 4: HDR Blending
HDR (High Dynamic Range) is a photo editing technique that involves blending multiple images—typically three or more—taken at different exposure levels to create a single image with balanced detail in both highlights and shadows.
This method is widely used in real estate photography to produce high-quality, visually appealing promotional photos.
Step 5: Cropping and Straightening
Composition plays a huge role in real estate visuals. Cropping helps remove unwanted elements like open door frames or cluttered corners, allowing the viewer to focus on the most important parts of the room.
Straightening is also important because walls or architectural features can be tilted or skewed. This can make the space look unbalanced and difficult to see. So align them so they are in a straight line.
Step 6: Enhancing Color with Saturation and Vibrance
Color enhancement can bring a dull photo to life when done correctly. Slight adjustments to saturation and vibrance can make skies bluer, and grass greener naturally.
Vibrance is particularly useful because it selectively boosts muted colors while protecting skin tones and already intense hues.
Step 7: Sharpening for Detail
A sharp image is key to highlighting the textures and finishes that buyers care about, such as wood grain, tile patterns, or clean window frames. Sharpening tools add clarity by enhancing edge definition without introducing noise when used carefully.
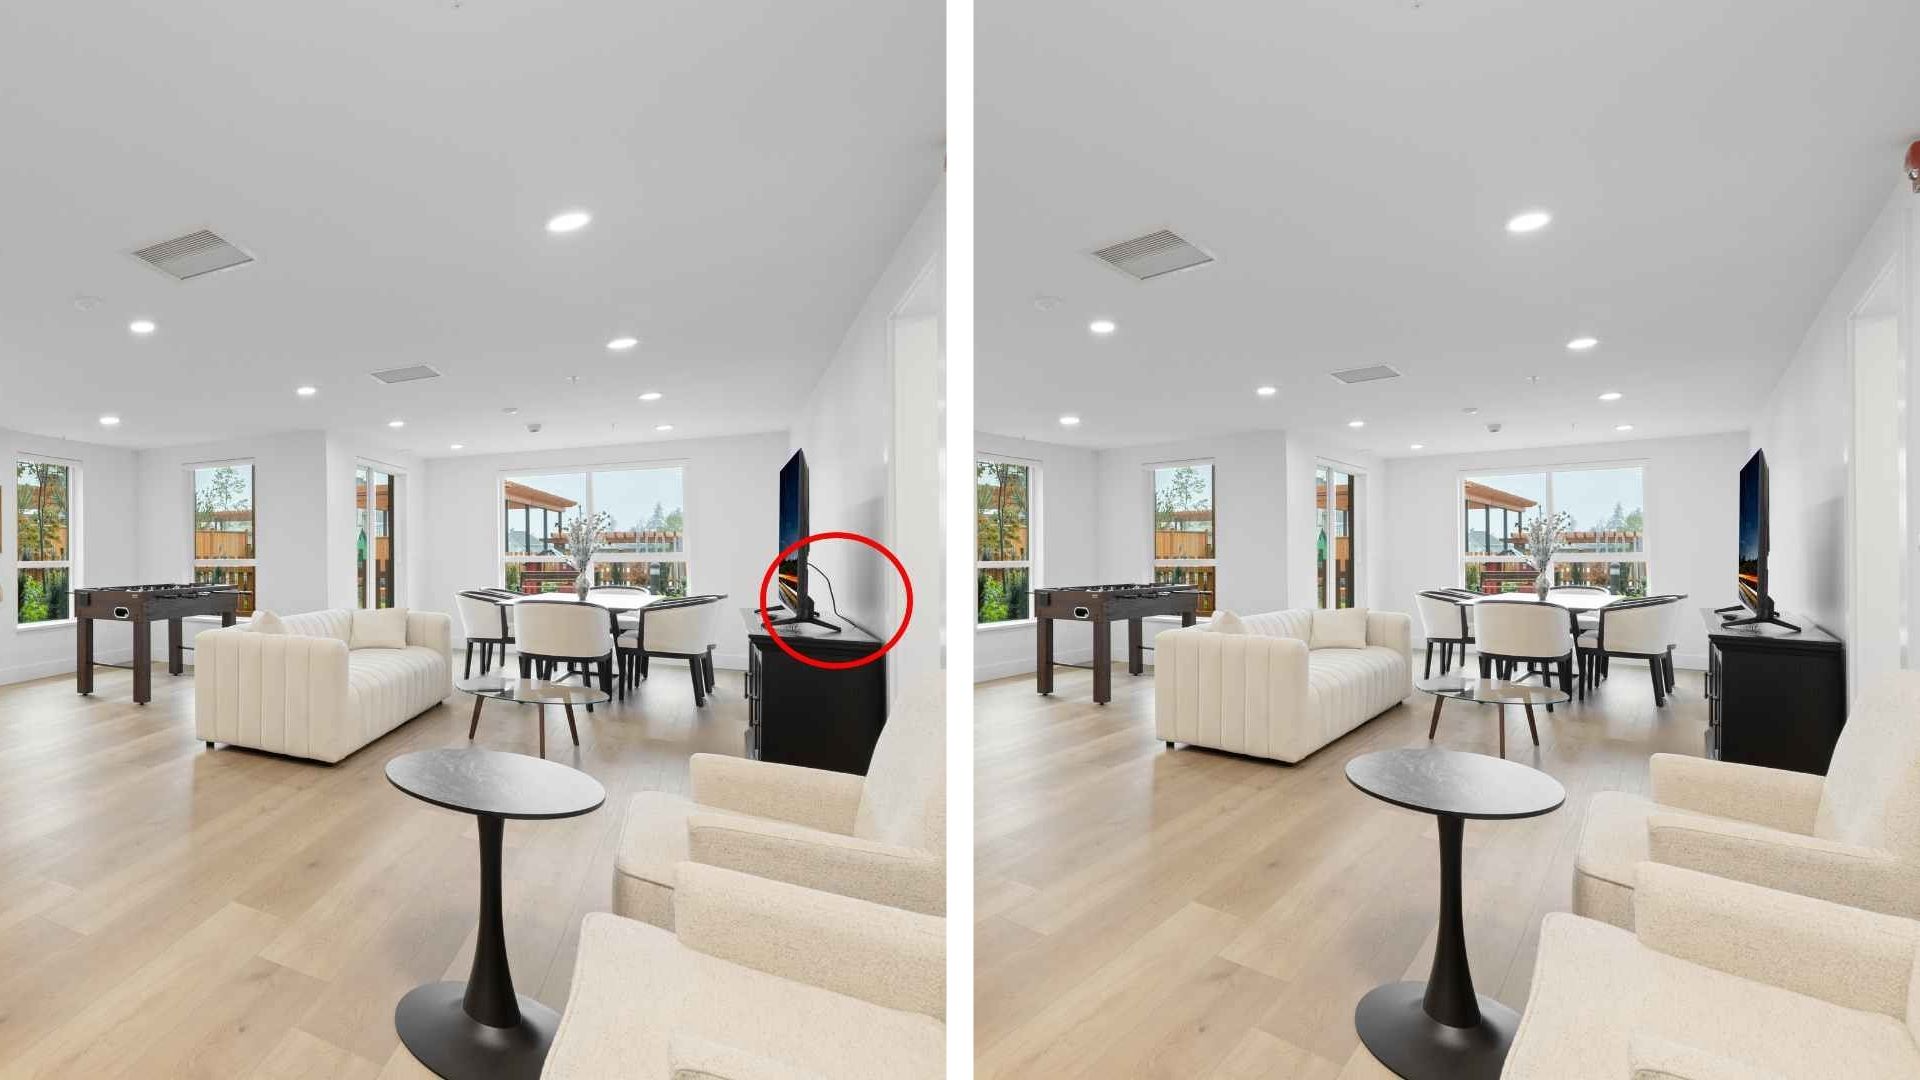
Step 8: Remove some objects
Small objects like wall stains, electrical outlets, power cords, or even reflections in mirrors can pull the viewer’s eyes away from the main features. That can cause unwanted attention in real estate photos. Therefore, using erasers or cloning tools to clean up these imperfections creates a neater, more move-in-ready appearance.
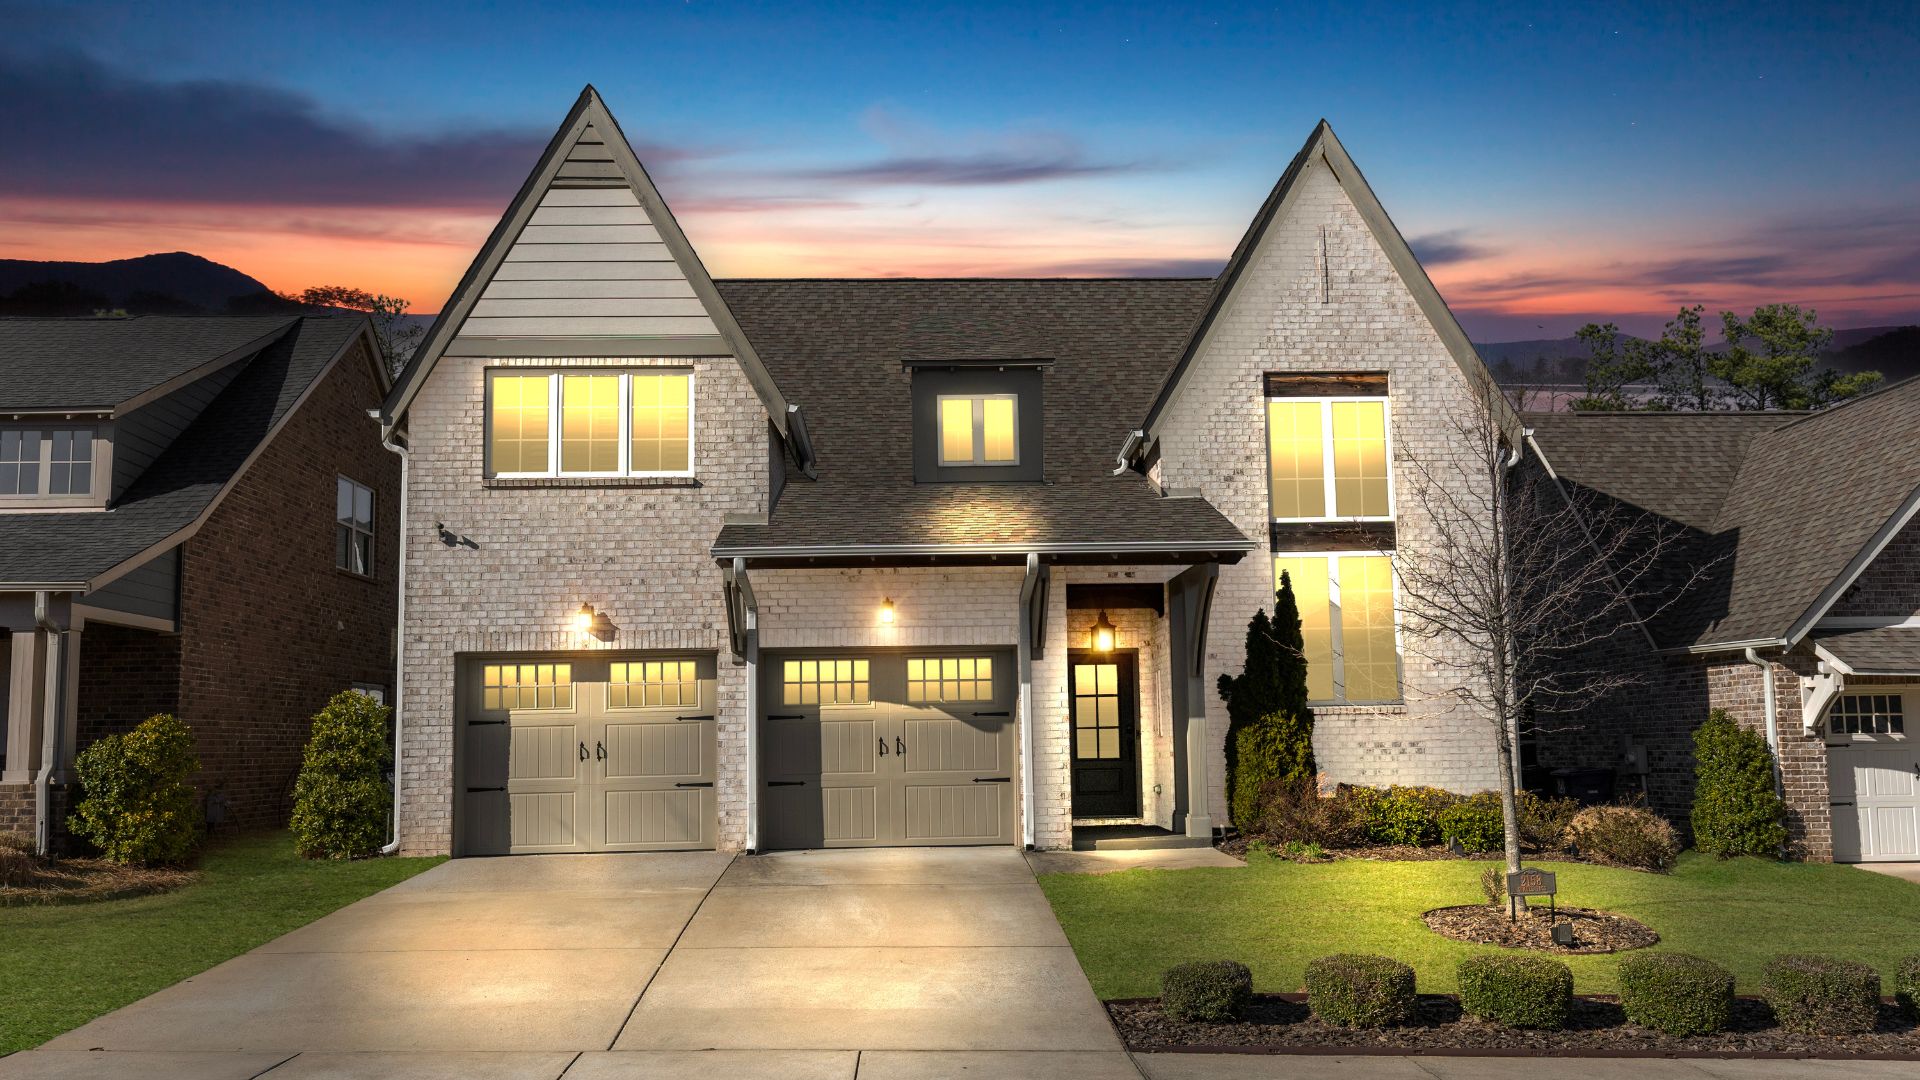
Step 9: Replacing the Sky (Optional)
This particular step is optional, but it is recommended when exterior shots suffer on cloudy days, making a home look dull or uninviting. Sky replacement is a modern editing trick that allows you to swap a dull sky for a bright blue or twilight sky — instantly enhancing the mood of the photo and making it more attractive. Especially when combined with the right lighting and color balance in the foreground.
Read more: Day to Dusk Photo Editing Service At Rotider Media, we provide professional real estate photo editing services, helping to enhance images and create a strong impression on buyers. With an experienced post-production team, we handle every detail from adjusting light, and color, replacing the sky, to merging twilight – all to ensure that each photo is attractive and meets marketing standards. Whether you are a broker, photographer, or investor, contact us now to start your editing. Pro Tips to Make Real Estate Photos Stand Out
In order to ensure that real estate photographs get noticed, it is important to produce images that appear natural, consistent, and optimized based on how buyers look at real estate images online. Here are some important notes to remember when it comes to editing real estate photos:
- Keep it natural (avoid over-editing): Realistic colors, balanced lighting, and subtle enhancements help build trust and prevent the property from looking misleading or artificial.
- Use consistent style across listings: A uniform editing style—color tone, brightness, and composition—creates a professional brand image and makes your listings instantly recognizable.
- Focus on lighting over filters: Clean, well-balanced lighting has a far greater impact than heavy filters. Prioritize exposure, white balance, and dynamic range for a polished result.
- Optimize for MLS and mobile viewing: Ensure images are properly sized, sharp, and clear on both desktop and mobile screens, as most buyers browse listings on their phones.
Real Estate Photo Editing Software with Stunning Features
Let’s explore some of the most effective and user-friendly software options that can help you turn ordinary property photos into stunning, high-converting visuals.
Adobe Lightroom
Lightroom is one of the most popular tools for real estate photo editing. It offers non-destructive editing, powerful color and lighting controls, and batch processing — great for handling large sets of listing photos. It’s ideal for adjusting brightness, white balance, color grading, and applying presets for a consistent look.
Adobe Photoshop
Photoshop is more advanced and powerful, perfect for detailed edits like object removal, sky replacement, or virtual staging. It allows pixel-level control, making it ideal for refining interiors and enhancing architectural features. Photoshop also supports plugins and actions to speed up real estate workflows.
Luminar Neo
Luminar Neo uses AI to make photo editing easier and faster — perfect for real estate. It has tools like automatic sky replacement, structure enhancement, and clutter removal. Its user-friendly interface makes it a great alternative to Photoshop for those who want powerful features without a steep learning curve.
Photomatix Pro (HDR Editing)
Photomatix Pro specializes in HDR editing — great for combining multiple exposures to create balanced, bright, and detailed interior shots. It’s widely used in real estate photography to deal with challenging lighting conditions. If you don’t have time to edit your real estate photos yourself, using a professional post-production service is the optimal solution to help you save effort, improve image quality, and attract more customers.
Common Mistakes to Avoid When Editing Real Estate Photos
Even when you understand how to edit real estate photos, small mistakes can quickly reduce image quality and hurt buyer trust. Here’s a closer look at the most common issues and why they matter:
- Over-saturation: If colors are pushed too hard, the walls, the furnishings, as well as the outside components, will look unnatural. For example, the grass could appear as a vividly bright green, and inside the home may look too realistic for comfort.
- Unrealistic lighting: Over-exposure or uneven lighting in interiors: Making an interior appear too bright can make it look distorted. Uneven lighting within a space makes it seem more artificial instead of making it appealing.
- Crooked lines: Lines that are slanted vertically, such as walls, doors, and windows, produce a distorted perspective that is considered amateurish. It occurs in cases where lens distortion is not fixed.
- Overuse of HDR: Although HDR works well when it comes to adjusting exposure levels, it should be used cautiously; otherwise, there will be a halo effect on the objects, and everything will have a fake look.
- Ignoring color consistency: If there is not the same coloring for each picture, then your property will seem like a disjointed presentation. For example, one room might be shown as warm, whereas the other would look too cold.
FAQs about How to Edit Real Estate Photos
What is the best way to edit real estate photos for beginners?
The best approach for beginners is to follow a simple, repeatable workflow: start with exposure and white balance, then adjust colors, enhance details, and finish with basic cleanup. Using beginner-friendly tools like Adobe Lightroom can make the process faster and more intuitive, especially with presets and batch editing features.
How long does it take to edit real estate photos?
Editing time depends on the number of images and the level of detail required. On average, basic editing can take 2–5 minutes per photo, while more advanced edits (HDR blending, object removal, sky replacement) may take 5–15 minutes per image. Professionals often speed up the process with presets and streamlined workflows.
Can I edit real estate photos on my phone?
Yes, you can edit real estate photos on your phone using apps like Adobe Lightroom Mobile or Snapseed. While mobile editing is convenient for quick adjustments, desktop software still offers more control and precision for high-quality listing photos.
Should I outsource real estate photo editing?
Outsourcing is a good option if you want consistent, high-quality results without spending time on editing. It’s especially useful for real estate agents or photographers handling large volumes of listings, allowing them to focus on shooting, marketing, and closing deals while professionals handle the post-processing.
What software do professionals use to edit real estate photos?
Most professionals use tools like Adobe Lightroom for batch editing and color correction, along with Adobe Photoshop for advanced retouching such as object removal and sky replacement. Some also use HDR-specific tools for exposure blending.
Conclusion
No doubt, understanding how to edit real estate photos is now crucial in ensuring that the resulting pictures are appealing and engaging enough. Editing is important since it allows creating an image that shows the space as a comfortable and nice place to be. By going through the described workflow and editing in a step-by-step way, one can get great results each time. Be it a real estate agent, photographer, or marketer, anyone who edits photographs professionally will benefit from learning how to do so effectively.