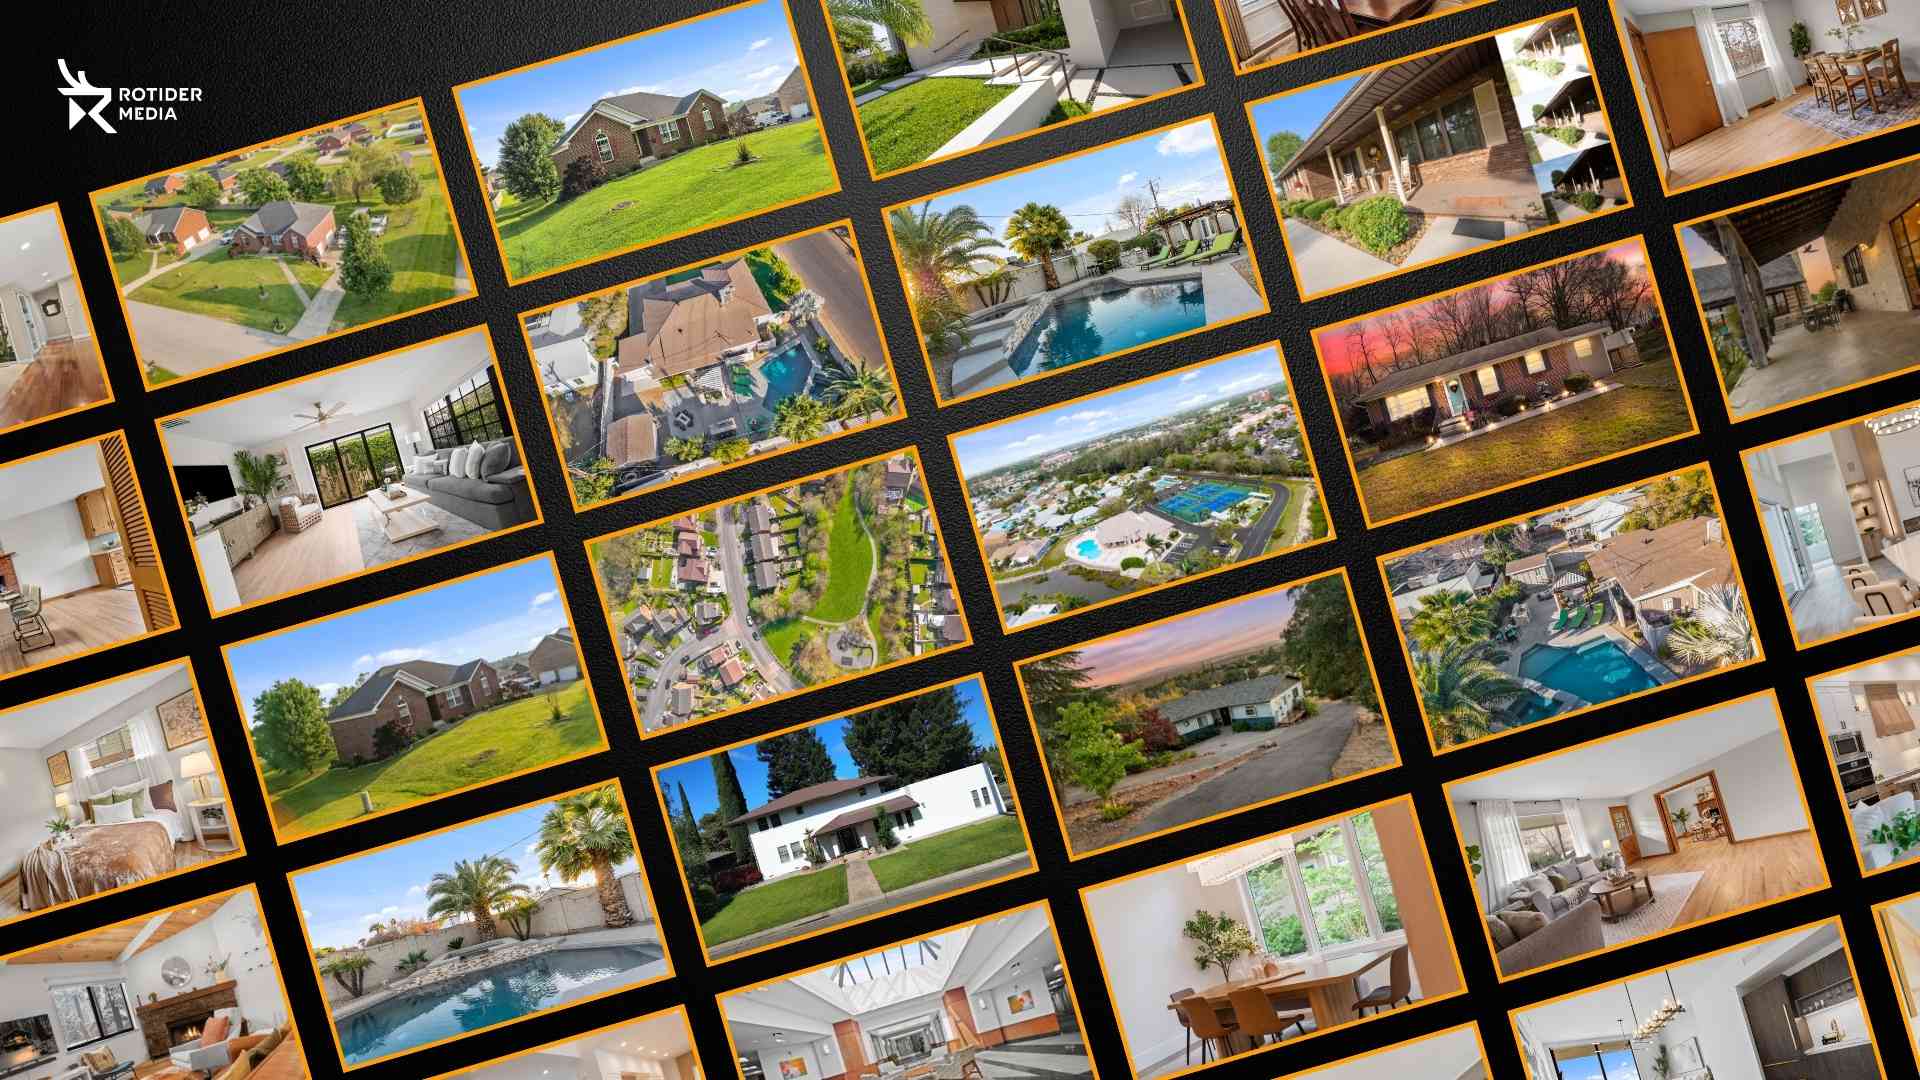
HDR blending is one of the most popular techniques in real estate photography, particularly when capturing scenes with complex lighting conditions. Whether you’re shooting real estate interiors, landscapes, or architecture, mastering HDR blending can help you produce photos that are crisp, well-lit, and visually balanced. In this article, we’ll explore how to master HDR blending step by step, including tools, workflows, and tips for achieving natural, professional-looking results.
1. What is HDR Blending?
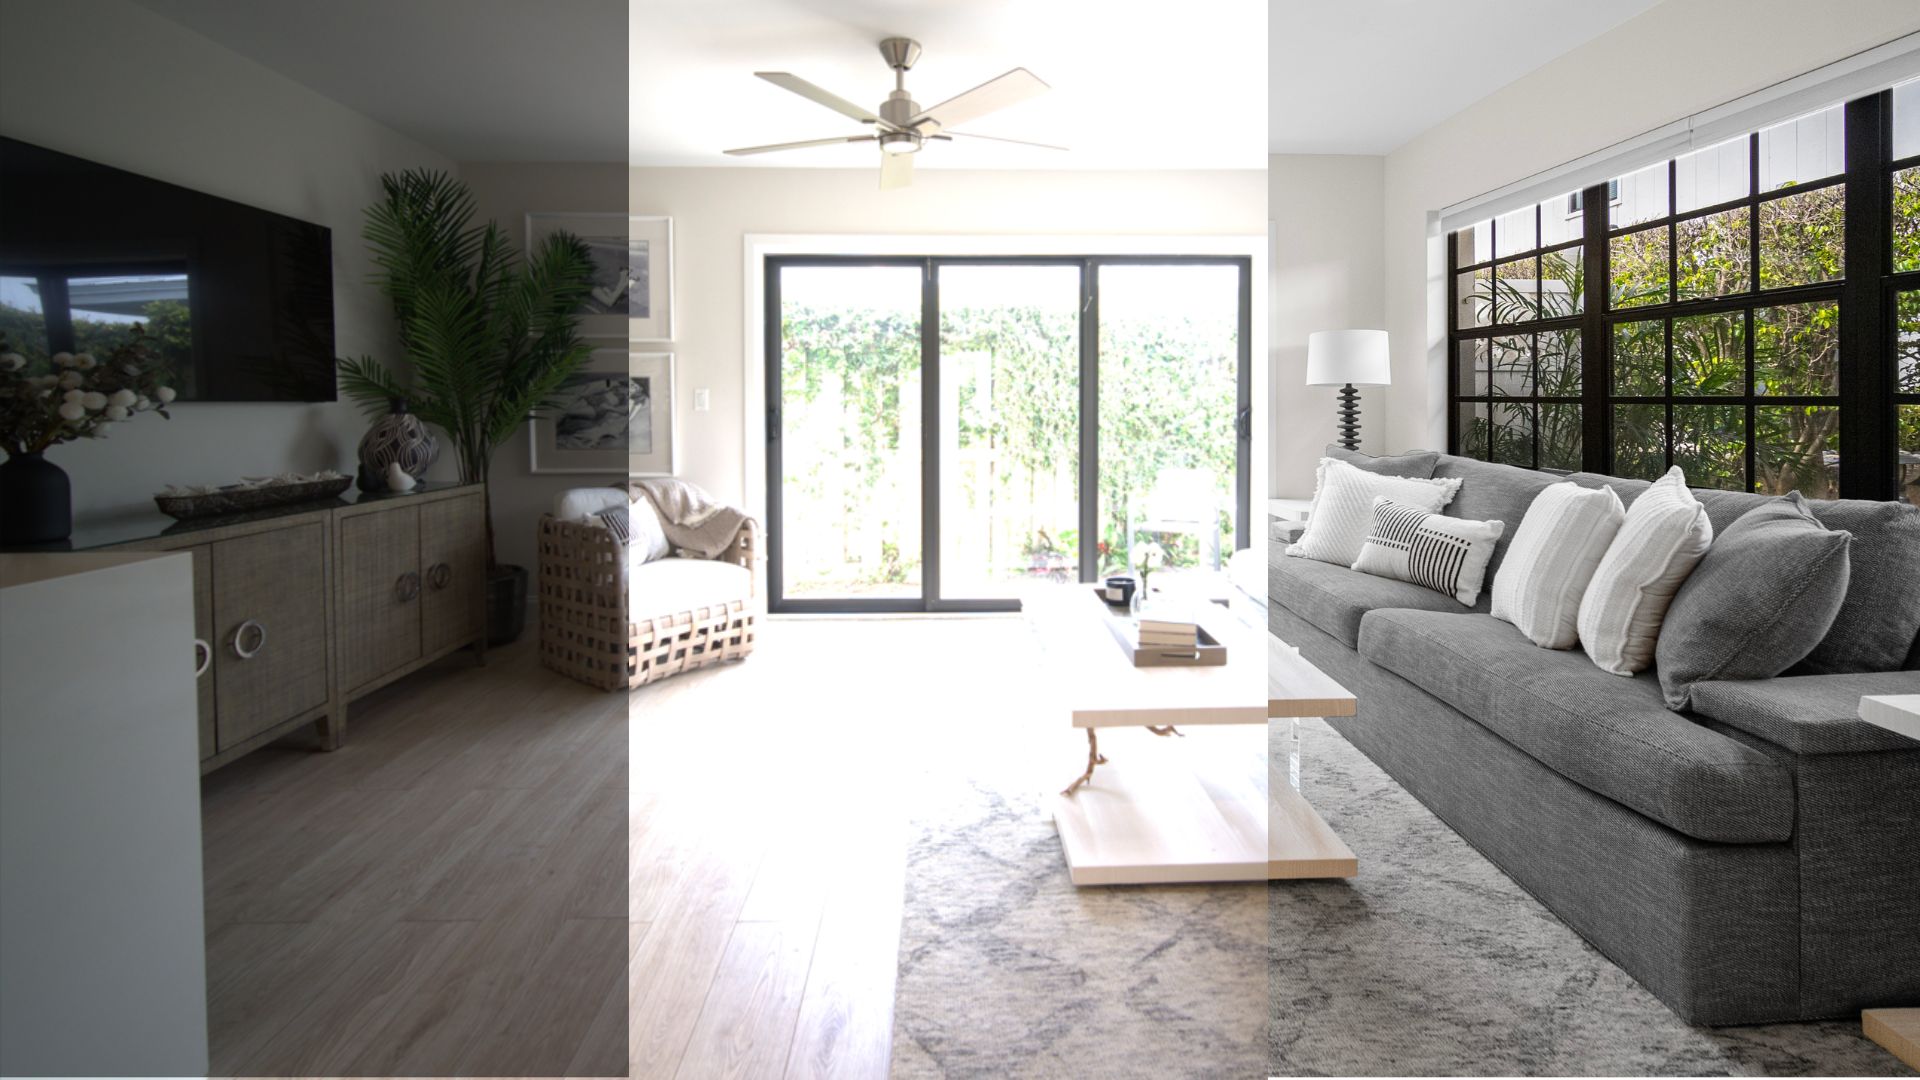
HDR blending is a photo editing technique that involves combining multiple images of the same scene taken at different exposure levels to produce a single photo with balanced lighting, preserved details, and natural tones. Unlike traditional HDR tone mapping—which often results in overly dramatic or artificial-looking images—HDR blending allows for a more realistic and professional finish.
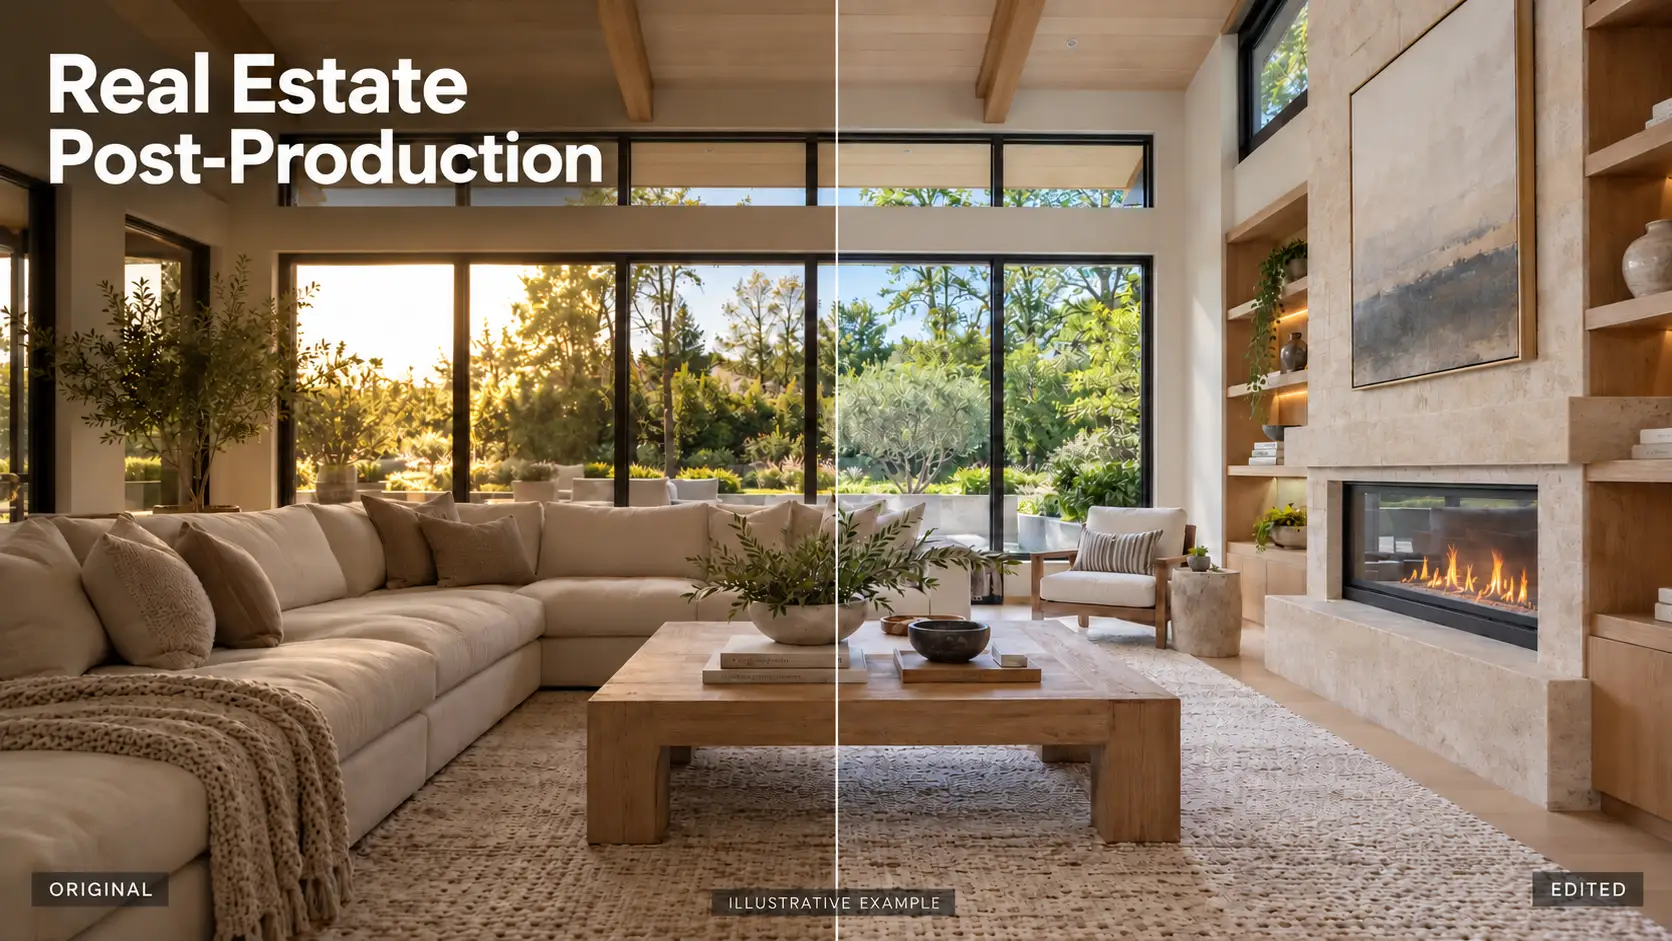
In real estate photography, HDR blending is commonly used to handle challenging lighting conditions, such as rooms with bright windows and dark corners. By carefully blending the highlights, midtones, and shadows from each bracketed exposure, photographers can create images that showcase both interior and exterior details clearly and naturally.
This technique is especially valuable when shooting properties, as it helps deliver bright, clean, and inviting images that accurately represent the space—essential for attracting potential buyers and standing out on listing platforms.
2. When to Use HDR Blending in Real Estate Photography
HDR blending is most effective when shooting interior spaces with uneven lighting, where a single exposure can’t capture both bright highlights and deep shadows accurately. This technique allows photographers to retain details across the entire dynamic range, resulting in well-lit, natural-looking images that are ideal for property listings.
Here are the most common scenarios where HDR blending is highly recommended:
- Rooms with bright windows: Blend multiple exposures to capture clear outdoor views without underexposing the interior.
- High-contrast lighting conditions: Useful in kitchens, bathrooms, or living rooms with both natural and artificial light sources.
- Twilight or sunset shots: Maintain soft ambient light while preserving detail in the architecture and landscape.
- No access to flash lighting: HDR blending serves as an alternative to artificial lighting, reducing the need for complex lighting setups.
3. Tools and Software for HDR Blending
When it comes to HDR blending, selecting the right software is crucial for producing high-quality, natural-looking results. Each platform offers unique tools and workflows tailored for different skill levels and editing styles. Below is a comparison of three of the most commonly used HDR blending software programs in real estate photography.
3.1. Adobe Lightroom & Photoshop
Adobe’s Lightroom and Photoshop combination is the go-to solution for professional HDR editors who want full control over every detail.
Lightroom allows you to align, merge exposures, and apply basic tone adjustments.
Photoshop offers advanced blending through layer masks, allowing you precise control over which parts of each exposure to reveal or hide.
3.2. Photomatix Pro
Photomatix Pro is a dedicated HDR software known for its batch processing capabilities and a wide range of tone mapping options. It’s a great solution for photographers who want to blend multiple images quickly without diving deep into Photoshop.
3.2. Aurora HDR
Aurora HDR uses AI-based tone mapping and smart structure tools to make HDR blending fast and easy—even for beginners. It automatically aligns, merges, and enhances photos while preserving natural lighting and textures.
Whether you prefer full control or a faster workflow, each of these software options can help you master HDR blending in your real estate photography.
4. How to Master HDR Blending – Step-by-Step Guide
Mastering HDR blending techniques is essential to creating clear, natural, and visually appealing real estate photos. Here’s a step-by-step HDR blending guide to help you blend exposures effectively and avoid common mistakes:
4.1. Capture Bracketed Exposures Correctly
- Use a tripod to keep your camera stable.
- Turn on Auto Exposure Bracketing (AEB) to take 3–5 shots at different exposures
- Shoot in RAW for maximum editing flexibility.
4.2. Choose the Right HDR Software for Blending
Select software that fits your workflow and skill level.
- Photoshop + Lightroom: Best for full control and professional editing.
- Photomatix Pro: Great for batch processing with good blending control.
- Aurora HDR: Ideal for quick, AI-assisted blending with clean output.
Each software offers different tools for HDR blending, but all support exposure merging and tone adjustment.
4.3. Align and Merge the Images
Misaligned frames can cause ghosting or blur. Use your chosen software to auto-align images. Then, merge the exposures into one composite image.
In Photoshop, this means stacking layers; in Lightroom or Photomatix, you can merge directly with a few clicks.
4.4. Blend the Exposures
In Photoshop, use layer masks and soft brushes to blend highlights, midtones, and shadows manually.
In Aurora or Photomatix, adjust tone-mapping sliders to control brightness, structure, and dynamic range.
Focus on window pulls, ceiling brightness, and dark interior corners to create a natural balance.
4.5. Fine-Tune the Image
Once blended, refine your image with local adjustments:
- White balance correction for accurate colors
- Highlight and shadow recovery
- Contrast and clarity to enhance depth
- Vertical/horizontal corrections to fix lens distortion
4.6. Avoid Over-Processing
Here are some common mistakes during HDR blending:
- Unnatural halos around windows or furniture
- Excessive contrast or saturation
- Flattened lighting that removes depth
Remember that your goal when editing a photo is to enhance realism, not exaggerate it. A quality HDR photo should be natural, bright, and appealing.
Conclusion: Take Your Real Estate Images to the Next Level
Mastering HDR blending requires time, tools, and a trained eye for detail. While doing it yourself is possible, consistently producing high-quality, natural-looking results can be challenging—especially when managing tight deadlines and multiple listings.
If you’re looking to save time and ensure every photo is polished to perfection, consider outsourcing to a professional HDR editing service. At Rotider Media, we specialize in real estate photo editing with a focus on clean, consistent HDR blends that highlight every room and every view — from sunlit interiors to detailed window pulls. Contact us to get started on your order!