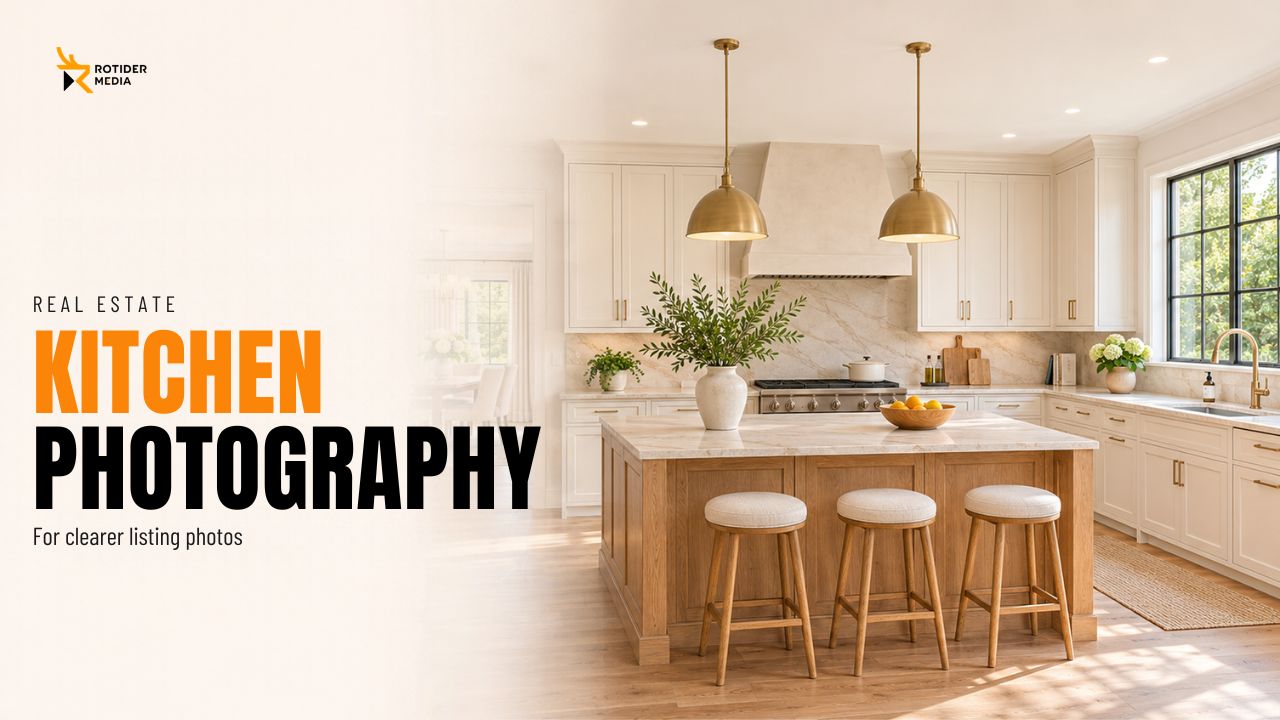
Good kitchen real estate photography helps buyers see how the kitchen is laid out, where they can work, and how the room connects to the rest of the home. Start with one clear overview, then add an angle only when it reveals something the first one misses. This guide covers what to prepare before photo day, where to place the camera in different kitchen layouts, and how to handle bright windows, mixed lighting, and reflections.
How to Photograph a Kitchen for a Real Estate Listing
Start with a view that shows the main work surfaces, cabinet layout, and major appliances. Include the dining area if it helps explain an open-plan layout. For a galley kitchen, try a view down the central aisle that shows both cabinet runs.
Add a second view if it shows something the overview misses, such as island seating, patio access, or a pantry entrance. If two photos show the same information, keep the clearer one.
How to Prepare a Kitchen for Listing Photos
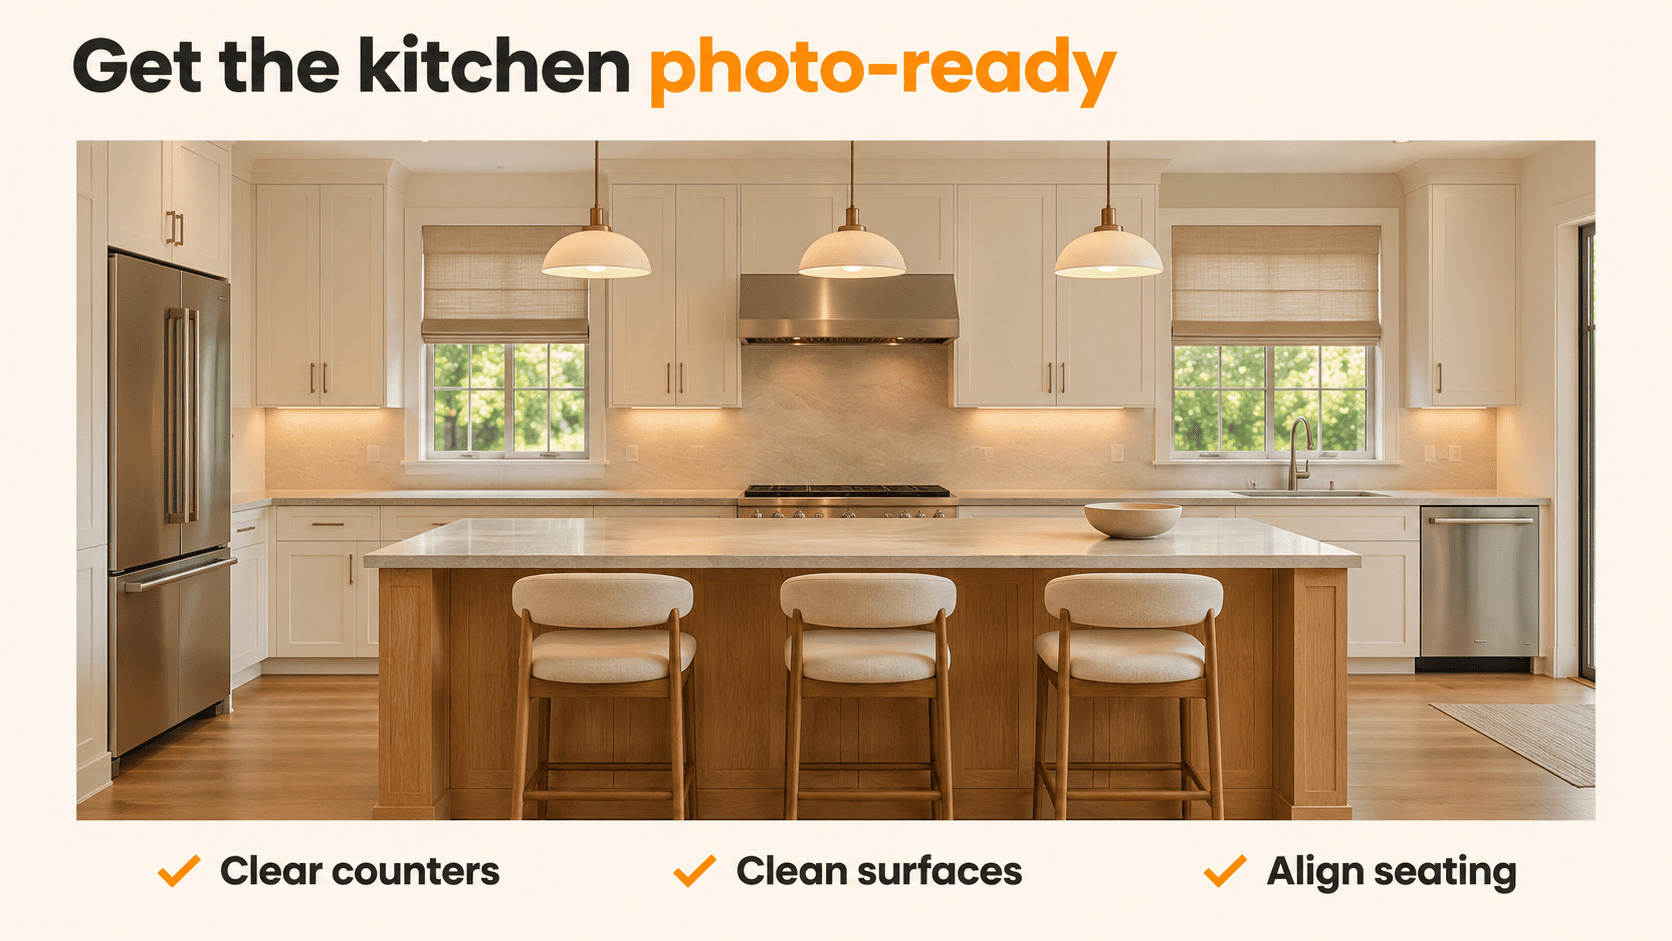
A Photo-Day Checklist for Agents and Homeowners
Send this pre-shoot checklist ahead of the appointment so homeowners have time to clear and clean the space before the photographer arrives:
-
Clear visible countertop clutter: Put away dish soap, sponges, drying racks, paper towels, small appliances, and loose cords. Remove personal items and refrigerator magnets, and move trash cans out of sight.
-
Inspect surfaces from the doorway: Wipe fingerprints off appliance fronts, cabinet hardware, and glass panels. Clean the backsplash behind the range and check glossy countertops for streaks or water spots.
-
Align furniture and window coverings: Space barstools evenly along the island or tuck them away if they obstruct walkways. Adjust blinds or curtains so adjacent windows match at a consistent, intentional height.
-
Test built-in lighting zones: Check overhead fixtures, pendant lights, and under-cabinet strips to ensure all bulbs work. Let the photographer know where switches and dimmers are located so they can balance each lighting zone individually.
-
Flag hidden functional features: Point out walk-in pantries, appliance garages, pull-out storage drawers, or custom cabinetry details that might otherwise be overlooked during a quick walkthrough.
When to Clear Countertops and When to Keep a Small Accent
Clear the main work surfaces, then check the room from the camera position. A coffee maker in the foreground may hide the counter behind it. Leave enough surface visible for buyers to see the stone or backsplash clearly.
Keep one or two small accents if they don’t obscure a useful feature. A low bowl at the far end of an island may work well. If it looks too large near the camera or creates a distracting reflection, move it and check another test frame.
Choose Kitchen Photography Angles for the Layout
Walk through the room before setting up the tripod. Look for a position that shows the kitchen’s shape without putting the nearest counter or island corner too close to the camera. Choose the position first, then use a focal length wide enough to include the features the photo needs to show.
Galley and Single-Wall Kitchens
For a galley kitchen, try shooting down the central aisle from the entrance. If a refrigerator or tall pantry cabinet dominates the foreground, shift the camera or step back into the doorway while keeping the walkway visible.
For a single-wall kitchen, try shooting from across the room or at a slight angle to show the cabinet run. Add a view from the adjoining space if the first photo doesn’t show how the kitchen connects to it.
L-Shaped and U-Shaped Kitchens
For an L-shaped kitchen, show both cabinet runs and the corner where they meet. If the nearest counter looks too large relative to the back of the room, increase the camera-to-subject distance where possible, then choose the focal length.
From the open end of a U-shaped kitchen, try to show all three cabinet runs. If a counter hides a useful prep area, add another view of that area.
Open-Plan Kitchens with Islands or Peninsulas
For kitchen island photography, choose a position that shows both the island and the work surfaces behind it. A view from the dining or living area can also show how the spaces connect. Step back or move to one side if the island blocks the aisles.
Add a view from inside the kitchen if the first photo hides seating, built-in storage, or an aisle. For a peninsula, show where it joins the cabinets and where people enter the kitchen.
How to Light and Expose Kitchen Real Estate Photos
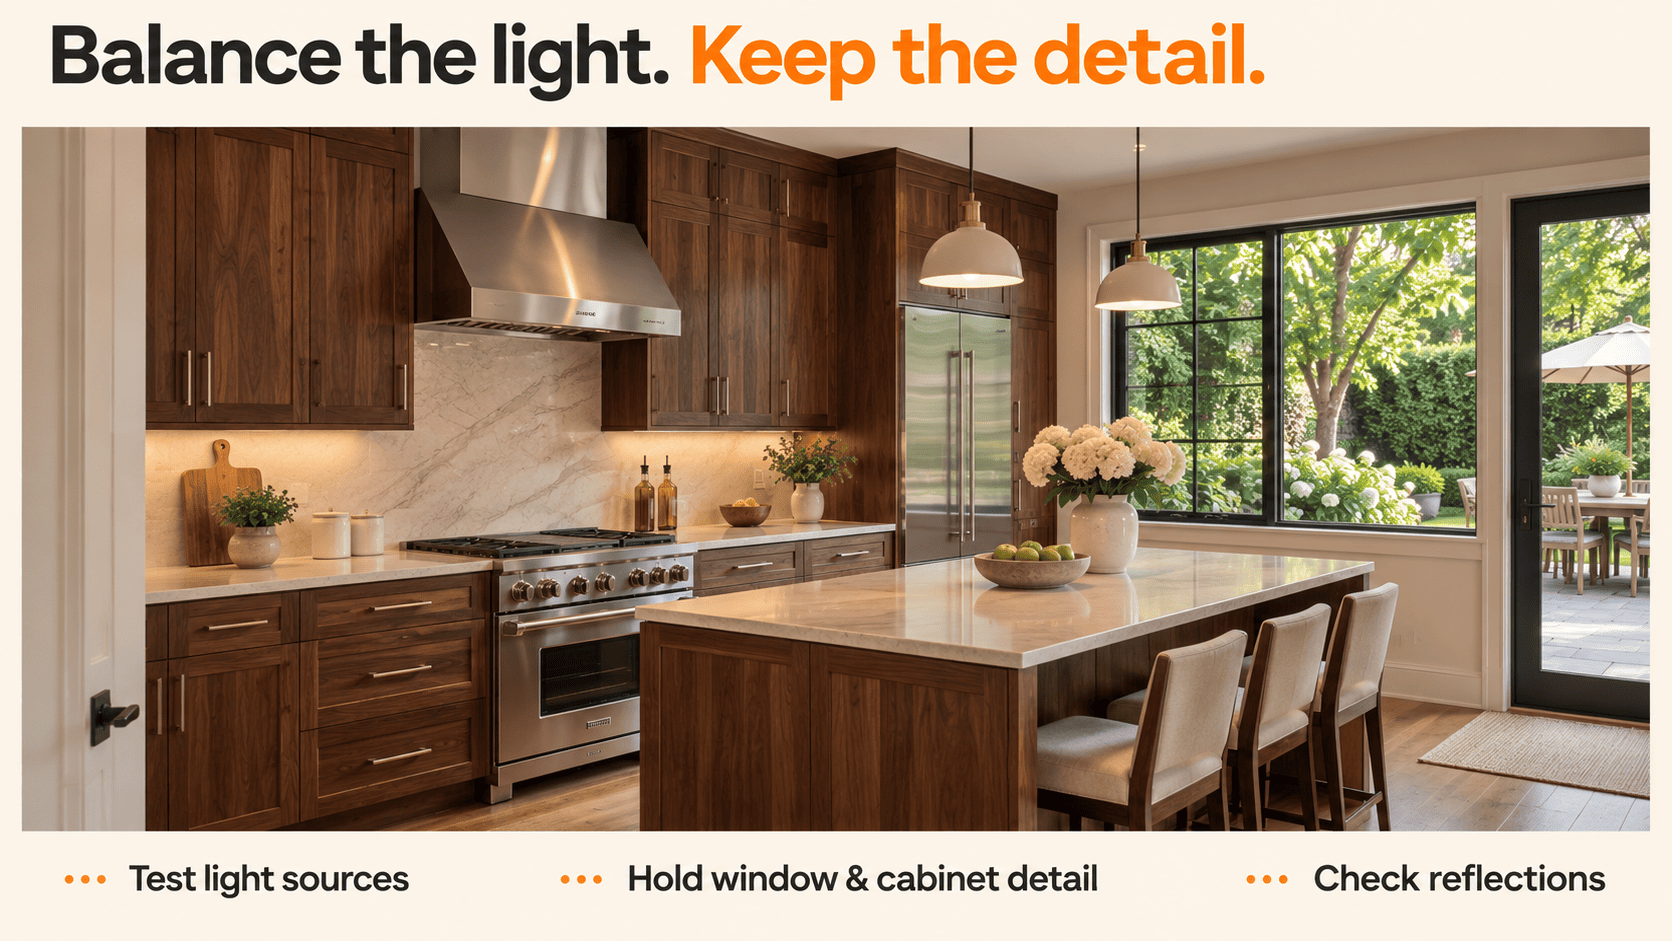
Test Daylight, Ceiling Lights, and Under-Cabinet Lighting
Test the ceiling, pendant, and under-cabinet lights from the camera position. Compare frames with distracting fixtures on and off. Cooling the whole image to fix a warm cast in one area may make daylight-lit surfaces look too blue. See our guide to managing mixed lighting for ways to control sources before editing.
Keep lights on when they help show the work surfaces or a built-in feature. Once you choose a setup, keep it consistent across related views unless the lighting changes or a detail shot needs a different treatment.
Balance Bright Windows With Dark Cabinets
Preserve the window view if it helps explain the property, such as access to a patio. Otherwise, a brighter window can look natural as long as important trim and surrounding surfaces retain usable detail.
If one exposure can’t retain the window and cabinet detail you need, capture a bracketed set from a fixed camera position. Keep framing, focus, aperture, and ISO fixed, and vary shutter speed. Check that the darkest frame holds the highlights you need and the brightest records usable cabinet detail. Inspect the merge for ghosting around moving branches or curtains. If artifacts can’t be corrected cleanly, compare it with the best single exposure or reshoot while on site.
Control Reflections on Stainless Steel and Glossy Countertops
Check refrigerator doors, oven glass, range hoods, and countertops from the camera position. A small change in camera height or position can change which reflections are visible. Take a test frame and check that the new position still shows the layout clearly.
Retain subtle reflections that communicate authentic material finishes. A soft sheen along a counter helps viewers recognize a polished stone surface, whereas a blown-out glare spot that obscures the underlying veining adds no visual value. Whenever possible, resolve distracting reflections on-site during capture, especially when intense highlights wash out surface texture underneath.
How to Edit and Sequence Kitchen Listing Photos
Keep Cabinet Lines Straight and Finishes Accurate
Use doorframes and cabinet stiles as visual references when checking verticals. Apply perspective correction only as far as needed, then check the crop. If it cuts off an important appliance or makes the aisle look unbalanced, a better-framed alternate may work better than a stronger correction.
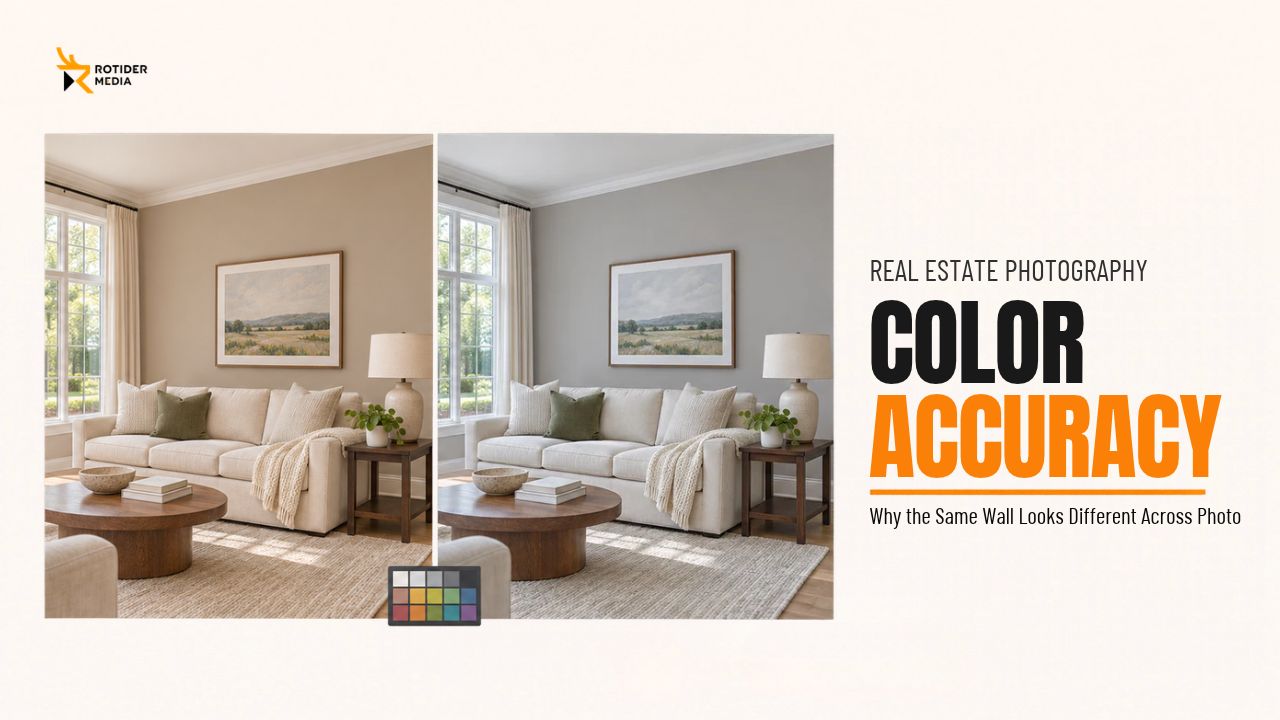
Compare cabinet and countertop colors across the set, correcting distracting casts while preserving natural differences in lighting. Check stone and steel for texture after adjusting highlights. If an edit changes how a material or the layout reads, reduce or remove it. See our guide to keeping finish colors consistent across photos for a review workflow.
Lead With the Clearest Overview and Cut Repetitive Angles
Within the kitchen sequence, lead with the clearest overview. Place each detail photo after the wider view that shows where it belongs, such as a backsplash close-up after the range wall.
Review the set at thumbnail size before delivery. If two views look almost identical, keep the one with clearer sightlines, more accurate color, or fewer distracting reflections. If your kitchen sequence needs to transition into the dining or living room, the same approach applies when you build the complete interior listing gallery.
Frequently Asked Questions
How Many Kitchen Photos Does a Real Estate Listing Need?
There’s no fixed count. One overview can be enough for a compact kitchen if the layout and main features are easy to read. Add a second view when it reveals an aisle, seating area, or connection to another room. Include a close-up when it shows a specific feature buyers couldn’t identify in the wider photos.
How High Should the Camera Be for Kitchen Photos?
Start near countertop height, then adjust until the work surfaces are visible and foreground objects don’t block the view. Raise the tripod slightly if a near counter hides the back of the room. If the image shows too much countertop and too little cabinetry, lower the camera or change position. Keep the camera level where practical to help the cabinet verticals stay straight.
How Do You Photograph a Small Kitchen Without Exaggerating Its Size?
Start from the doorway or an adjoining room if it gives you more working distance. Keep the nearest counter corner away from the frame edge and use only as much width as you need to show the layout. If one photo can’t show everything without stretching foreground features, take two complementary views.
Conclusion
Good kitchen real estate photography gives each view a purpose: explain the layout, show a connection, or reveal a feature the overview misses. Before delivery, check the set for repeated angles and inconsistent finishes. Keep each bracketed set together, flag the preferred overview, and note any cabinet or countertop finish the editor should preserve.