
September 10, 2025
Photo Editing
Best Editing Techniques to Remove Objects Interior Photos
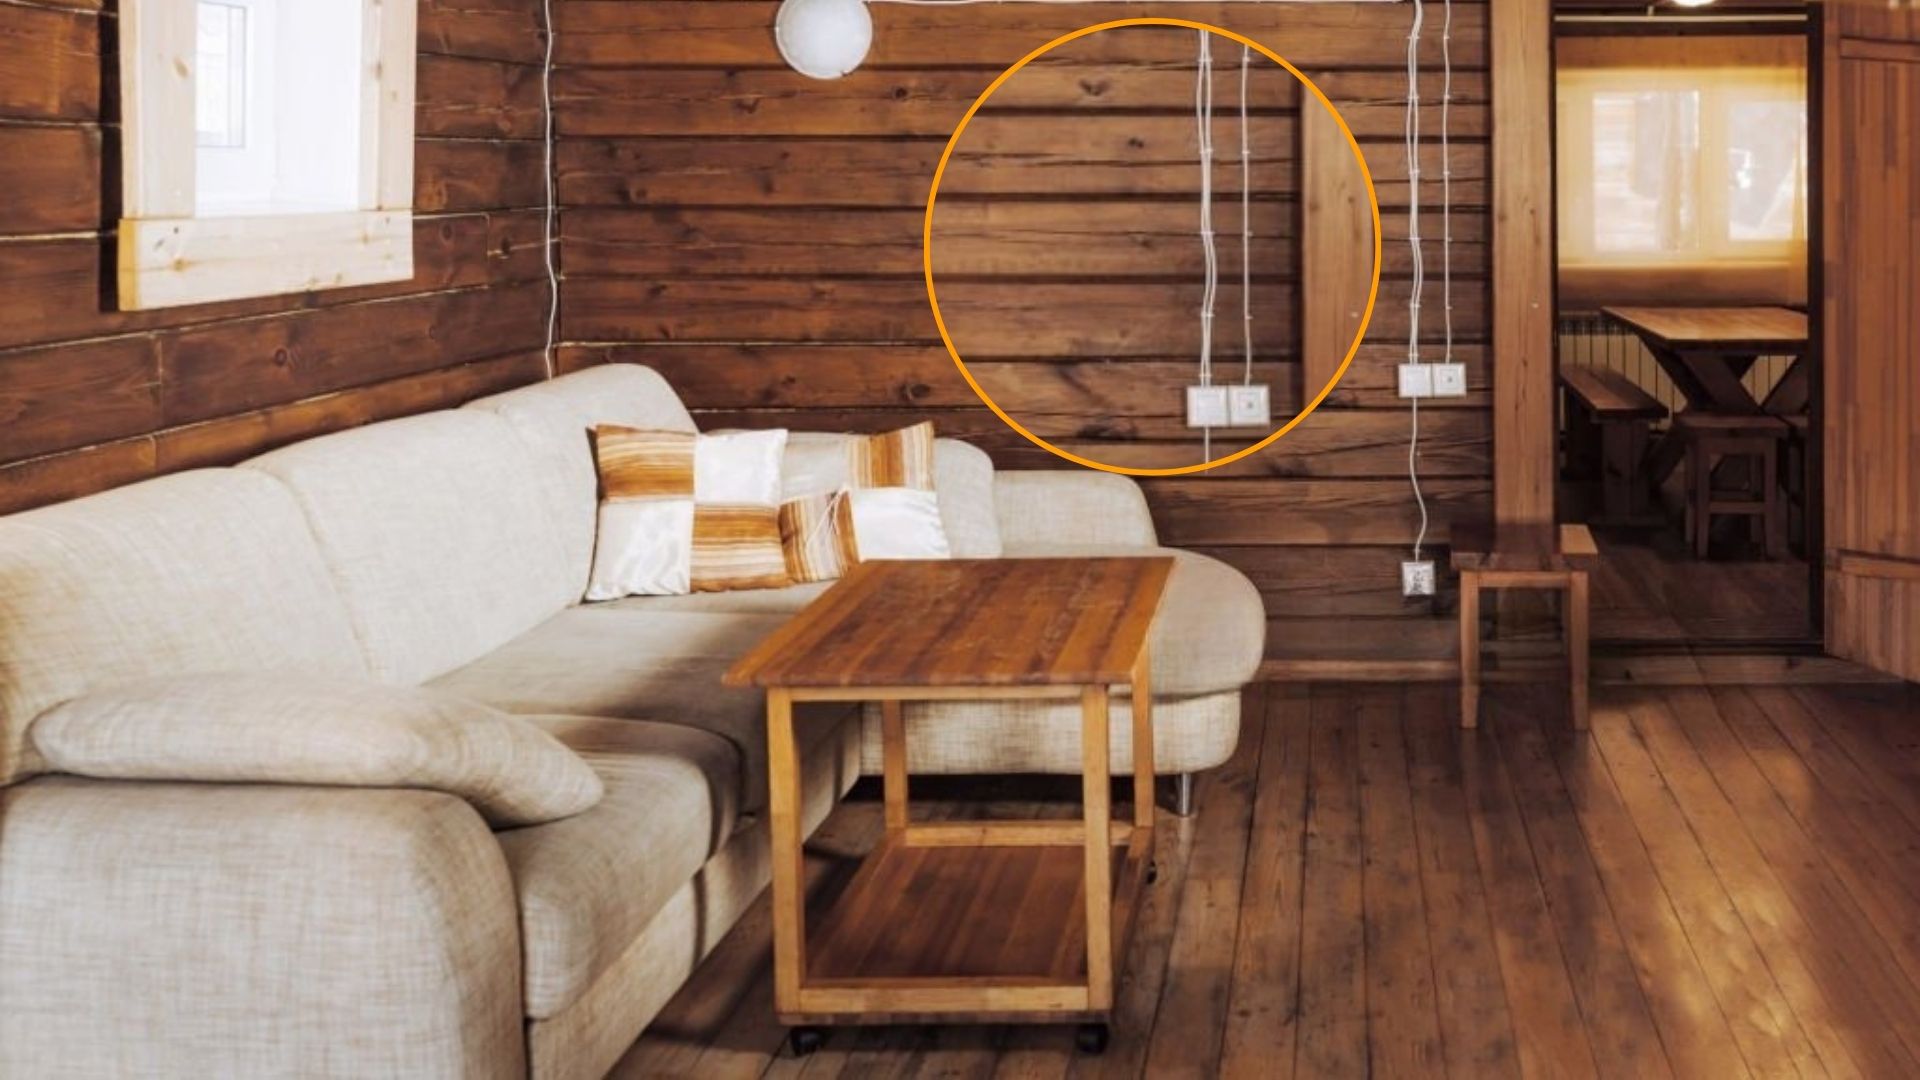
Best editing techniques to remove objects interior photos? When to remove objects in interior photos? Instructions on editing techniques to remove interior photo objects step by step in Photoshop to help your real estate images look clean but still natural. Refer to the article below.
1. When to Remove Objects in Interior Photos?
In real estate marketing, high-quality images play an important role in attracting and making buyers interested in your property. However, a real estate interior photo can easily create a sense of clutter and obscure the unique architecture of the room if there is too much furniture. Removing unwanted items will help your interior photos become clean, bright, and show the real architecture of the room.
In particular, removing objects in real estate interior photos should be done in the following cases:
- Distracting elements such as wires, outlets, bags, or personal items that pull focus away from the interior design.
- Cluttered spaces where too many objects make the room look smaller or less inviting.
- Imperfection in staging occurs when furniture, decor, or cleaning supplies are left in the shot.
- Physical removal is not possible (heavy furniture, built-in items, or permanent fixtures) when you need fast results.
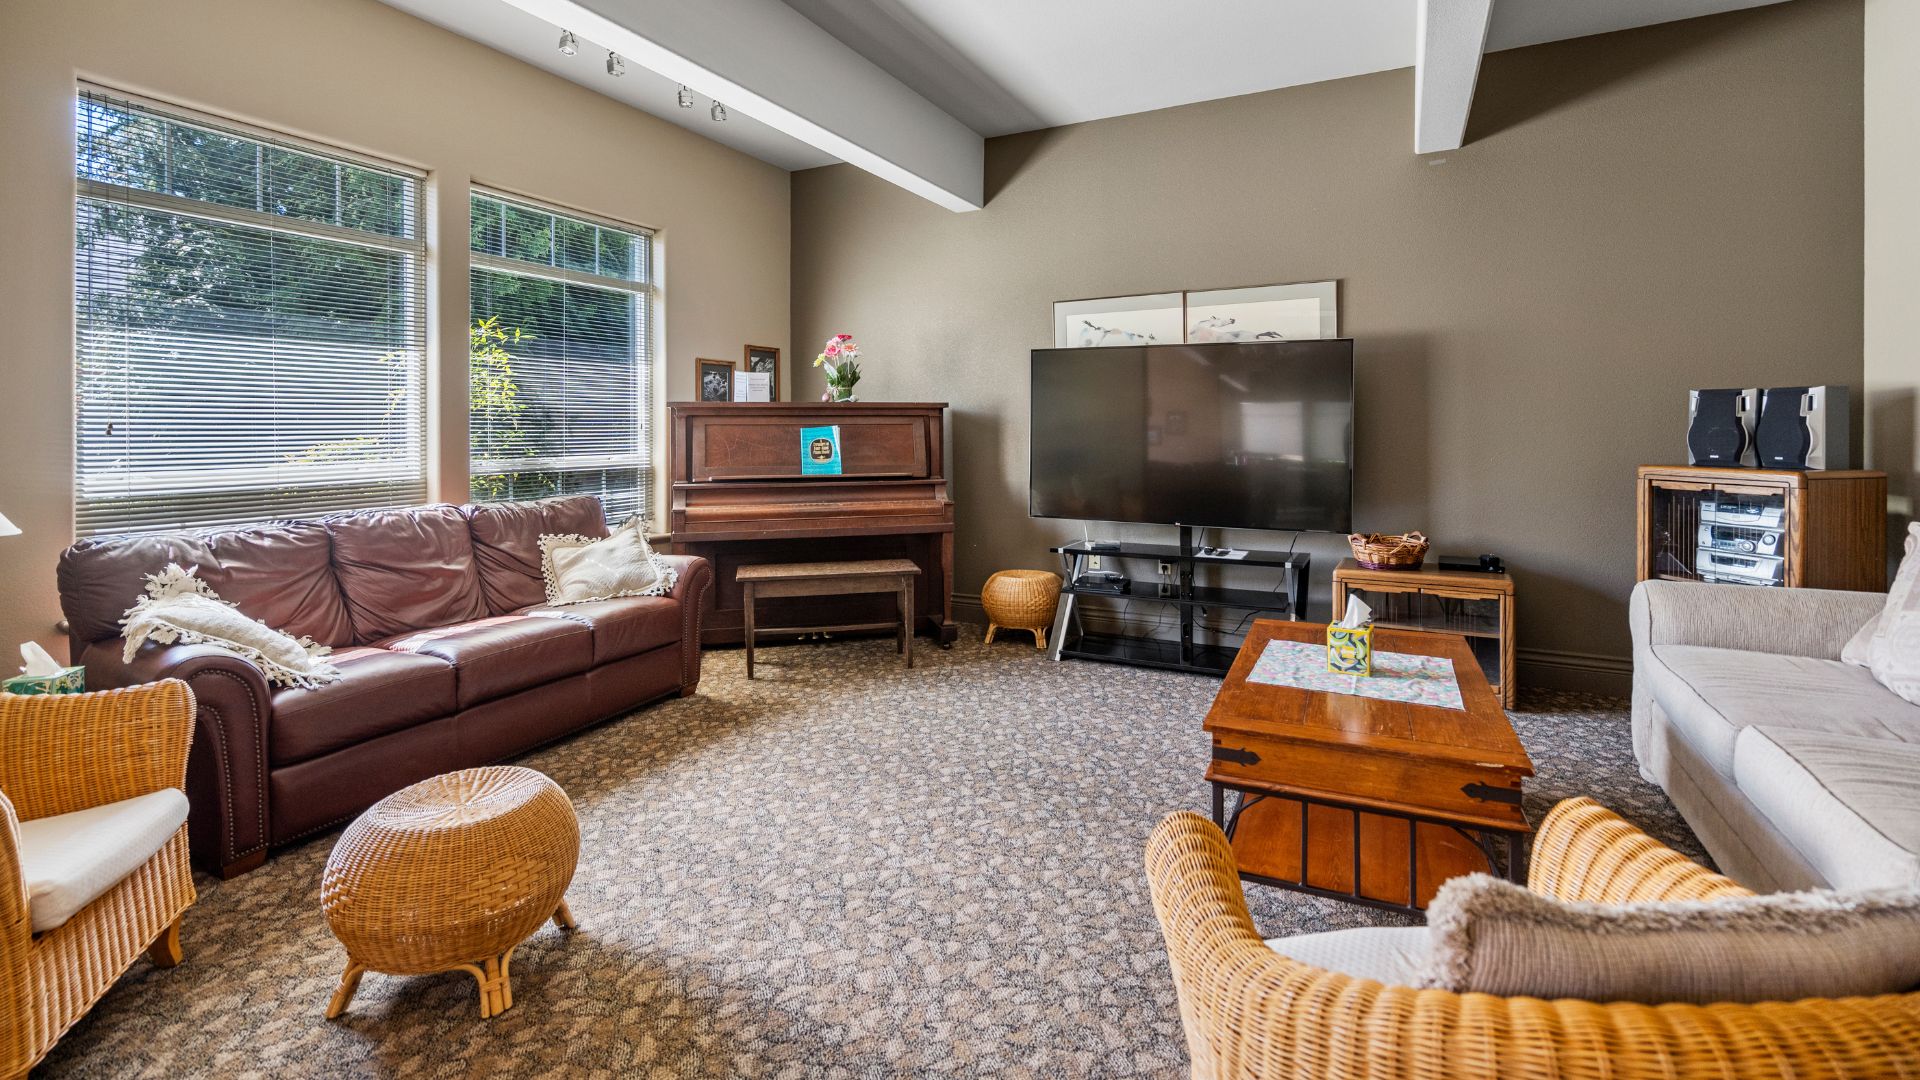
However, photo editing requires a balance between enhancing the image and realism. When removing unwanted objects in interior photos, it is important to keep the photo looking natural and reflecting the real space. Over-editing can mislead viewers or leave customers disappointed when the experience is far from the photo.
2. Best Editing Techniques to Remove Objects in Interior Photos (Photoshop)
Removing objects in interior real estate photos is straightforward because there are many tools available for professional photo editing. Adobe Photoshop is a powerful program with numerous tools to help you remove unwanted details naturally and accurately. Whether you’re removing wires, small stains, or large objects from a room, Photoshop has the right solution.
Here are simple, easy-to-do instructions for editing techniques to remove objects interior photos in Photoshop:
2.1. Lasso Tool
The Lasso tool allows you to create a selection around an object using a drawn outline. It works best for removing objects with clear edges. However, it requires manual precision for accurate results. To use the Lasso tool, follow these steps:
- Choose Lasso, Polygonal, or Magnetic.
- Draw around the object and add Feather (1–3 px).
- Apply Content-Aware Fill or Delete → Fill.
- Refine edges with the Healing Brush.
2.2. Clone Stamp Tool
The Clone Stamp tool lets you copy pixels from one area and paint them over another. It is ideal for walls, floors, or surfaces with consistent textures. However, it can create repeating patterns if not sampled carefully. To use the Clone Stamp tool, follow these steps:
- Select the Clone Stamp tool and create a blank layer.
- Hold Alt/Option and click to sample a clean area.
- Paint over the unwanted object, resampling frequently.
- Adjust opacity or flow for smoother blending.
2.3. Healing Brush / Spot Healing Brush
The Healing Brush tools automatically blend imperfections into the background. They are best for small objects like stains, scratches, or minor clutter. However, they are less effective on large or patterned surfaces. To use the Healing Brush tools, follow these steps:
- Choose the Healing Brush or Spot Healing Brush.
- For Healing Brush, Alt/Option-click to sample a clean area.
- Paint over the object in short strokes.
- Use Spot Healing Brush for quick one-click fixes.
2.4. Content-Aware Fill
Content-Aware Fill automatically replaces a selected area with surrounding pixels. It is effective for medium or large objects, especially on plain surfaces. However, it may produce unrealistic results on complex patterns. To use Content-Aware Fill, follow these steps:
- Make a selection around the object.
- Go to Edit > Content-Aware Fill.
- Adjust the sampling area if needed.
- Output to a new layer and refine with the Healing Brush.
2.5. Patch Tool
The Patch Tool lets you select and replace an area with another part of the image. It is especially useful for patterned surfaces like carpets, tiles, or wallpaper. However, it can distort if the patch is dragged too far. To use the Patch Tool, follow these steps:
- Select the Patch Tool.
- Draw around the unwanted object.
- Drag the selection to a clean, similar area.
- Adjust blending and refine with Healing Brush if necessary.
3. Tips to Make Interior Photo Editing Look Natural
When removing objects from interior photos, the final result must look realistic and professional. Over-editing can make images appear fake, which may reduce buyer trust. Here are some tips to keep your edits natural:
- Work on a duplicate layer: Always edit on a new layer so you can compare before and after without losing the original photo.
- Preserve natural lighting and shadows: Don’t remove shadows unless necessary. Keeping subtle shadows helps the photo look realistic.
- Use zoom in and out: Zoom in for precision, but also zoom out to check how the edit looks in the whole photo.
- Blend edges smoothly: Use a soft brush or add feathering to avoid hard, unnatural cut lines.
- Don’t overuse automatic tools: Features like Content-Aware Fill are powerful, but refine with Healing Brush for a cleaner finish.
- Keep edits minimal: Remove only distracting elements; too much editing can make the interior look artificial.
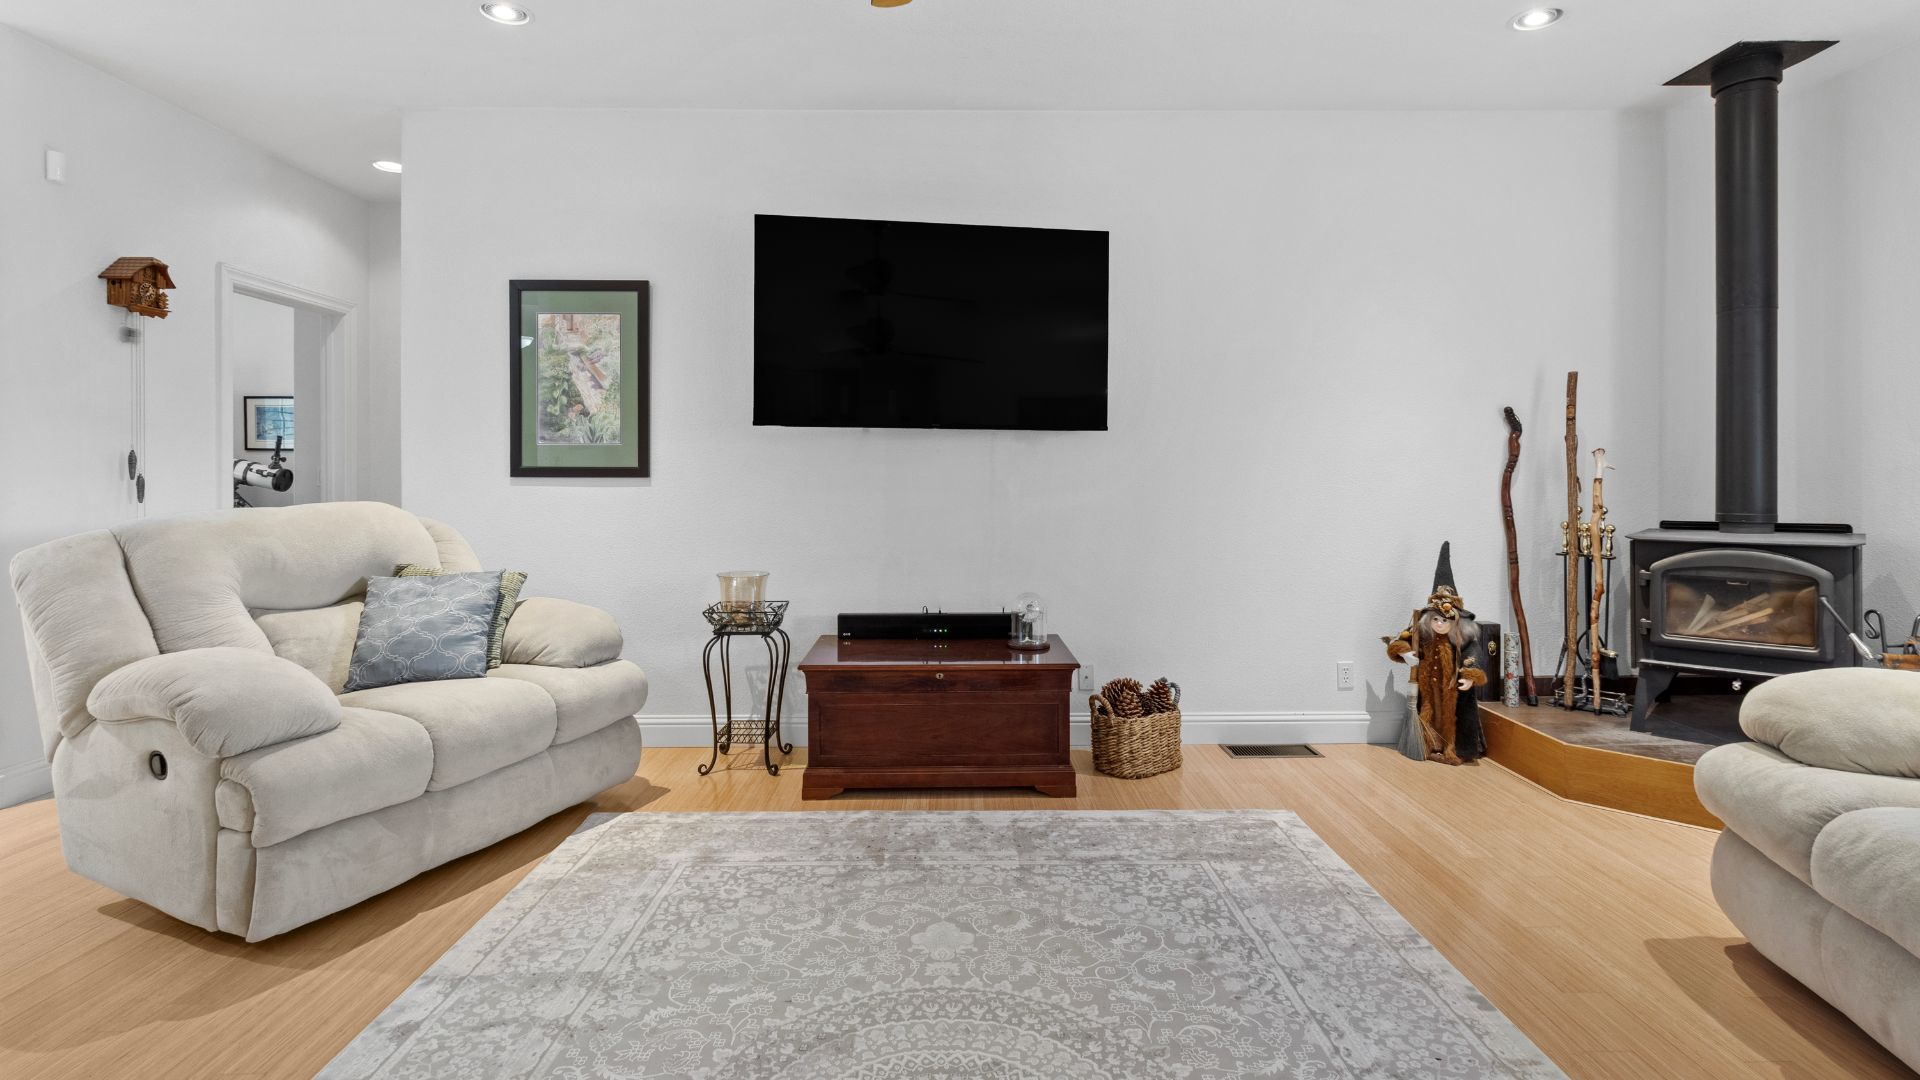
By following these tips, your interior real estate photos will remain clean, polished, and believable, helping potential buyers connect with the space.
4. Start With Professional Real Estate Photo Editing Services
Retouching objects in interior photos can help you quickly remove unwanted objects. However, to get a high-quality real estate photo without being unreal requires professional editing skills. Especially editing yourself will take a lot of time, and the results may not be as expected. Therefore, you can look for professional photo editing service providers to focus on finding customers.
By outsourcing professional real estate photo editing services, you will achieve:
- Save valuable time and focus on selling real estate.
- Achieve consistent, high-quality results on all your listings.
- Enhance interiors with natural light, sharp details, and perfect object removal.
- Access advanced editing techniques without spending hours mastering Photoshop.
Rotider Media is a professional real estate photo editing provider with many years of experience working with clients worldwide. We specialize in delivering high-quality editing services, from object removal and HDR blending to twilight conversions and day-to-dusk enhancements. Our team of skilled editors ensures every photo looks natural, polished, and market-ready, helping real estate agents, photographers, and property managers showcase properties in the best way.
If you’re looking for a reliable partner to handle your real estate photo editing needs, upload your image and get started HERE!

Annie Doo
Professional Video Editor
Hi, I’m Annie Doo, a professional video editor specializing in real estate post-production. Through hands-on experience with real-world projects, I’ve developed a strong understanding of visual storytelling, pacing, color, sound, and the workflows behind polished real estate videos. Here, I share practical insights, editing techniques, and production knowledge drawn from my day-to-day work in video post-production.
Was this article helpful?
Your feedback helps us create more useful real estate media guides.
Share this article


No Spam, Just Updates
Our fresh blogs provide technical and industrial information that helps strengthen your business. Sign up to be the first to receive the new updates
Related Posts

Real Estate Post-Production: A Complete Guide for Photographers and Media Teams
Oct 2, 2026
AI in Real Estate: A New Leap for Property Professionals
Sep 9, 2026
AI for Real Estate Marketing: A Practical Guide for Agents and Agencies
Sep 9, 2026
AI for Real Estate Agents: Practical Uses and Future Trends
Sep 7, 2026
15 Real Estate AI Companies to Know in 2026
Sep 5, 2026