
June 27, 2025
Photo Editing
The Complete Guide to Editing Real Estate Photos in Photoshop
Photoshop is a professional photo editing tool with many features that help real estate professionals turn dull real estate images into eye-catching, high-quality images. From adjusting lighting to removing distractions, Photoshop provides everything needed to make real estate listings stand out.
How do you edit real estate photos in Photoshop? Explore a guide to simple real estate photo editing techniques in Photoshop, which will help enhance your real estate images and make them stand out.
1. Why Photoshop Is Essential for Real Estate Photo Editing?
In real estate marketing, high-quality images play a vital role in attracting potential buyers and making a strong first impression. With most real estate searches starting online, professionally edited images can make a listing stand out, showcase the space more effectively, and increase the chances of a quicker sale. A well-composed, visually appealing photo is not only aesthetically pleasing, but it is also a vital marketing tool that influences a buyer’s decision.
Adobe Photoshop is an industry-leading photo editing software known for its powerful tools and precise control. It allows users to adjust lighting, color, sharpness, perspective, and more, down to the finest details. For real estate editing specifically, Photoshop enables advanced tasks such as sky replacement, object removal, and HDR blending, helping transform average photos into high-impact visuals.
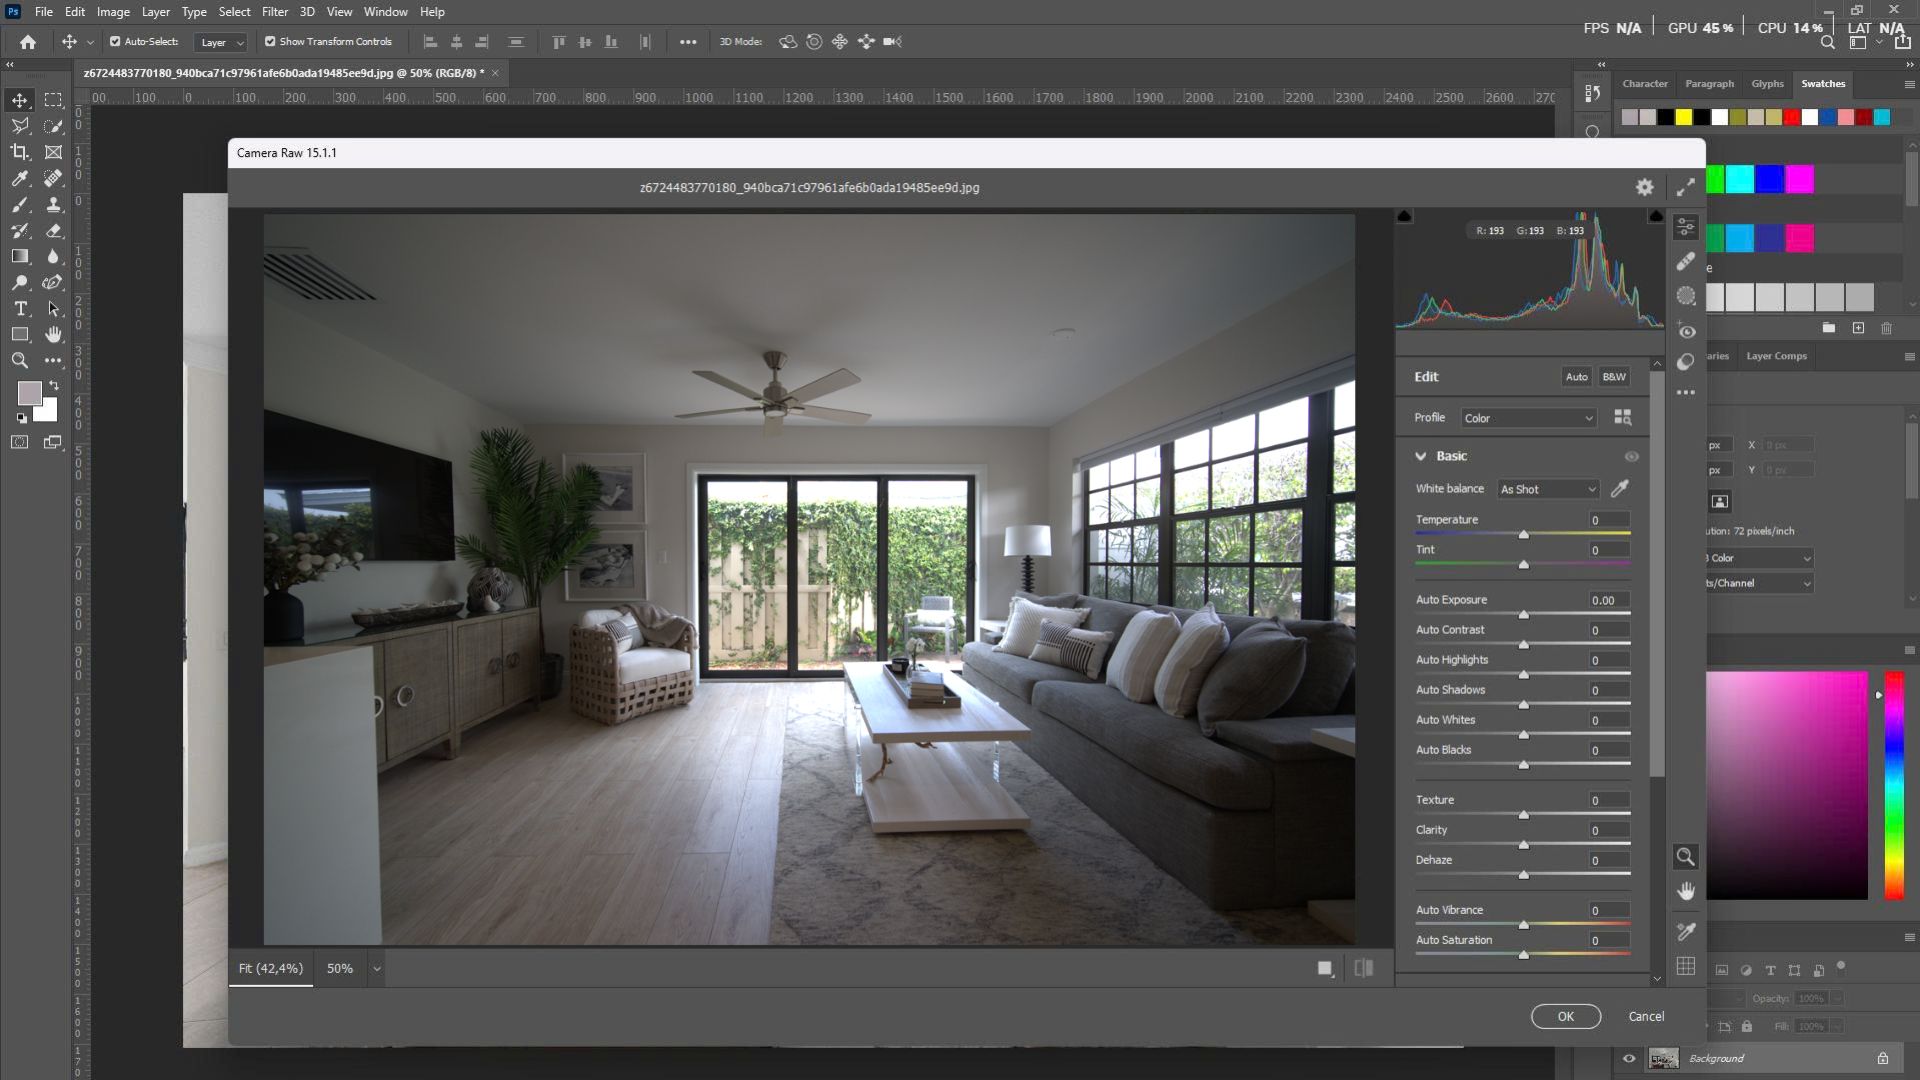
While there are many editing platforms available, Photoshop remains the most versatile and professional choice for real estate photo editing. Unlike basic tools or mobile apps, Photoshop offers full creative control and industry-standard features that are essential for showcasing properties at their best.
Whether you want to create dramatic changes from day to sunset, remove clutter, or correct harsh lighting, Photoshop delivers consistent, high-quality results that will increase the value of your property and help sell your real estate faster.
2. How to Edit Real Estate Photos in Photoshop
Editing real estate photos in Photoshop requires a structured workflow and precise control over alignment, lighting, and color. Below is a step-by-step guide with essential tools and keyboard shortcuts commonly used by professional editors.
Step 1. Import your Image
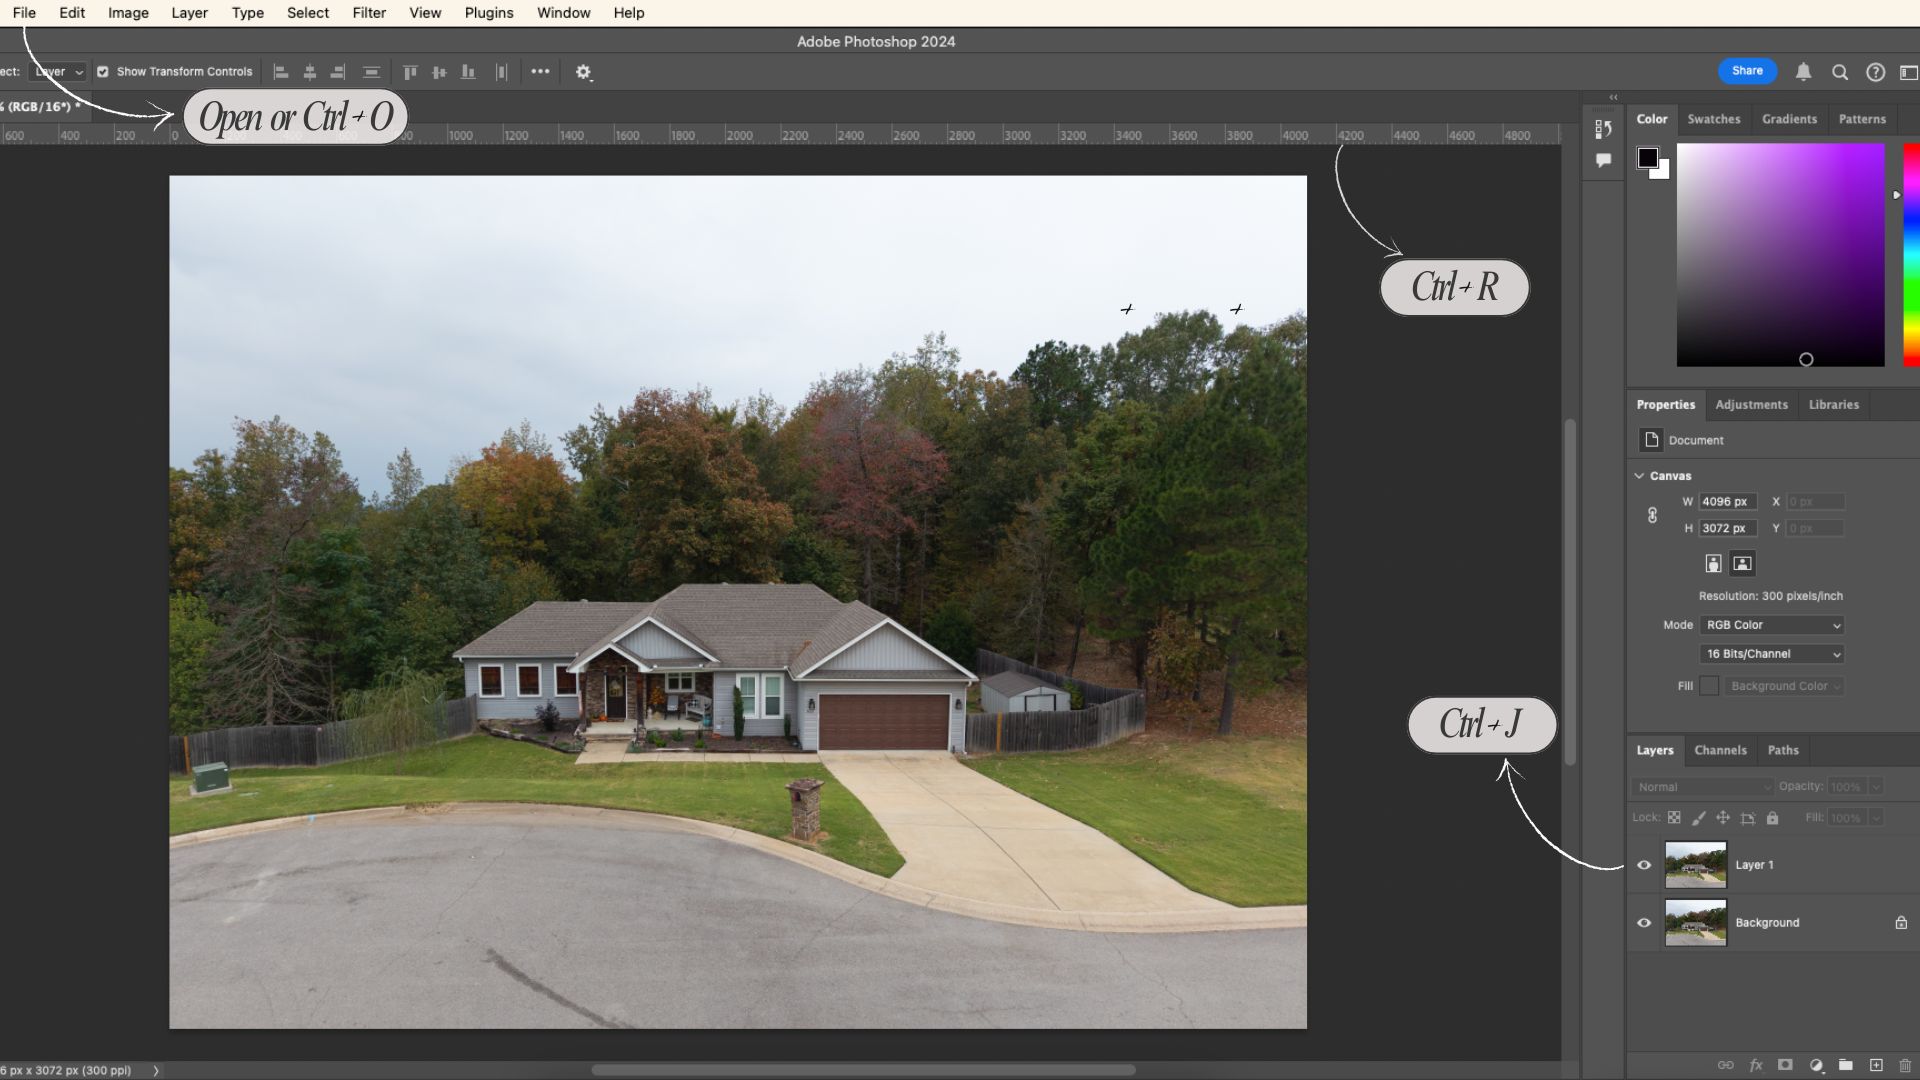
- Open the image: File > Open or press Ctrl + O
- Duplicate the background layer to work non-destructively: Ctrl + J
- Rename layers clearly to keep the workflow organized
Tip:
- Enable rulers and guides for alignment
- Show rulers: Ctrl + R
- Drag guides from the rulers to align walls, doors, and windows
Step 2. Straighten and Correct Perspective
Vertical lines must be straight in real estate photos
Method 1: Transform Tool
- Select the layer
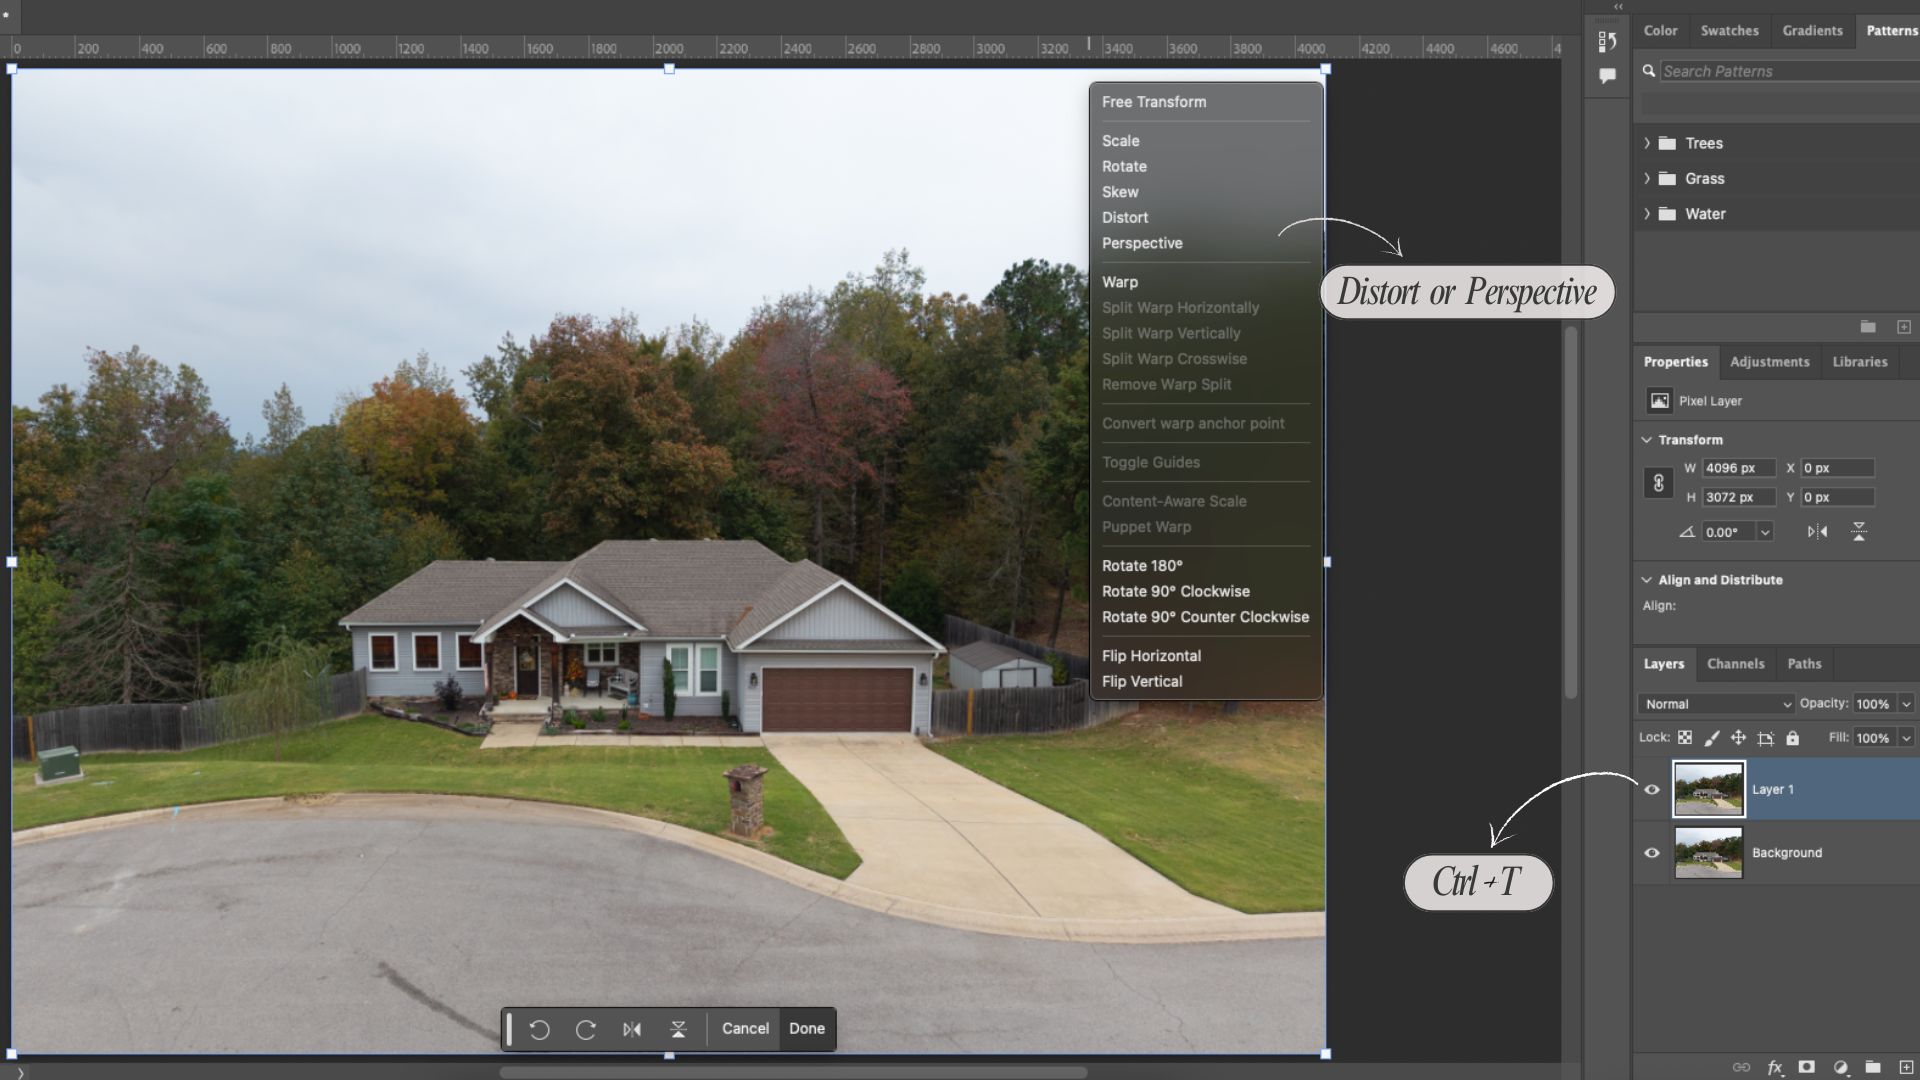
- Press Ctrl + T to activate Free Transform
- Right-click and choose Perspective or Distort
- Adjust corners until walls and edges are vertical
Method 2: Camera Raw Filter
- Go to Filter > Camera Raw Filter
- Use the Geometry panel
- Adjust the Vertical and Horizontal sliders carefully
Step 3. Adjust Exposure Using Levels or Curves
Levels
- Create a Levels adjustment layer: Ctrl + L
- Move the black, gray, and white sliders to balance shadows and highlights
Curves
- Create a Curves adjustment layer: Ctrl + M
- Gently lift shadows and control highlights for natural contrast
- Always use Adjustment Layers instead of editing directly on the image.

Step 4. Correct White Balance and Color Casts
- Add a Color Balance or Selective Color adjustment layer
- Neutralize yellow, blue, or green casts, often caused by mixed lighting
- Keep whites and walls neutral without overcorrecting

Shortcut:
- Toggle layer visibility to compare before and after: click the eye icon
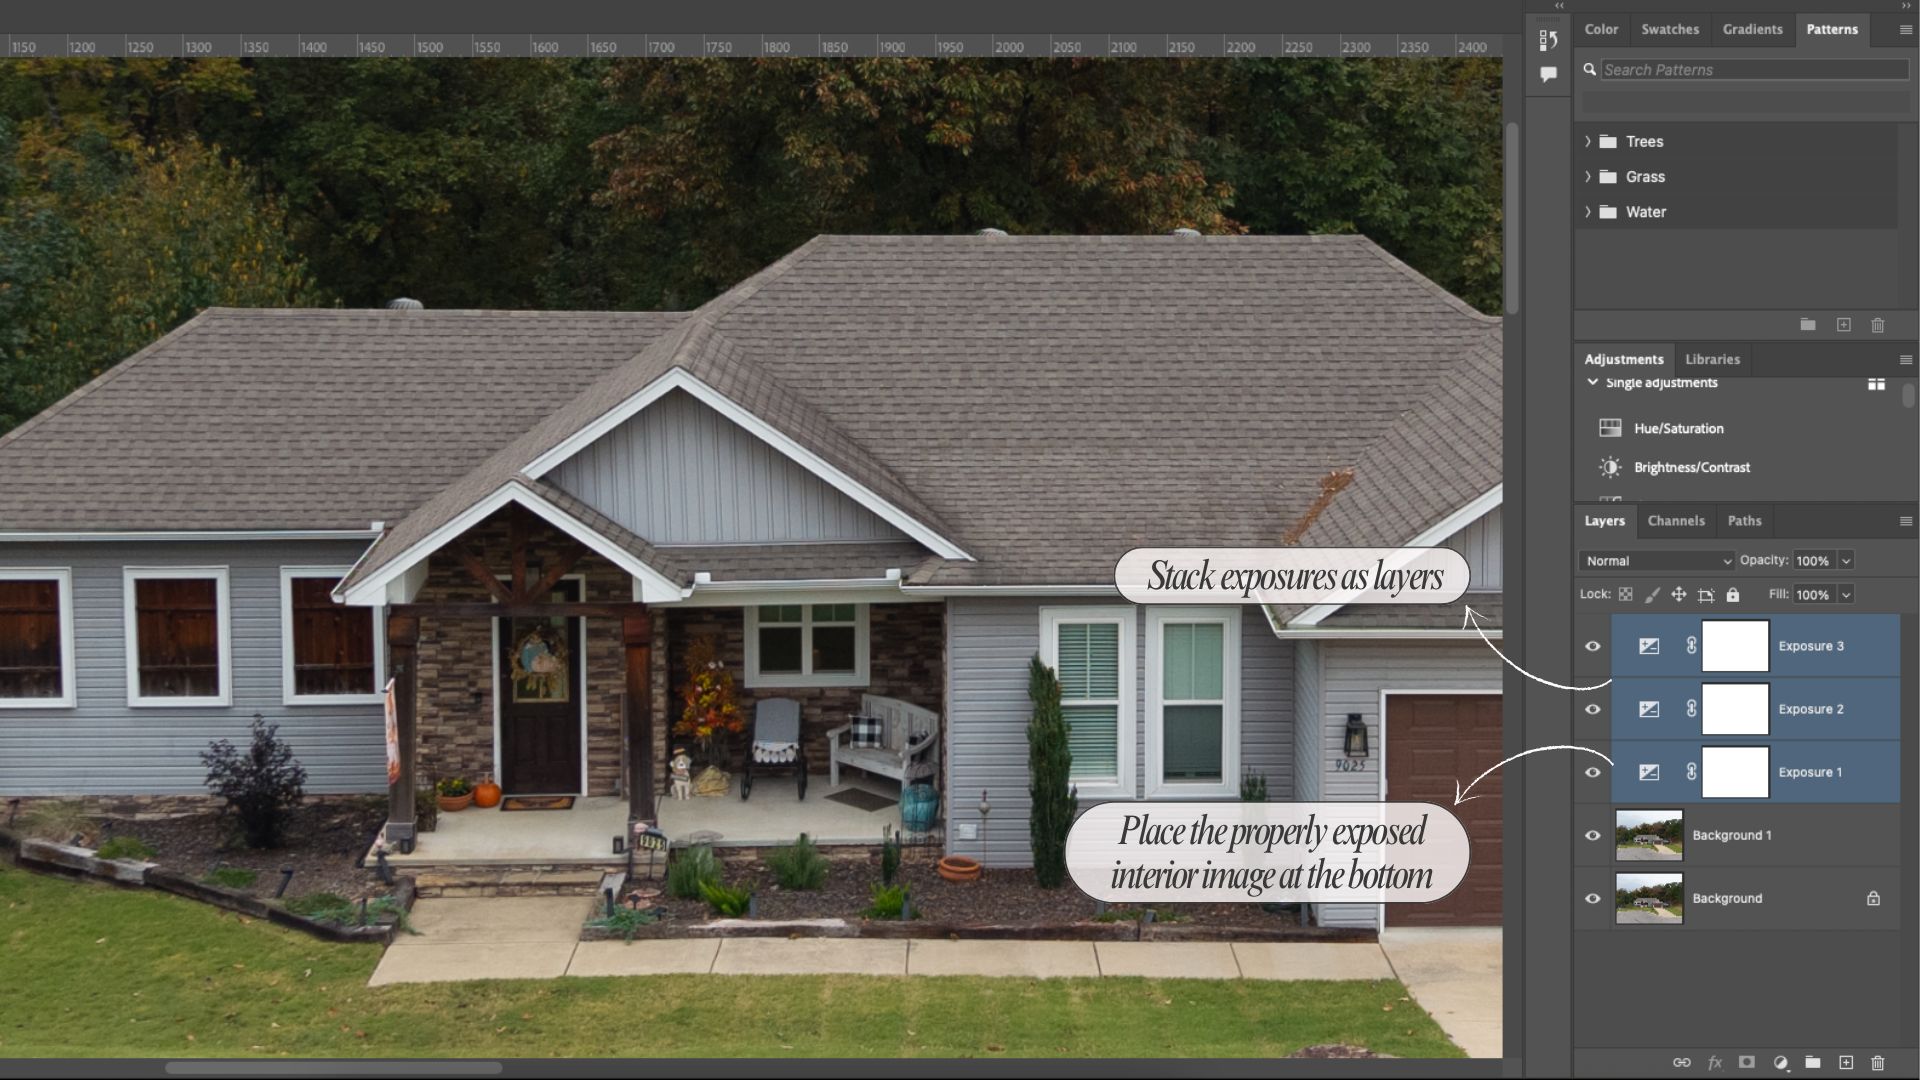
Step 5. HDR Blending with Layer Masks
For bracketed images:
- Stack exposures as layers
- Place the properly exposed interior image at the bottom
- Add a layer mask to the brighter or darker exposure
Masking basics
- Select the mask thumbnail
- Paint with:
– White brush to reveal
– Black brush to hide
– Brush tool shortcut: B
– Switch colors: X
– Adjust brush size: [ and ]
Step 6. Reduce Shadows and Balance Light
- Use Curves adjustment layers with masks to target dark areas
- Lower opacity if the effect looks too strong
- Avoid flattening the image by over-brightening shadows

This step helps interiors look open and evenly lit.
Step 7. Window Masking
- Use the Pen Tool (P) or Quick Selection Tool (W) to select windows
- Refine edges if needed
- Apply adjustments separately for exterior brightness and color temperature

Proper window masking ensures that outdoor views appear realistic and unobstructed.
Step 8. Object Removal and Cleanup
- Use Spot Healing Brush (J) for small imperfections
- Use Clone Stamp (S) for controlled cleanup
- Zoom in: Ctrl + +
- Zoom out: Ctrl + –

Remove cables, stains, or small distractions while keeping the scene natural.
Step 9. Final Sharpening
- Merge a copy of visible layers: Ctrl + Shift + Alt + E
- Apply Filter > Sharpen > Smart Sharpen
- Use low values to avoid noise
- Always review sharpening at 100 percent zoom.

Step 10. Save and Export
- Save PSD file for future edits: Ctrl + S
- Export final image: File > Export > Export As (Choose the correct size and format based on your needs

3. Professional Real Estate Photo Editing Service in Photoshop
Basic photo editing tools and presets may suffice for simple images, but real estate photography often requires complex lighting, HDR blending, and stringent quality standards. Professional editing ensures accurate colors, balanced exposure, and clean details that self-editing struggles to achieve. By outsourcing to a professional service, photographers and agents can save time, reduce workload, and maintain consistent image quality across all listings.
Rotider Media is a professional real estate photo editing company with a dedicated team of Photoshop specialists focused on real estate imagery. Every photo is refined with attention to lighting, color, and detail to ensure a natural and market-ready result.
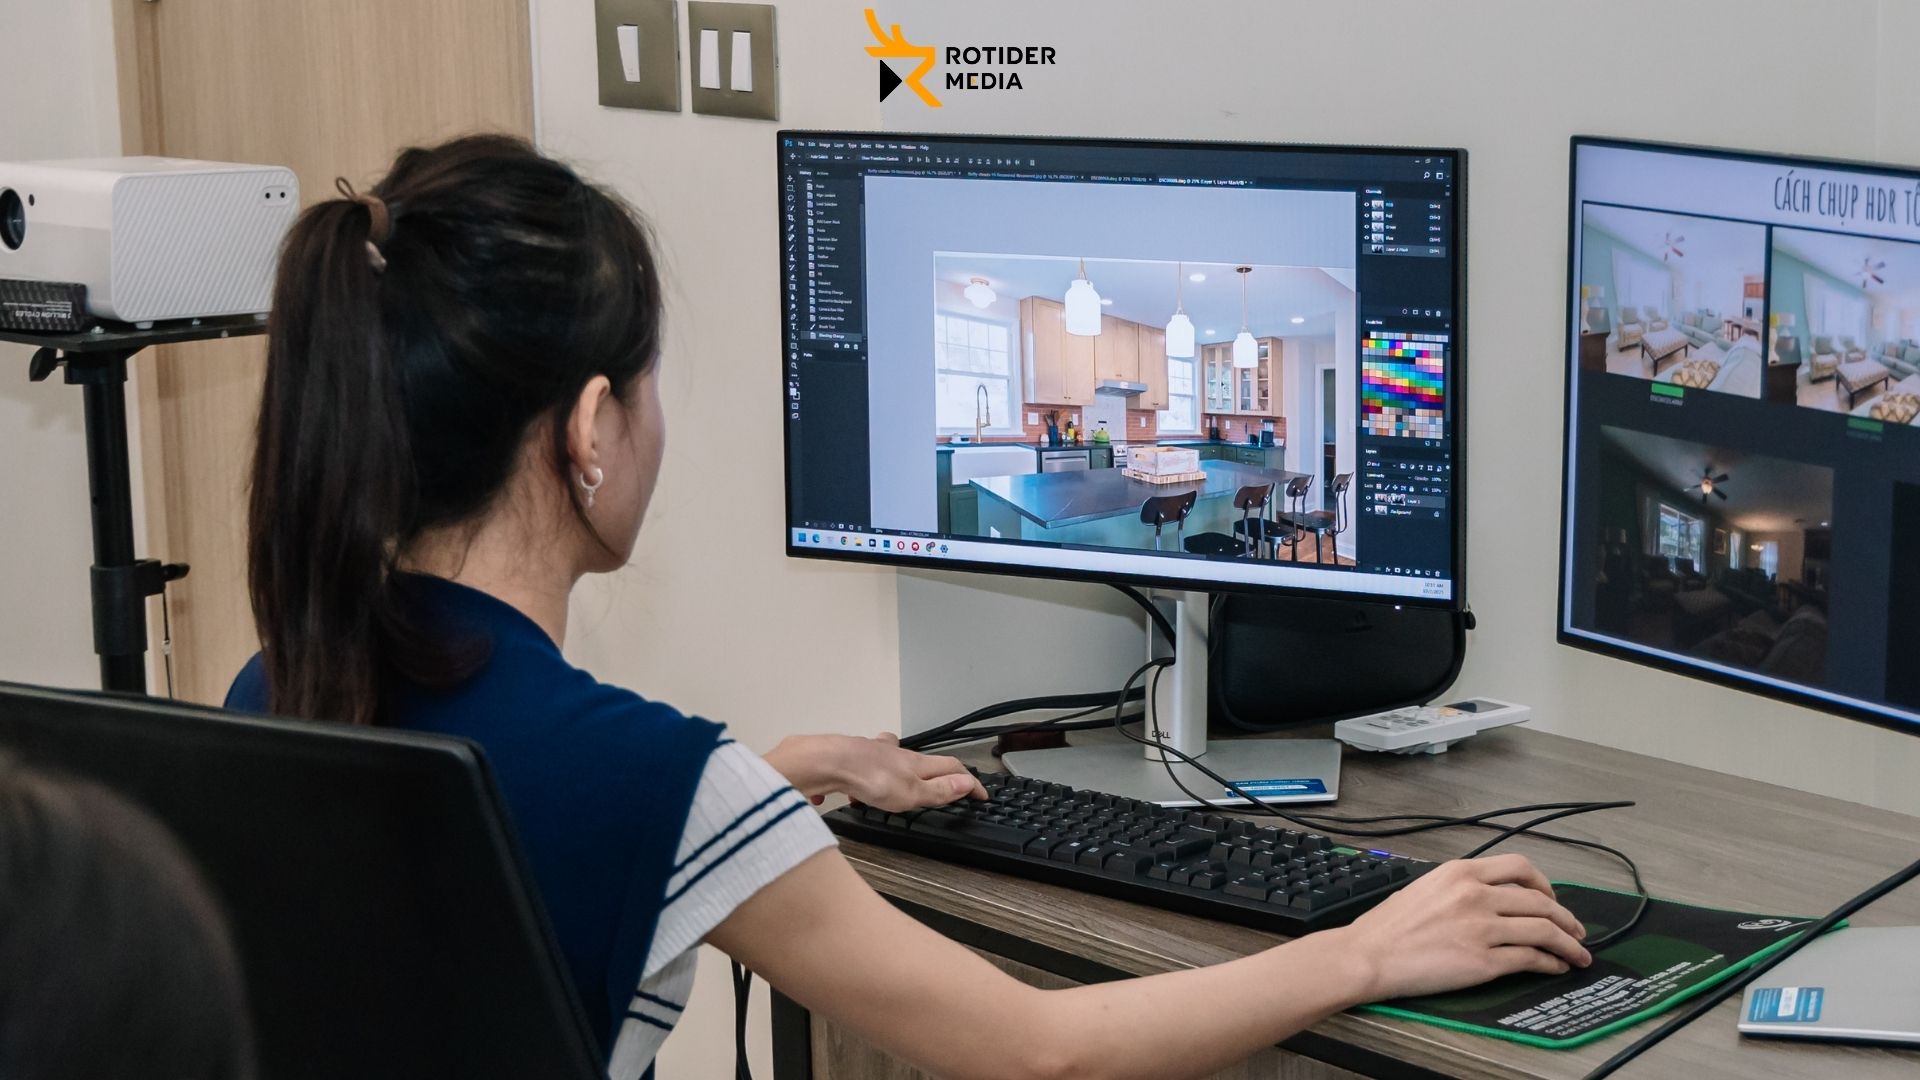
Key Services Offered by Rotider Media
- HDR Photo Editing for balanced exposure and natural lighting
- Day-to-Dusk Editing to create warm, eye-catching exterior scenes
- Twilight Editing to enhance evening appeal and listing visibility
- Object Removal to eliminate unwanted items and distractions
- Flash Photo Editing for clean, well-lit interiors
- Single Photo Enhancement for color correction and overall image refinement
Why Choose Rotider Media?
- Professional editing team using Photoshop to ensure precise, high-quality results
- Consistent editing style across all listings and projects
- Fast turnaround time to meet tight real estate deadlines
- Flexible revision support based on client preferences
- Experienced editors familiar with US real estate standards
With a strong focus on quality control and attention to detail, Rotider Media is a reliable choice for photographers, real estate agents, and marketing teams looking to outsource professional real estate photo editing without compromising image quality.
If you’re experiencing challenges with how to Edit Real Estate Photos in Photoshop, working with a professional editing team like Rotider Media can help streamline the process. Contact us to get started now!
Annie Doo
Professional Video Editor
Hi, I’m Annie Doo, a professional video editor specializing in real estate post-production. Through hands-on experience with real-world projects, I’ve developed a strong understanding of visual storytelling, pacing, color, sound, and the workflows behind polished real estate videos. Here, I share practical insights, editing techniques, and production knowledge drawn from my day-to-day work in video post-production.
Was this article helpful?
Your feedback helps us create more useful real estate media guides.
Share this article


No Spam, Just Updates
Our fresh blogs provide technical and industrial information that helps strengthen your business. Sign up to be the first to receive the new updates
Related Posts
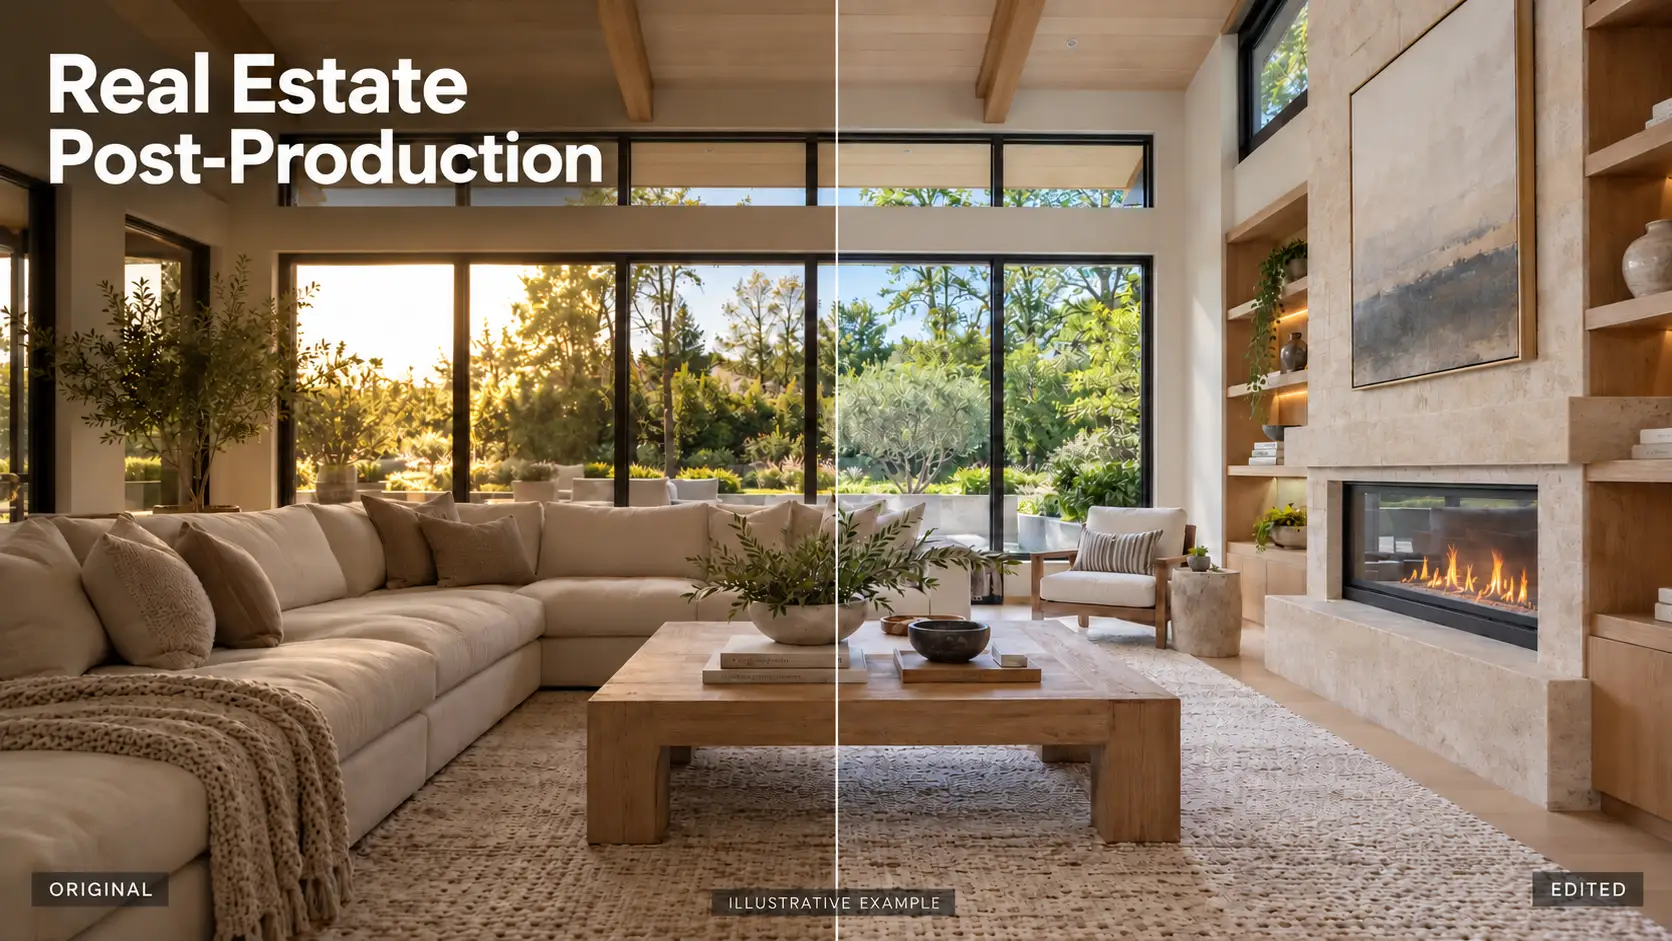
Real Estate Post-Production: A Complete Guide for Photographers and Media Teams
Oct 2, 2026
AI in Real Estate: A New Leap for Property Professionals
Sep 9, 2026
AI for Real Estate Marketing: A Practical Guide for Agents and Agencies
Sep 9, 2026
AI for Real Estate Agents: Practical Uses and Future Trends
Sep 7, 2026
15 Real Estate AI Companies to Know in 2026
Sep 5, 2026