
September 8, 2025
Photo Editing
How to Remove Lens Flare in Photoshop Effectively
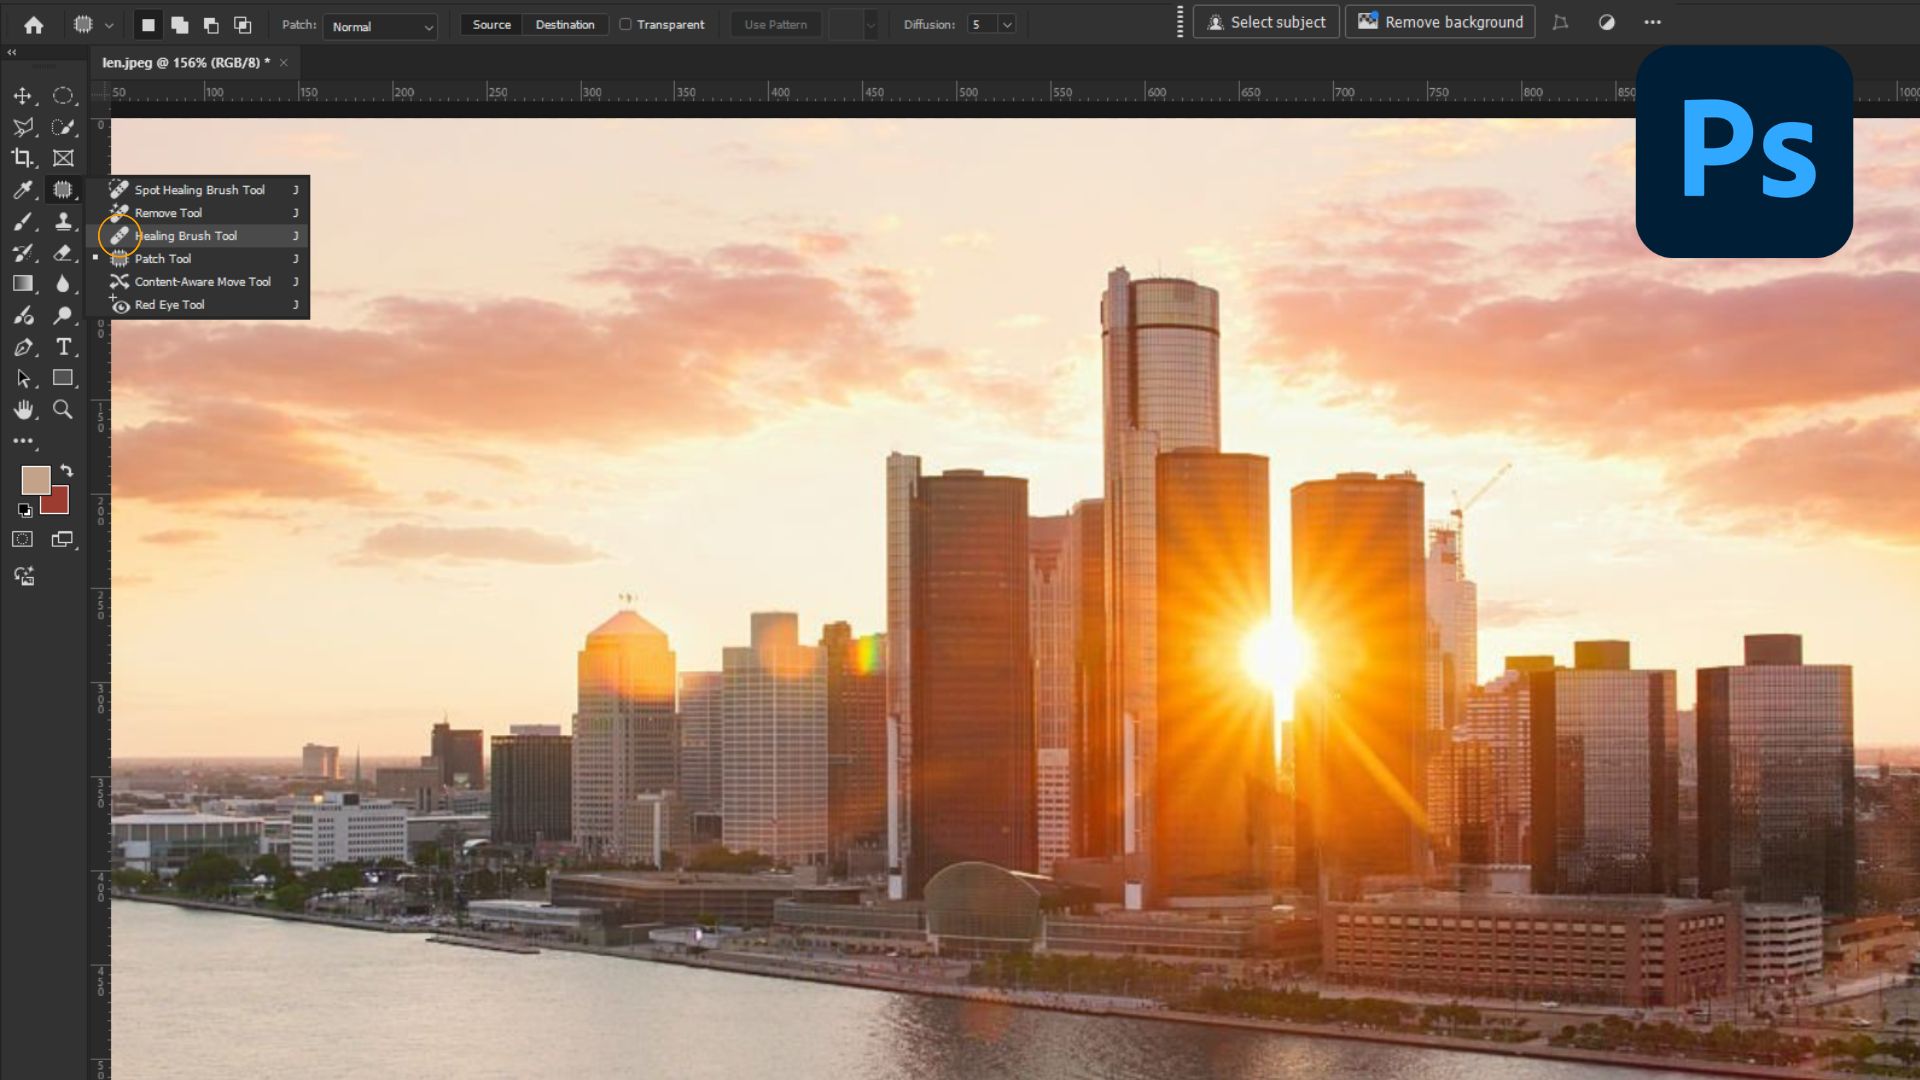
Lens flare is a visual effect that can occur during photography, which can make your photos look unprofessional. This article will show you how to remove lens flare in Photoshop using a variety of tools and techniques. From Clone Stamp, Healing Brush, you can easily remove unwanted light streaks and restore clear, natural photo quality.
1. What is Lens Flare in Real Estate?
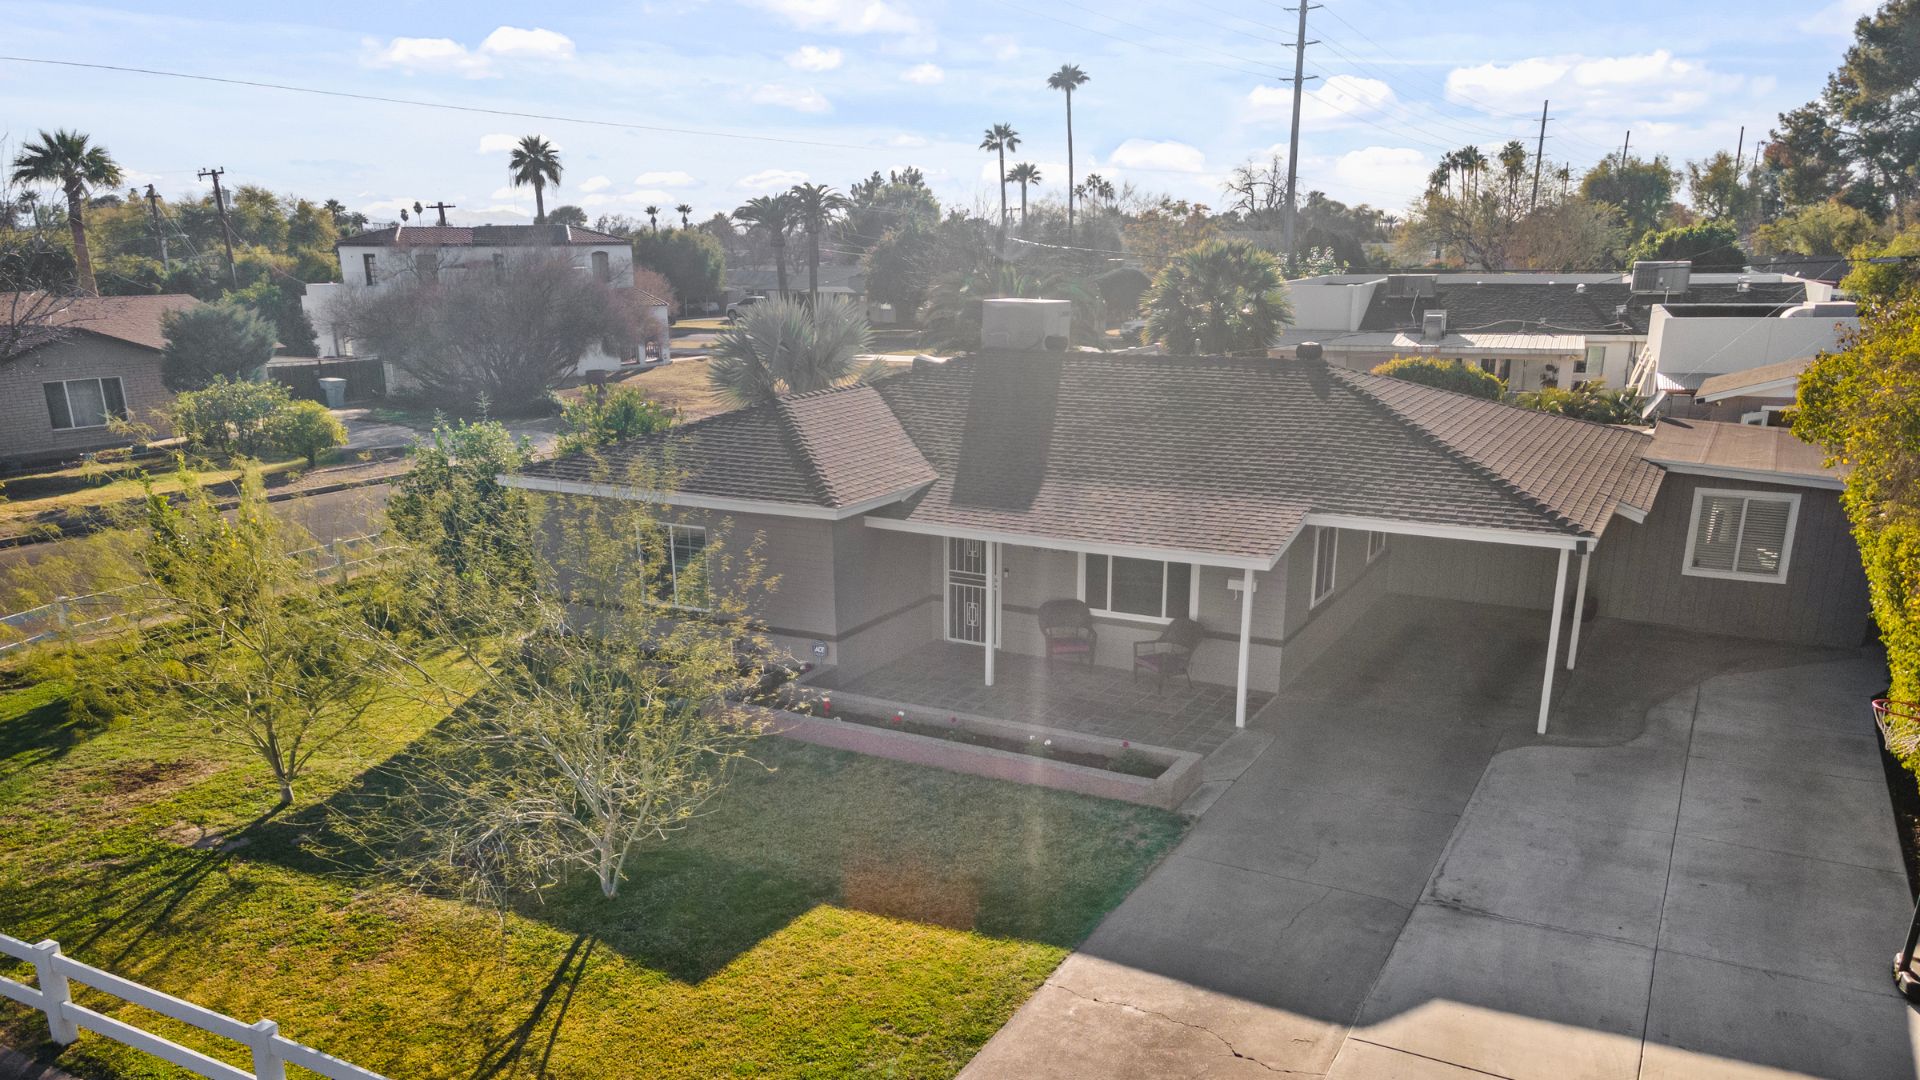
Lens flare in real estate photography occurs when direct sunlight or another strong light source hits the camera lens, creating unwanted bright spots, streaks, or a hazy glow across the image. This effect often reduces contrast, washes out colors, and hides important details of a property, making the photos look less professional. While lens flare can sometimes be used artistically, in real estate, it usually distracts potential buyers and lowers the overall quality of property listings. That’s why removing or preventing lens flare is crucial to ensure clear, sharp, and market-ready real estate photos.
2. Why You Should Remove Lens Flare from Photos
Lens flare can sometimes be used creatively in photography, but in commercial images such as real estate, product, or fashion photos, it often becomes a distraction that lowers image quality. Removing lens flare from photos ensures that your images stay sharp, professional, and deliver the right message to viewers.
Here are the reasons why you should edit your photos to remove lens flare in real estate:
Preserve image details and sharpness
Lens flare often hides important details or makes certain areas look blurry. By removing it, you can restore clarity and highlight the true features of the photo.
Improve contrast and natural colors
Flare reduces contrast and washes out colors, making photos look flat. Eliminating it helps bring back the natural vibrancy and depth of your images.
Enhance professionalism in commercial photography
For industries like real estate or advertising, clients expect high-quality visuals. Photos free of lens flare look more polished, trustworthy, and market-ready.
Increase the commercial value of photos
Clear, sharp, and distraction-free images are more appealing to potential buyers, helping you boost sales and marketing effectiveness.
Save time on complex edits later
Removing lens flare early prevents the need for excessive retouching, making your workflow faster and more efficient.

In conclusion, removing lens flare from photos not only improves image quality but also enhances their aesthetic and commercial value. It’s an essential step to ensure your visuals always look professional and impactful.
3. How to Remove Lens Flare in Photoshop – Step by Step Guide
Photoshop offers several powerful tools to remove lens flare and restore image clarity. Depending on the type and intensity of the flare, you can use different techniques to achieve the best result. Below are the most effective methods explained step by step:
3.1. Remove Lens Flare Using the Clone Stamp Tool
- Select the Clone Stamp Tool (shortcut S) from the toolbar.
- Hold Alt/Option and click on a clean area of the photo to set a sample point.
- Carefully paint over the lens flare area, replacing it with pixels from the clean sample.
3.2. Use the Healing Brush / Spot Healing Brush Tool
- Choose the Healing Brush Tool or Spot Healing Brush Tool (shortcut J).
- For the Healing Brush, set a sample point (Alt/Option + click). For Spot Healing, Photoshop automatically samples nearby pixels.
- Paint over the flare. The tool blends texture, lighting, and shading for a natural look.
3.3. Remove Large Flare with the Patch Tool
- Select the Patch Tool from the toolbar.
- Draw a selection around the lens flare.
- Drag the selection to a clean area of the photo. Photoshop replaces the flare with the sampled pixels.
However, photo editing can be quite time-consuming if you are not a photo editor. Instead, you can look for professional photo editing services to support the photo editing process quickly and achieve the best results.
4. Professional Lens Flare Removal Photo Editing Service
Even with the best equipment and techniques, lens flare can still appear in your photos, especially in real estate, product, or outdoor photography. While Photoshop offers tools to manually fix this issue, it can be time-consuming and requires advanced retouching skills to achieve natural-looking results. That’s where a professional lens flare removal photo editing service becomes essential.
At Rotider Media, we specialize in delivering high-quality real estate photo editing services that make your listings stand out and capture buyers’ attention instantly. Our team of skilled editors provides a full range of post-processing solutions, including HDR blending, Day-to-Dusk conversions, Twilight editing, Virtual Staging, color correction, and object removal. Every image is enhanced to highlight the true beauty of the property while maintaining a natural, professional look.
Why Choose Rotider Media?
- Specialized in real estate editing – Our editors are highly experienced in real estate photo editing, ensuring every detail is refined with precision.
- Consistent Quality – We deliver clear, vibrant, and realistic photos that elevate your property listings.
- Fast Turnaround – Get your photos back within 12–24 hours, perfect for real estate agents and photographers working on tight deadlines.
- Dedicated Support – Our team offers customer service, listens to your specific requirements, and revises until you’re satisfied.
With Rotider Media, you don’t just receive professionally edited images—you gain a powerful tool to attract more buyers, strengthen your brand, and stay competitive in the real estate market. Started Now!

Annie Doo
Professional Video Editor
Hi, I’m Annie Doo, a professional video editor specializing in real estate post-production. Through hands-on experience with real-world projects, I’ve developed a strong understanding of visual storytelling, pacing, color, sound, and the workflows behind polished real estate videos. Here, I share practical insights, editing techniques, and production knowledge drawn from my day-to-day work in video post-production.
Was this article helpful?
Your feedback helps us create more useful real estate media guides.
Share this article


No Spam, Just Updates
Our fresh blogs provide technical and industrial information that helps strengthen your business. Sign up to be the first to receive the new updates
Related Posts

Real Estate Post-Production: A Complete Guide for Photographers and Media Teams
Oct 2, 2026
AI in Real Estate: A New Leap for Property Professionals
Sep 9, 2026
AI for Real Estate Marketing: A Practical Guide for Agents and Agencies
Sep 9, 2026
AI for Real Estate Agents: Practical Uses and Future Trends
Sep 7, 2026
15 Real Estate AI Companies to Know in 2026
Sep 5, 2026