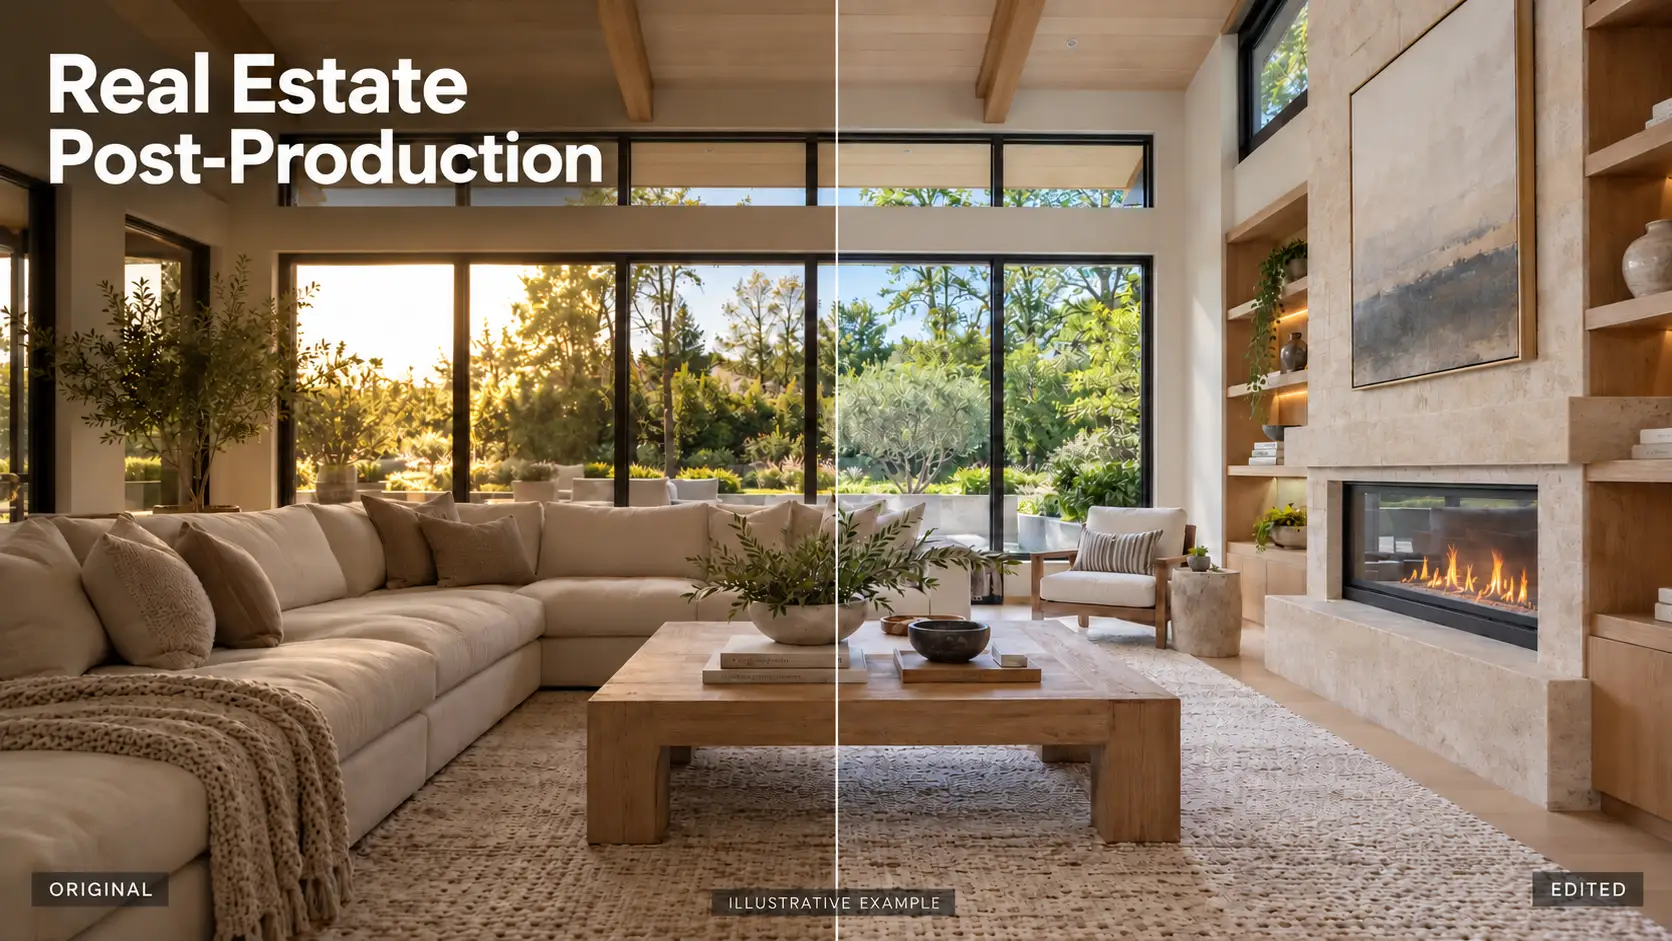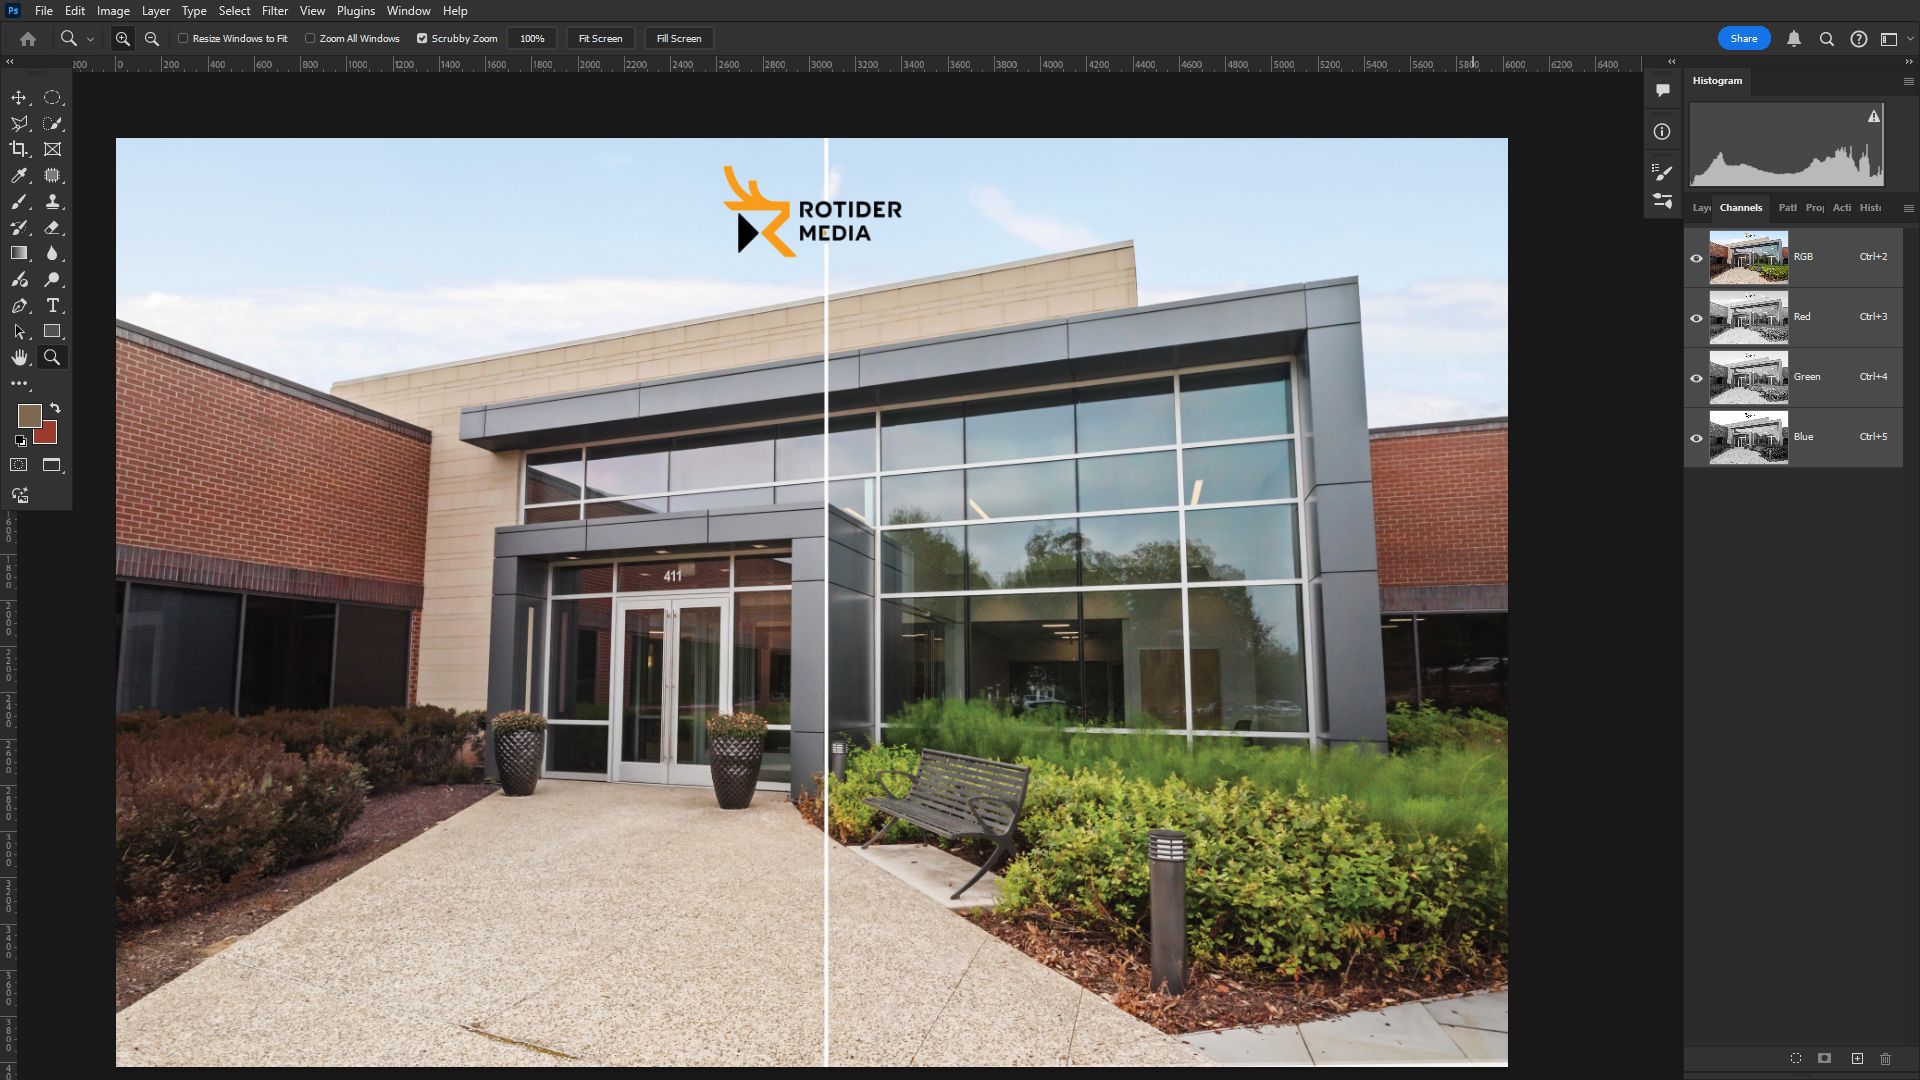
When it comes to property marketing, clean and professional visuals are a must. This Simple Guide to remove specific colors in Photoshop for real estate photos will show you how to eliminate distracting tones, correct lighting issues, and create polished images that attract buyers.
1. When to Remove Specific Color in Photoshop in a Real Estate Photo?
Remove specific color in Photoshop refers to the process of selecting and eliminating one particular color from an image without affecting the rest of the photo. This technique allows editors and designers to isolate, replace, or completely delete a color that may be distracting or unnecessary.
In real estate marketing, specific color removal techniques are often used in cases:
- Erase a solid background (such as green screens or plain white backdrops).
- Correct unwanted tints or color casts caused by poor lighting, such as the yellow hue from indoor bulbs or the blue tint from windows.
- Create design effects such as selective color, where one object remains in color while the rest of the image is black and white.
- Prepare marketing photos that need a clean and professional appearance, especially in real estate, e-commerce, or advertising.
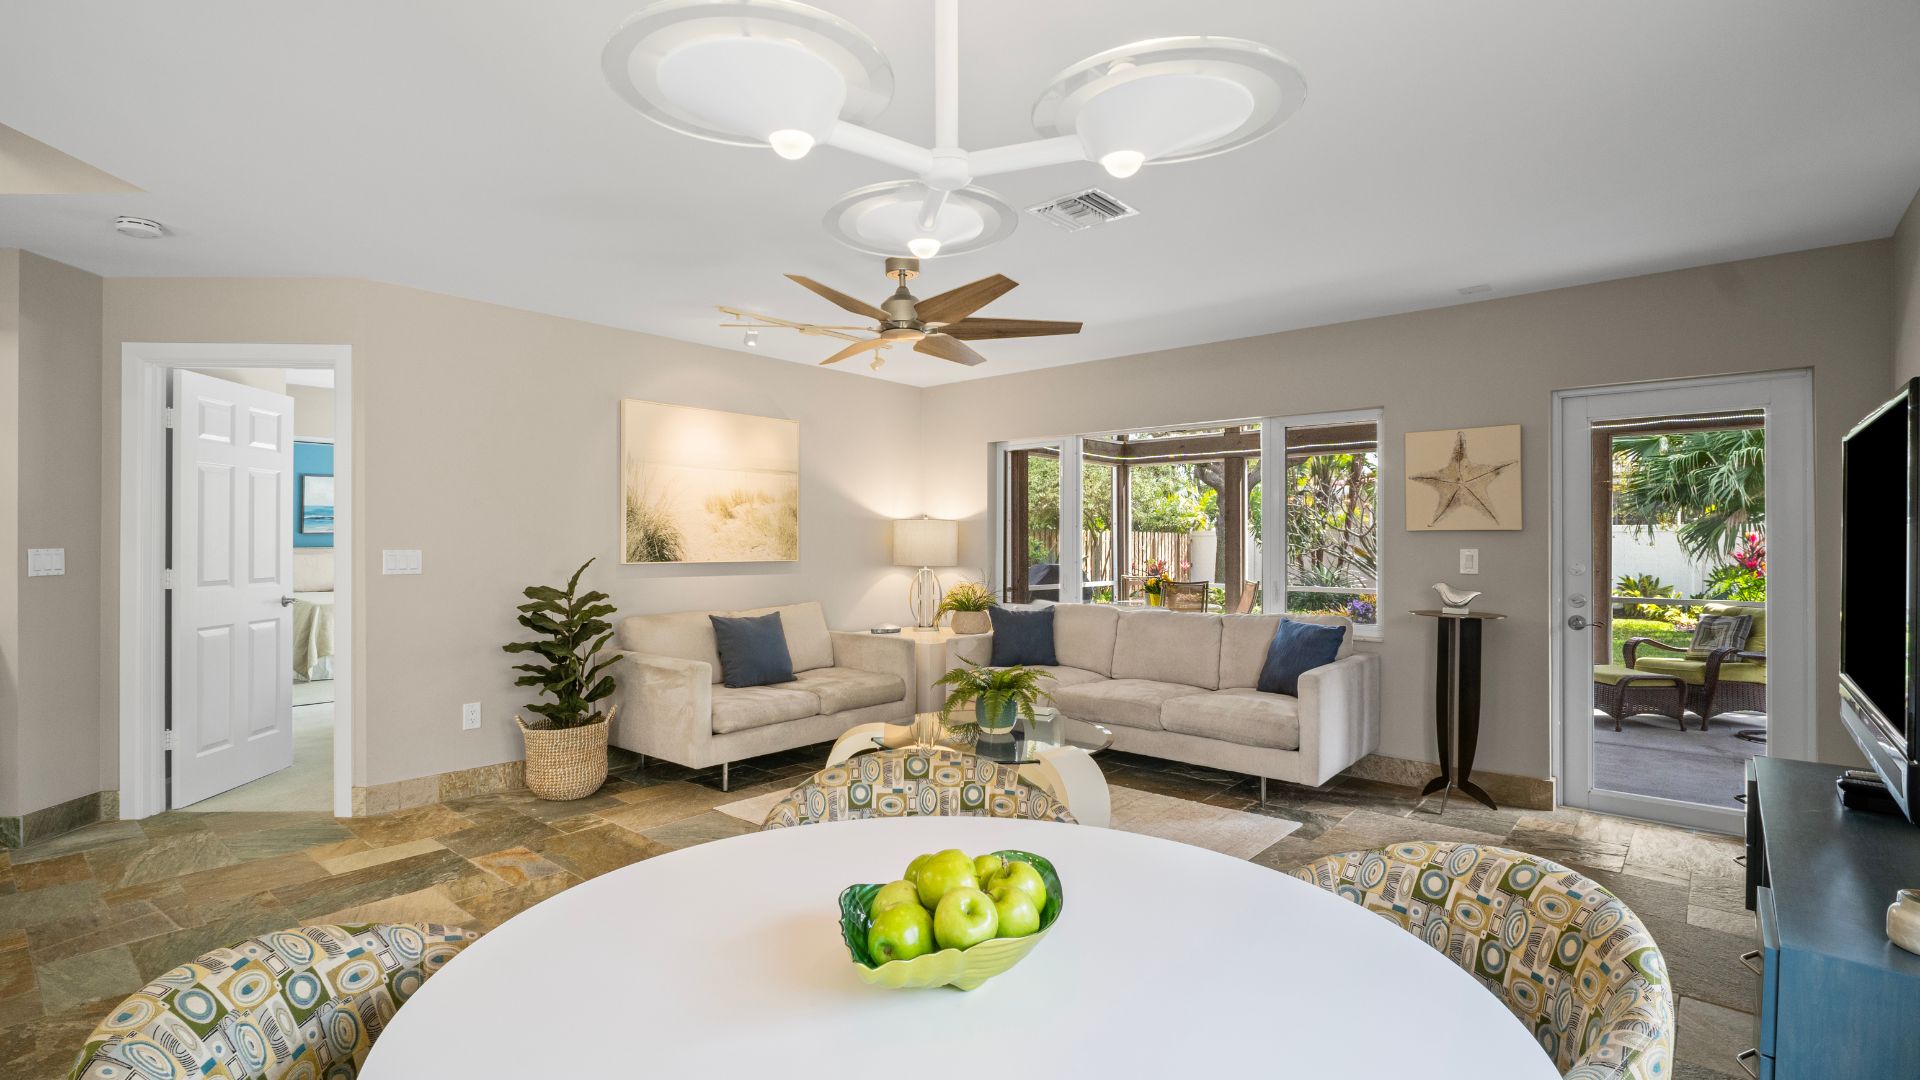
In short, removing a specific color in Photoshop gives you greater control over your images, helping you correct issues, enhance aesthetics, and achieve a polished final result.
Read more: How to Edit Photos for Real Estate Beginners Like A Pro
2. Step-by-Step Guide to Remove Specific Color in Photoshop
There are several ways to remove a specific color in Photoshop, and the best method depends on the type of image and the result you want to achieve. Below are three simple step-by-step techniques using Photoshop’s built-in tools:
2.1. Remove Specific Color Using the Color Range Tool
The Color Range Tool is one of the most precise ways to select and remove a single color from your photo.
- Go to the top menu and select Select > Color Range.
- Use the Eyedropper Tool to pick the color you want to remove.
- Adjust the Fuzziness slider to expand or limit the color range.
- Once the color is selected, press Delete or apply a Layer Mask to remove or replace the chosen color.
2.2. Remove Specific Color Using the Magic Wand Tool
The Magic Wand Tool allows you to quickly select areas of the same color with one click.
- Select the Magic Wand Tool from the toolbar.
- Click on the area containing the color you want to remove.
- Adjust the Tolerance setting in the top options bar. A lower value selects fewer shades, while a higher value captures more.
- Press Delete or create a Layer Mask to hide the selected color.
2.3. Remove Specific Color Using the Magic Eraser Tool
The Magic Eraser Tool is a fast way to erase a specific color directly from your photo.
- Select the Magic Eraser Tool from the toolbar (hidden under the Eraser Tool).
- Click on the color you want to erase, and Photoshop will automatically remove it.
- Adjust Tolerance and check Contiguous to control how much of the color is removed.
By mastering these three methods, you can easily remove a specific color in Photoshop depending on your project needs. In the next section, we’ll look at pro tips to get cleaner results and avoid common mistakes.
Read more: How to Remove Lens Flare in Photoshop Effectively
3. When to Use Professional Editing Services?
Remove specific colors in Photoshop for real estate photos is necessary in many cases to make your listing more impressive and professional. However, if you are not a professional photo editor, finding a professional real estate photo editing service will save you time and make a difference effectively. Especially for complex real estate photos, you need to edit in large quantities, or simply want your photos to be posted professionally.

At Rotider Media, we specialize in delivering high-quality real estate photo editing services designed to make your property listings stand out. Our team of experienced editors ensures that every image is polished, natural-looking, and optimized to capture buyer attention.
We offer a wide range of editing solutions, including HDR photo blending, day-to-dusk conversions, color correction, object removal, and specific color removal in Photoshop. With flexible editing packages, you can choose services that best fit your project’s size, style, and budget.
By outsourcing your photo editing to Rotider Media, you not only save valuable time but also guarantee consistent, professional results across all your listings. Faster turnaround times, reliable quality control, and tailored editing solutions mean you can focus on selling properties while we handle the technical work.
If you are looking for a trusted partner to elevate your real estate visuals, Rotider Media is here to help. Let us transform your photos into powerful marketing assets that drive real results. Started Now!
FAQs
1. Why should I remove specific color in Photoshop for real estate photos?
To eliminate unwanted color casts, distracting backgrounds, or lighting issues that make property photos look less natural or professional.
2. Which tools are best for removing a specific color in real estate photography?
The most common tools are Color Range, Magic Wand, and Magic Eraser, depending on the complexity of the photo.
3. Can removing specific colors improve property listing photos?
Yes, removing unwanted tones (like yellow indoor lights or gray skies) makes images look cleaner, more balanced, and appealing to potential buyers.
4. Is it possible to replace a removed color with another one in Photoshop?
Yes, instead of deleting, you can replace the selected color with a new one to enhance skies, walls, or lighting for better visual impact.
5. Should I use professional editing services for color removal in real estate photos?
If you have many photos or complex images with similar tones, professional editing services ensure faster turnaround and consistent, high-quality results. Contact us to get started!