Rotider Media Logo
November 2, 2024
Real Estate Photography

10 Tips for Capturing Real Estate Photos with Your Smartphone
10 Tips for Capturing Real Estate Photos with Your Smartphone
10 Tips for Capturing Real Estate Photos with Your Smartphone

In today’s fast-paced real estate market, stunning property photos are a must for attracting potential buyers. While professional photography is ideal, modern smartphones, equipped with advanced camera technology, allow you to take high-quality real estate photos without expensive gear. In this guide, we’ll explore 10 expert tips to help you elevate your real estate photography using just your smartphone.
Blog Image

1. Stage the Property for Maximum Appeal

Proper staging is the foundation of captivating real estate photos. A well-staged property not only highlights the home’s best features but also helps buyers envision living there.
Key Staging Tips:
  • Declutter: Remove personal items, such as family photos, to create a neutral and inviting space.
  • Enhance with Accents: Add pops of color through throw pillows or fresh flowers to make rooms feel warm and lively.
  • Clean Surfaces: Ensure all surfaces, including countertops and tables, are spotless and free of clutter.
By staging the property effectively, you set the stage for visually appealing photos that showcase the property’s potential.

2. Leverage Natural Light

Lighting is crucial in real estate photography. Bright, well-lit images are more inviting and attract more views online.
Natural Lighting Tips:
  • Open all curtains and blinds to let in natural light.
  • Shoot during the golden hour (early morning or late afternoon) for softer, warmer lighting.
  • Use sheer curtains to diffuse harsh midday sunlight.
For interiors, turn on all available lights and avoid mixing different lighting temperatures. Adjust your smartphone’s exposure settings to ensure the image isn’t overexposed or underexposed.

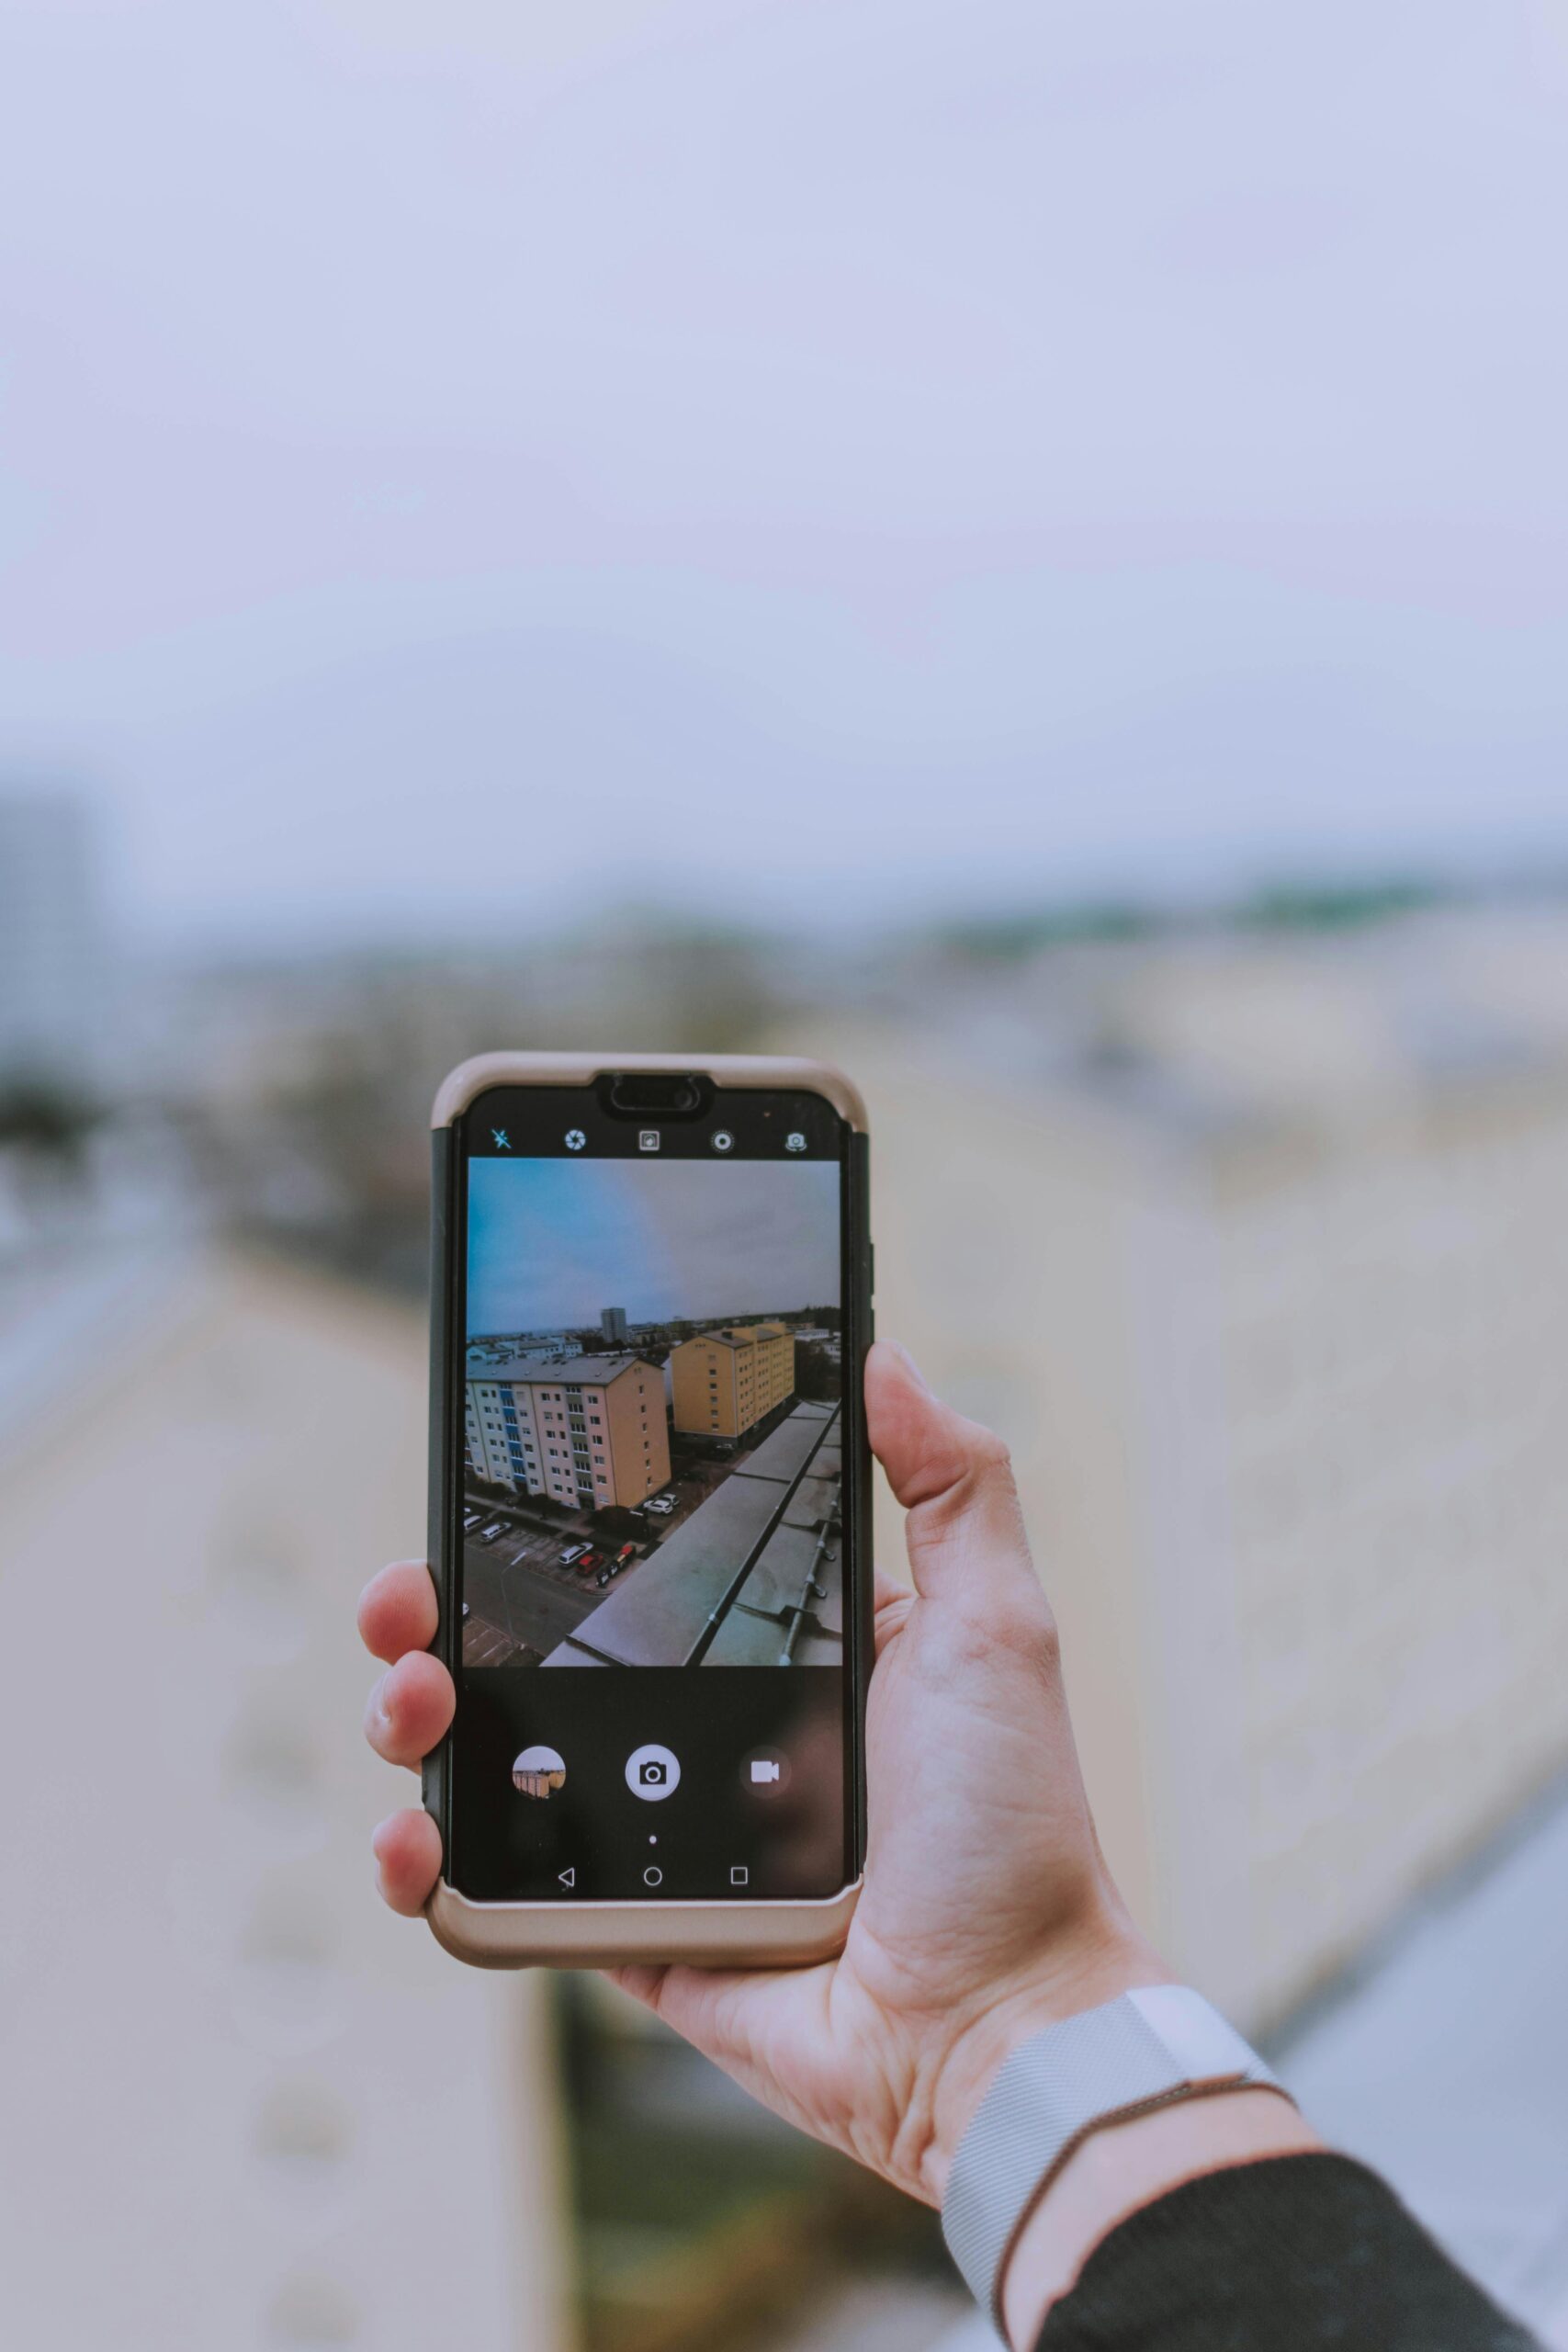
3. Activate the Grid Feature for Balanced Composition

Composition is key to creating professional-looking photos. Enable the grid feature on your smartphone to use the rule of thirds, aligning key elements along grid lines for better visual balance.
Steps to Enable Grid Lines:
  • Go to your phone’s camera settings.
  • Toggle the grid feature on.
Using the grid also helps maintain straight lines, ensuring that walls and horizons are level—a critical aspect of real estate photography

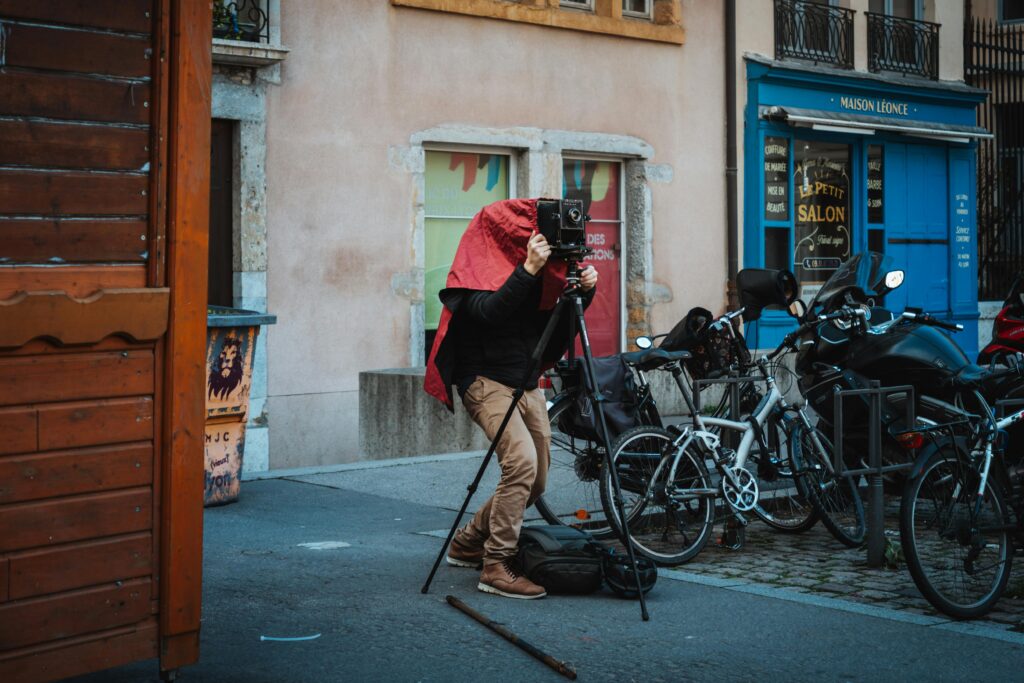
4. Use a Tripod for Stability

A steady camera is essential for sharp, clear images. Invest in a smartphone tripod to eliminate motion blur and achieve consistent shots.
Pro Tip: Pair your tripod with a remote shutter or the self-timer feature to minimize camera shake further. This setup is especially useful for low-light conditions or capturing video walkthroughs.
Blog Image

5. Capture Wide Shots with External Lenses

External lenses, such as wide-angle attachments, expand your smartphone’s field of view, making rooms appear more spacious. This is especially useful for tight spaces or showcasing large interiors.
Recommended Accessories:
  • Wide-angle lenses for capturing entire rooms.
  • Macro lenses for close-ups of fixtures and details.
  • Telephoto lenses for crisp exterior shots.
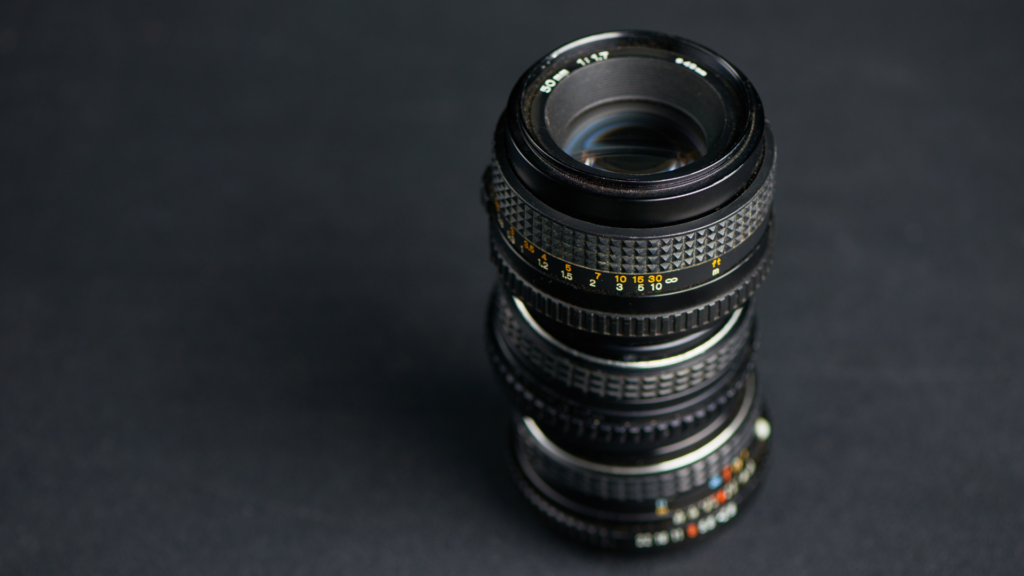
Choose high-quality lenses to avoid distortion and maintain image clarity.
Blog Image

6. Master High Dynamic Range (HDR) Photography

HDR combines multiple exposures to balance light and shadow, making it perfect for scenes with varied lighting conditions, such as bright windows and dark corners.
How to Use HDR:
  • Open your camera app and enable HDR (or set it to Auto HDR).
  • Frame your shot and capture the photo.
While HDR enhances details, use it selectively to avoid overly processed-looking images.

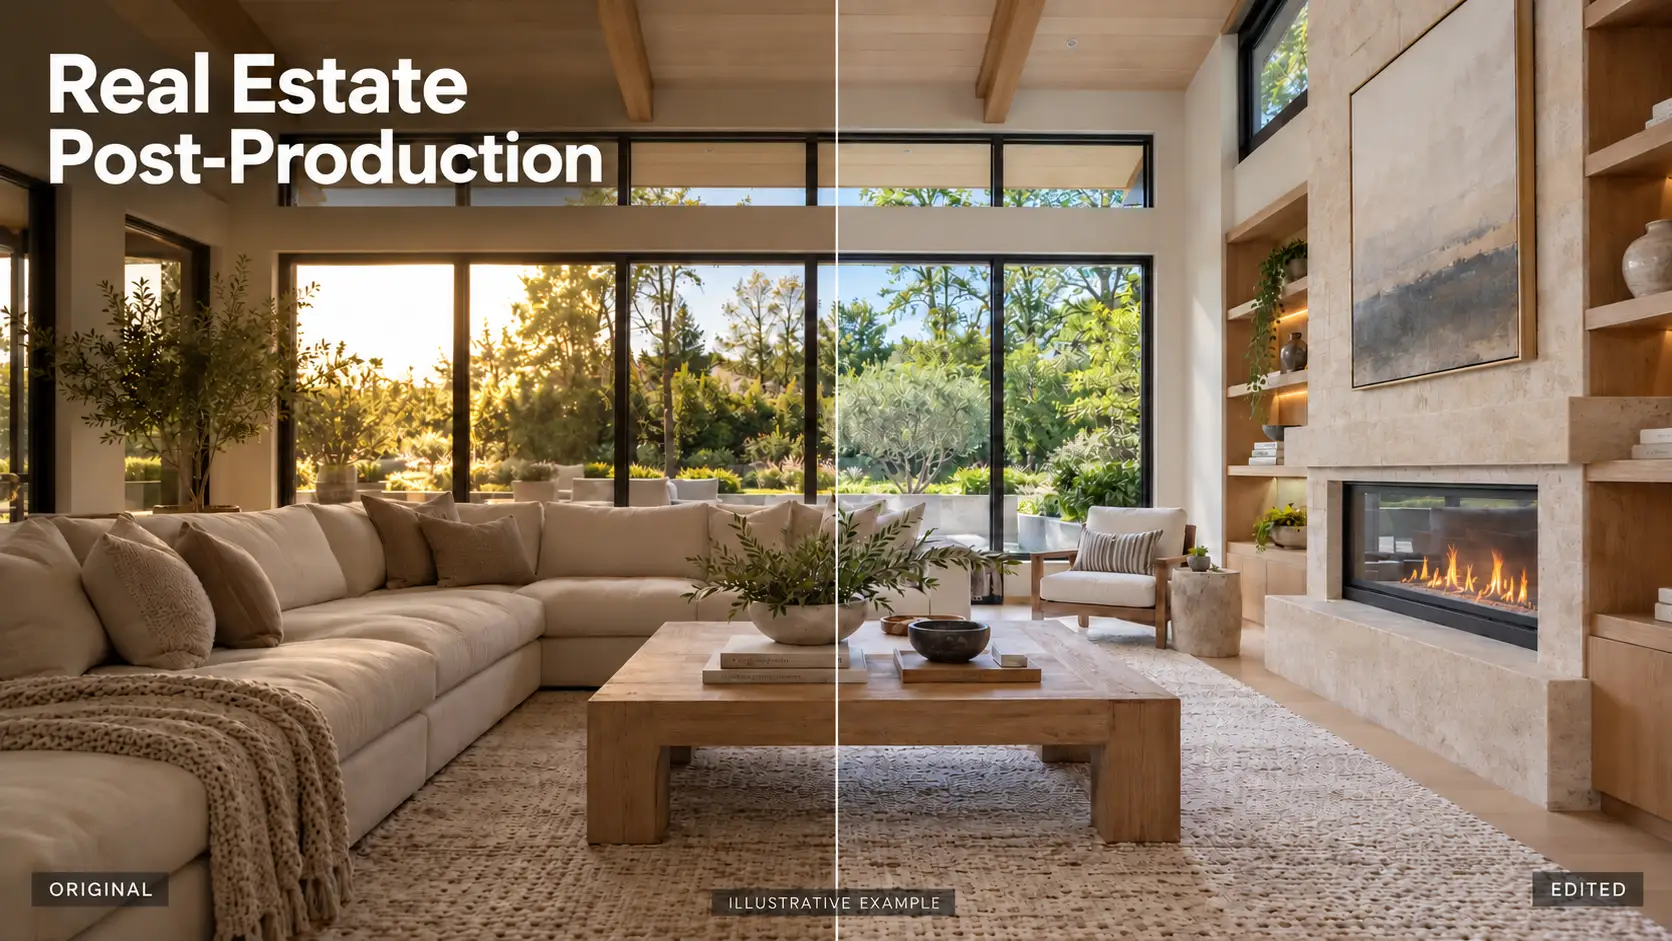
7. Enhance Photos with Editing Tools

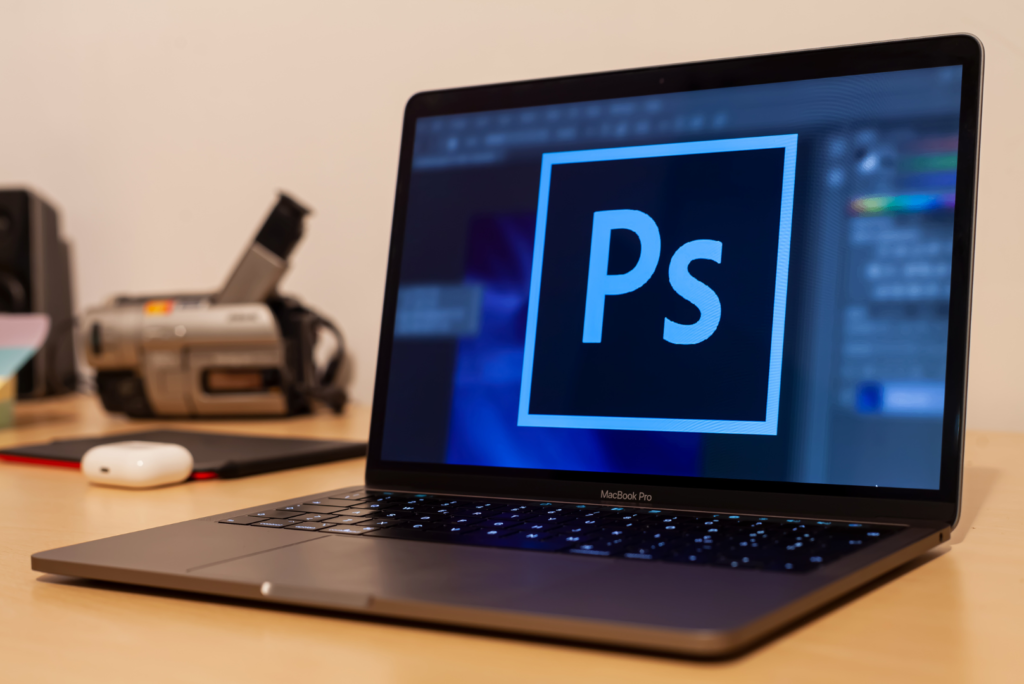
Editing is an essential step in real estate photography. Use apps like Lightroom or Snapseed to adjust brightness, contrast, and color balance. Focus on enhancing the photo’s natural appeal rather than over-editing.
Editing Tips:
  • Increase brightness and reduce shadows to make spaces look airy.
  • Correct white balance for consistent colors.
  • Straighten images to ensure vertical and horizontal lines are aligned.
Blog Image

8. Highlight Key Features with Angles

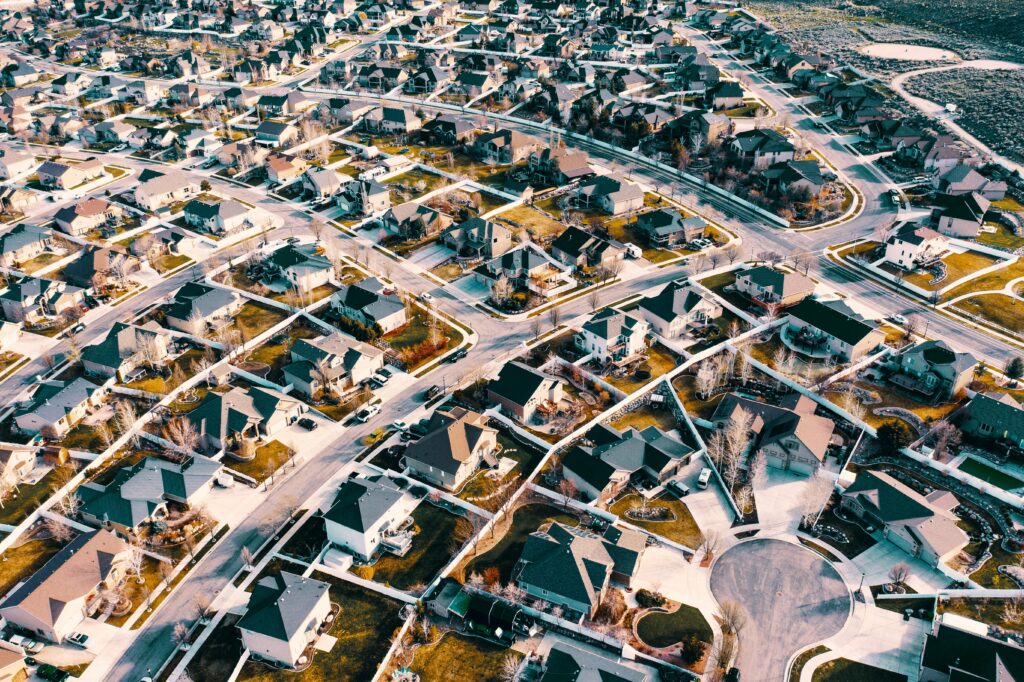
The right angles can emphasize a property’s best features, such as spacious rooms or unique architectural details. Experiment with different perspectives to find the most flattering view.
Shooting Angles Tips:
  • Position the camera at chest height for consistent and natural proportions.
  • Use diagonal angles to add depth and dimension.
  • Capture corner-to-corner shots to show room size effectively.

9. Utilize Third-Party Apps for Advanced Control

While default camera apps are powerful, third-party apps offer advanced features like manual focus, ISO adjustments, and RAW image capture.
Popular Apps for Real Estate Photography:
  • ProCamera: Provides manual controls and high-resolution output.
  • Halide: Offers professional-grade tools for advanced users.
  • VSCO: Known for its high-quality filters and editing options.
These apps give you greater control over your smartphone’s camera, enabling you to capture professional-quality photos

10. Prepare for Post-Processing

Post-processing is the final step in creating stunning real estate photos. Tools like Adobe Lightroom and Photoshop allow for advanced adjustments, including:
  • Correcting lens distortions.
  • Enhancing lighting and shadows.
  • Retouching small imperfections.
For those unfamiliar with photo editing, consider outsourcing to professional real estate photo editors to save time and achieve optimal results.

Conclusion

Taking high-quality real estate photos with your smartphone is both achievable and cost-effective. By following these 10 tips—from staging and lighting to composition and post-processing—you can create stunning images that captivate potential buyers and elevate your listings.
Remember, great photos don’t just sell properties; they also establish your credibility as a real estate professional. Invest the time to refine your skills, and watch your listings stand out in today’s competitive market.
Vivian Nguyen
Vivian Nguyen

Photo Post-production Specialist

Hi, I’m Vivian Nguyen, a Photo Post-production Specialist at Rotider Media, specializing in real estate image editing and professional post-production workflows. My work focuses on HDR and flambient editing, color correction, image retouching, virtual twilight, and quality control for high-volume real estate photography. Through hands-on production experience, I share practical insights into photo editing techniques, workflow optimization, and visual standards for real estate media.

Was this article helpful?

Your feedback helps us create more useful real estate media guides.

Share this article
Share via email
Share on Facebook
Share on X
Share on LinkedIn
Share on Reddit

No Spam, Just Updates

Our fresh blogs provide technical and industrial information that helps strengthen your business. Sign up to be the first to receive the new updates