

A tilt-shift lens for real estate photography lets photographers adjust framing while keeping vertical architectural lines upright, provided the camera is properly aligned. It can be valuable for carefully composed interiors and building exteriors, but it is not essential for every listing.
This guide explains when tilt-shift is useful, how it compares with a regular wide-angle lens and software correction, and how to use it without adding unnecessary complexity to your workflow.
Is a Tilt-Shift Lens Necessary for Real Estate Photography?
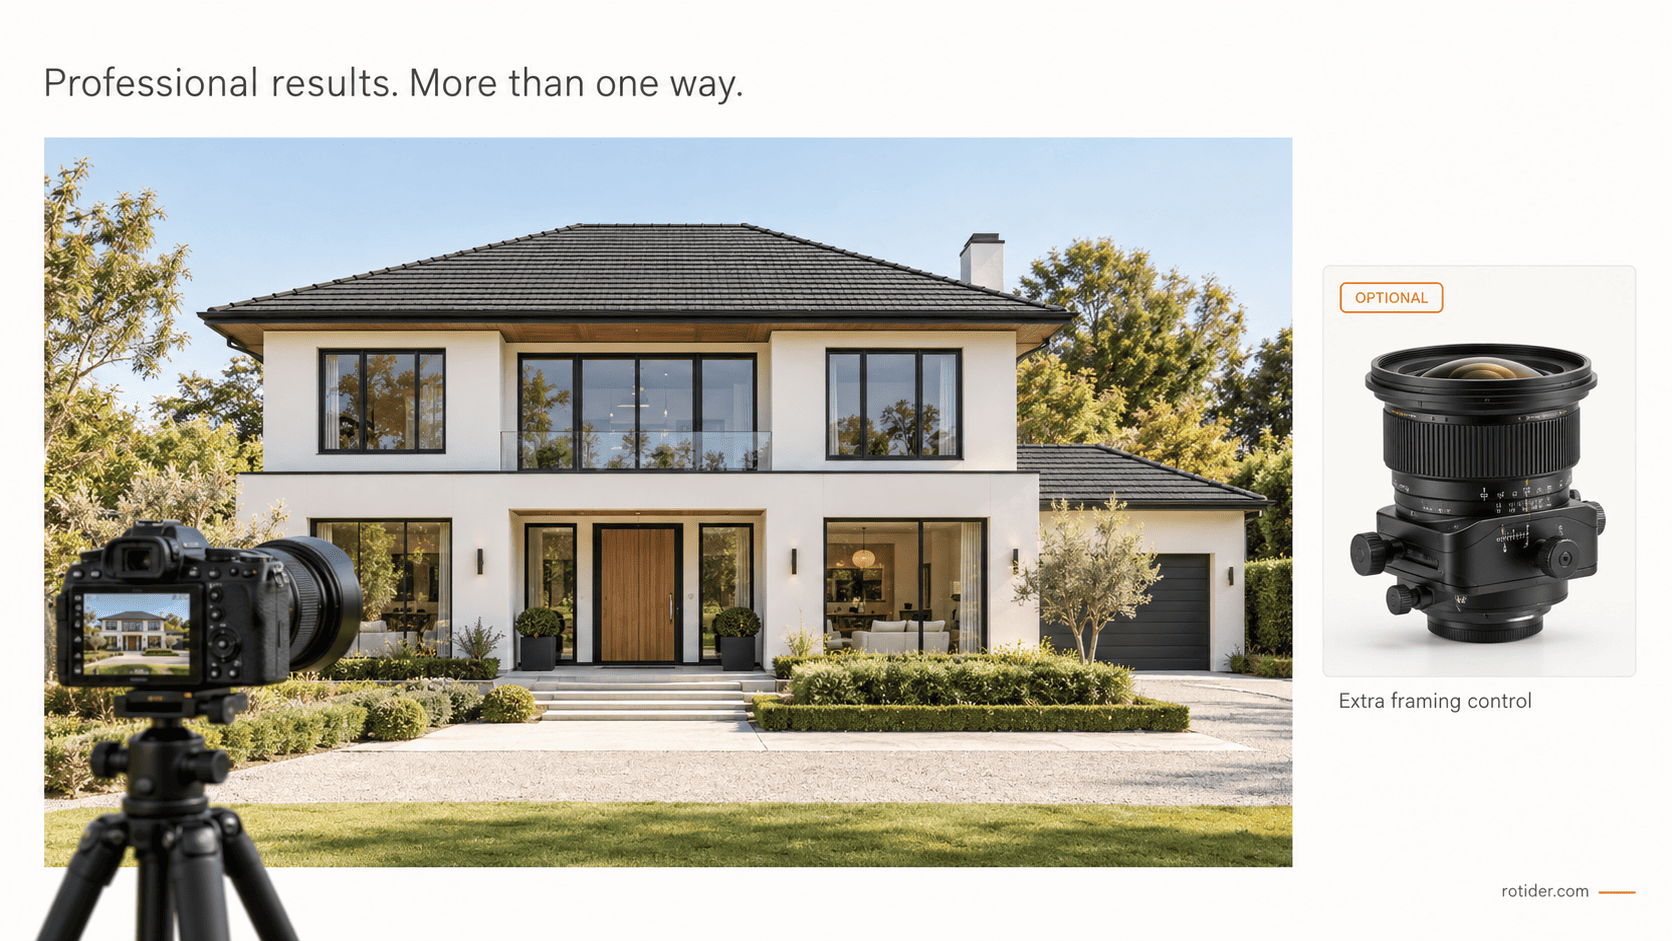
No. A conventional wide-angle lens, careful camera positioning and appropriate perspective correction can produce professional property photographs. A tilt-shift lens becomes more useful when a composition requires precise framing that is difficult to achieve with a level camera and a standard lens.
For example, keeping a camera level may leave too much foreground in an exterior photograph while cutting off the roof. Pointing the camera upward includes the roof, but introduces converging vertical lines. A shift movement offers another option: adjust the framing upward while maintaining the camera’s orientation.
Canon illustrates this approach in its guide to tilt-shift lenses for architectural photography. The important distinction is that the camera stays level while the lens shifts to include a different part of the scene.
Whether this control justifies the investment depends on your assignments. A photographer producing time-sensitive residential galleries may benefit more from a versatile zoom. Someone creating carefully planned images for architects, designers or commercial property clients may use shift more frequently.
Consider the problems your current equipment cannot solve consistently before purchasing a specialist lens.
|
Your situation |
A practical starting point |
|
Your current wide-angle setup meets the brief after correction |
Continue using it; a tilt-shift lens is optional. |
|
Keeping the camera level repeatedly prevents the framing you need |
Rent a tilt-shift or shift-only lens and test those compositions. |
|
You need to change the orientation of the plane of focus |
Check that the lens provides tilt, rather than shift alone. |
|
Fast composition changes are central to your listing workflow |
Compare total capture and editing time before investing. |
How Does a Tilt-Shift Lens Work?
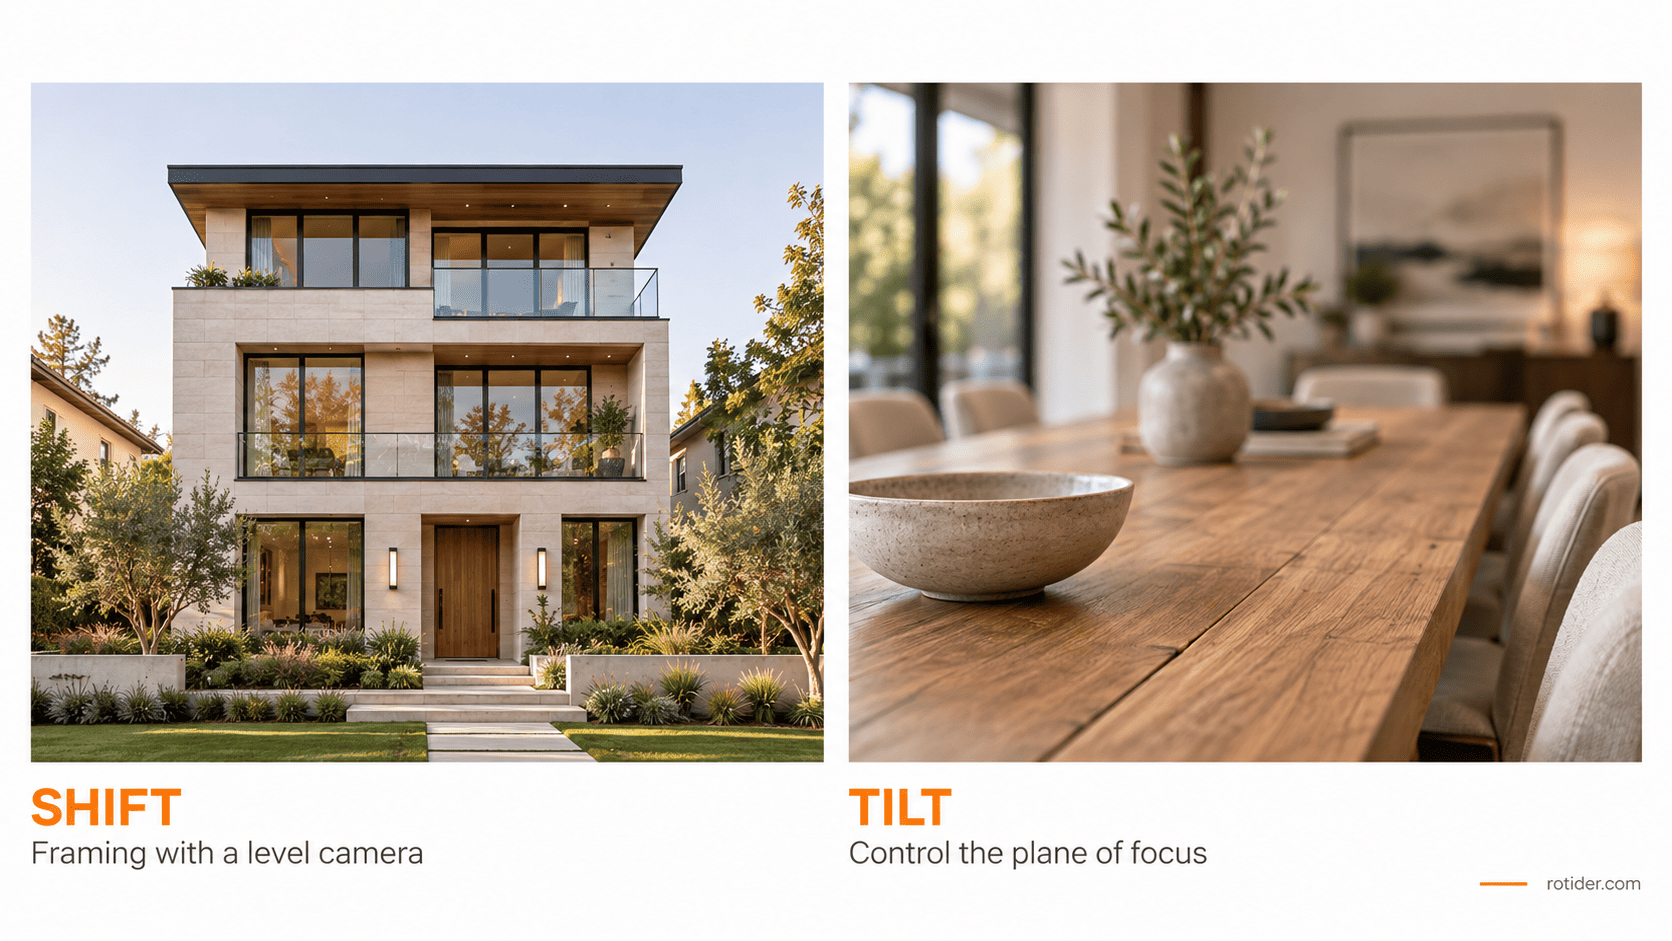
A tilt-shift lens allows the optical assembly to shift or tilt relative to the sensor, movements that conventional lenses do not provide. Although the two movements are often discussed together, tilt and shift perform different jobs.
Shift for Framing and Vertical Lines
Shift moves the lens sideways or vertically relative to the sensor. Its larger image circle allows the sensor to record a different portion of the projected image without requiring the photographer to point the camera upward or downward.
For property photography, shift is usually the more useful of the two movements because it adjusts framing while the camera stays level. It allows you to adjust how much ceiling, floor or building height appears in the photograph while maintaining a level camera.
Shift should not be understood as automatically straightening any composition. Camera alignment still matters. If the camera remains tilted upward, applying shift alone does not remove the convergence caused by that orientation.
Tilt for Controlling the Plane of Focus
Tilt angles the lens’s optical axis relative to the sensor, changing the orientation of the plane of focus. This can help align focus with a subject extending away from the camera, such as a tabletop or a surface running toward the background.
It does not make every object at every distance sharp. The subject arrangement, focus distance, aperture and amount of tilt still determine which areas appear acceptably focused.
Nikon demonstrates the separate roles of these movements in its perspective-control lens guide: shift changes framing with the camera level, while tilt can help control foreground-to-background focus.
For a straightforward interior composition, begin with tilt at zero. Introduce it only when there is a specific focus problem to solve.
Tilt-Shift vs. Shift-Only Lenses
Not every perspective-control lens offers both movements. A shift-only lens can provide architectural framing control without allowing the plane of focus to be tilted.
For example, the Laowa 15mm f/4.5 Zero-D Shift is a shift lens. It should not be described as offering the same movements as a lens with both tilt and shift.
If your main requirement is maintaining upright verticals while adjusting composition, shift-only equipment may address that need. If you also require focus-plane control, check that the lens provides tilt.
When Is a Tilt-Shift Lens Useful for Property Photography?
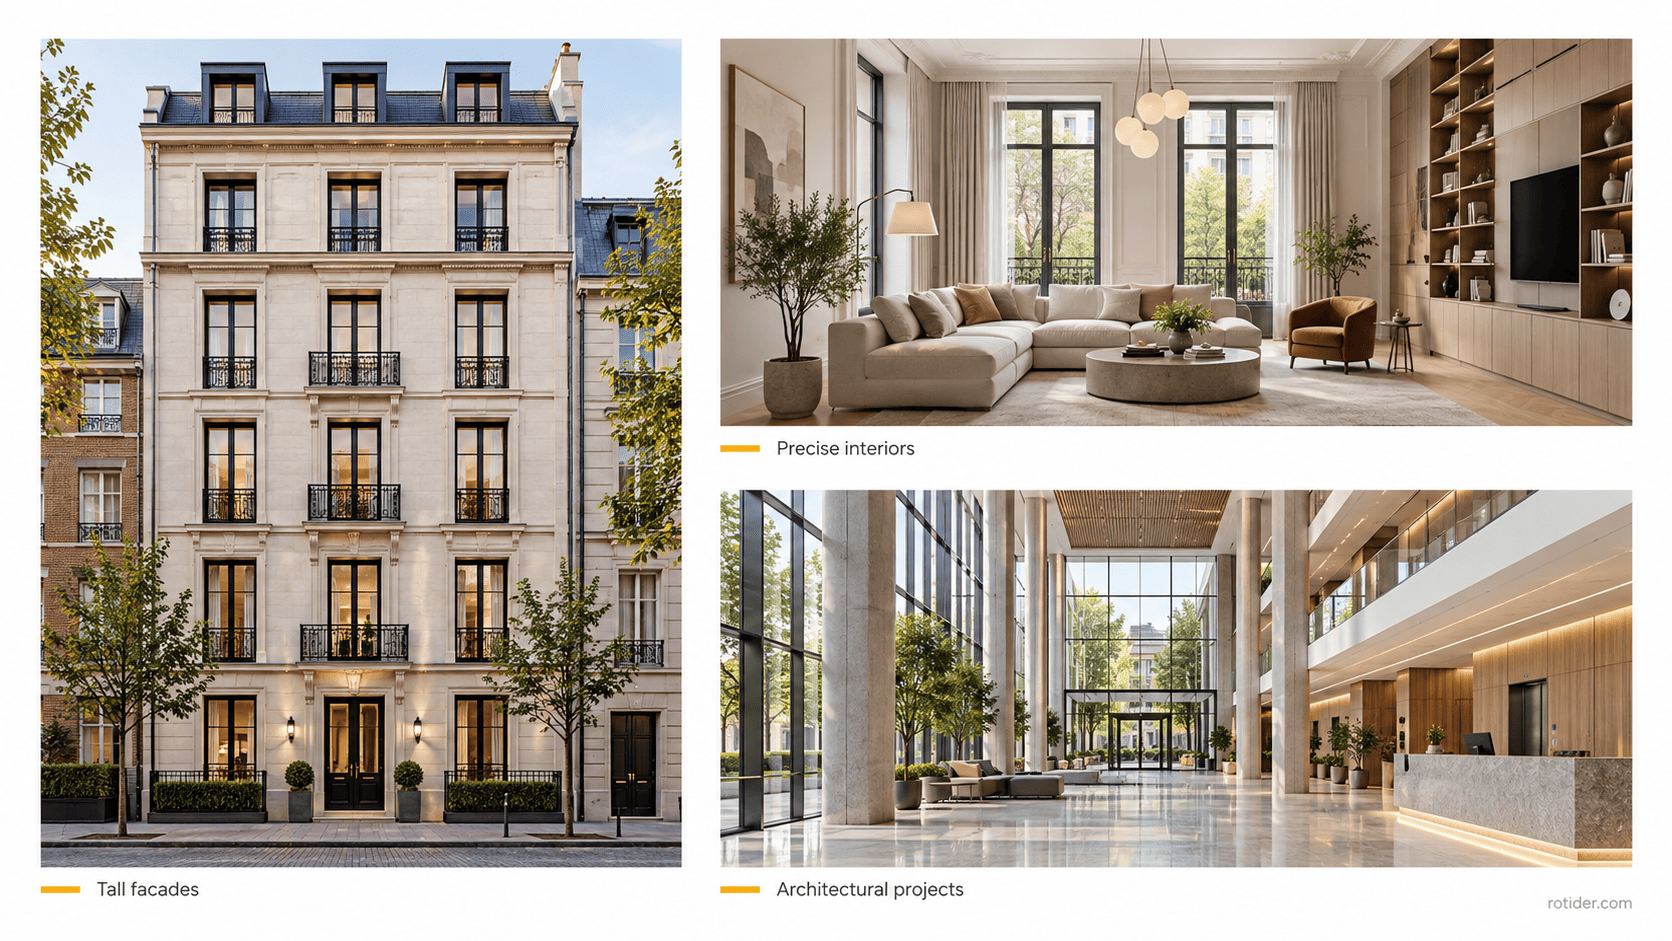
The value of a shift lens in real estate photography depends more on the composition than the size or price of the property. It is particularly useful when you need to change framing while preserving camera alignment.
Tall Buildings and Restricted Shooting Positions
Building exteriors can create a conflict between including the full structure and keeping the camera level. This becomes more noticeable when the available shooting position is close to the facade.
Upward shift can help include the upper part of a building without pointing the camera upward. However, the lens has a finite range of movement. A very tall structure photographed from a restricted position may still require a wider lens, a different viewpoint or another approach.
Shift also does not remove obstacles. Trees, parked vehicles and nearby structures remain compositional constraints that must be addressed through camera placement or shot selection.
Interior Compositions That Require Precise Framing
Inside a property, shift can help refine the balance between floor and ceiling without changing camera height or tilting the body.
This is useful when the camera height has already been chosen to represent furniture, cabinetry or other features appropriately. Instead of raising the tripod to include more of the upper room, the photographer can evaluate whether upward shift produces the intended composition.
Horizontal shift can also help refine an off-center composition while retaining the camera’s orientation. It does not replace choosing the correct shooting position, especially when foreground objects overlap important features.
Architectural and Commercial Property Assignments
Architectural and commercial assignments may call for more deliberate composition, larger prints or higher-resolution deliverables, and closer attention to how lines and surfaces are represented.
In these situations, the ability to refine framing at capture can justify a slower working method. The benefit is strongest when the client’s requirements make that additional control valuable.
A routine listing can still benefit from shift, but there is no reason to use it on every photograph. Select the tool according to the shot rather than applying the same technique throughout the property.
Tilt-Shift Lens vs. Software Perspective Correction
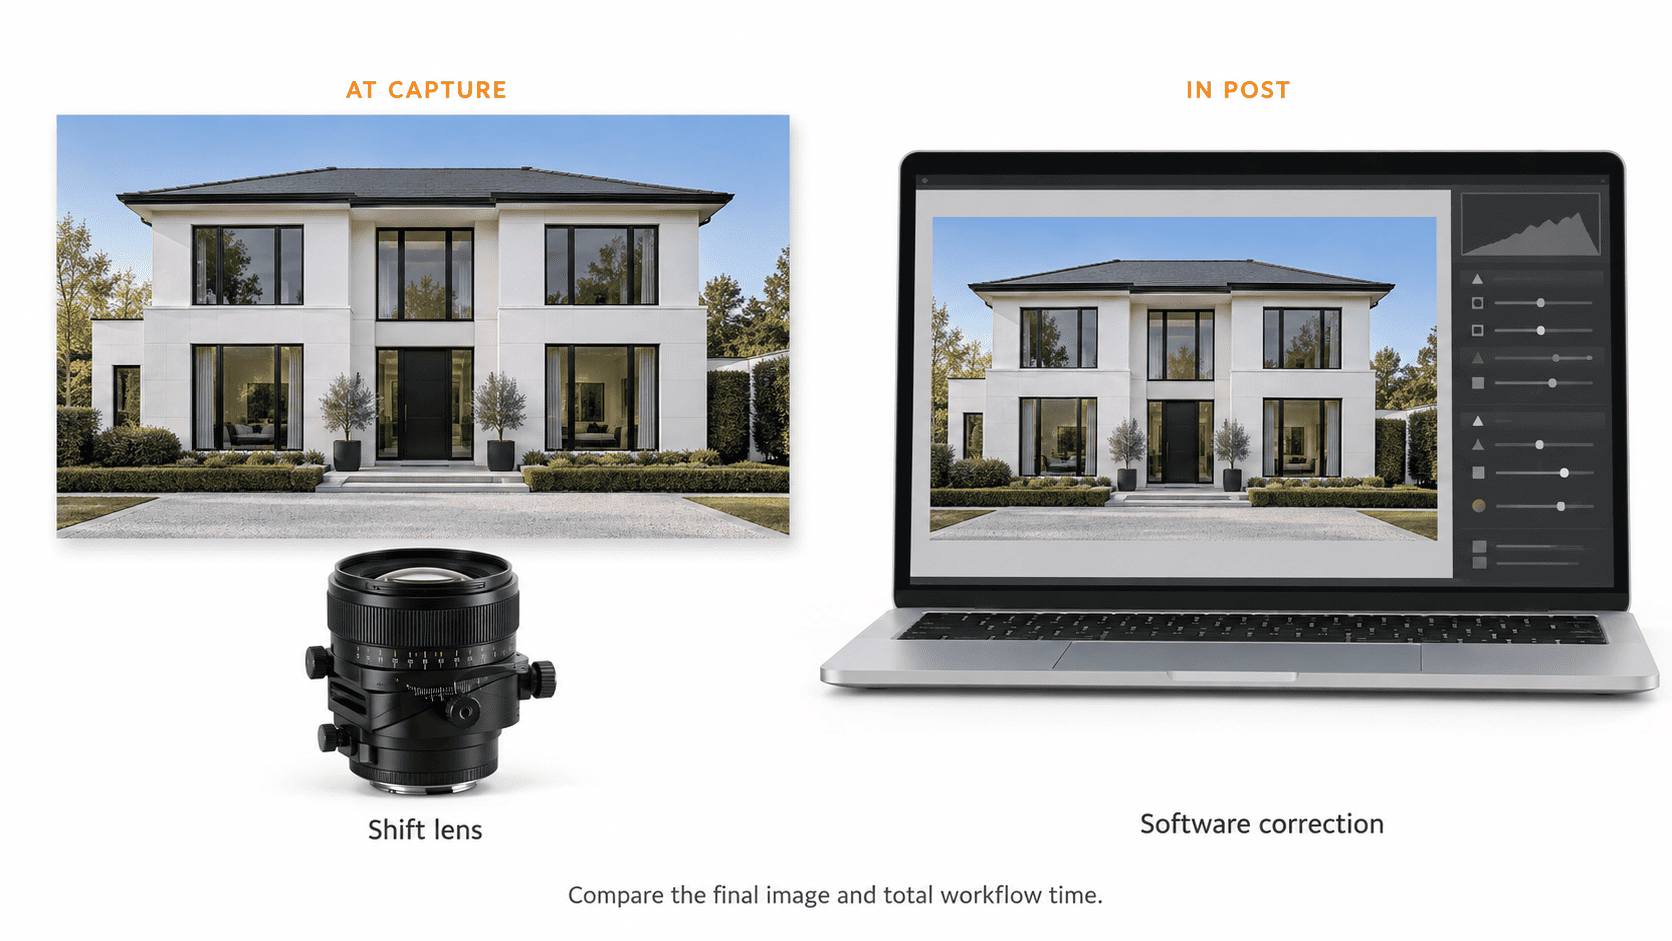
A tilt-shift lens and software perspective correction can both help produce architectural images with upright vertical lines. When comparing a tilt-shift lens with a regular wide-angle lens for real estate photography, consider framing flexibility, correction needs and total working time.
A tilt-shift lens can also be a wide-angle lens. The distinction here is between a lens with shift movements and a conventional wide-angle lens that relies on camera positioning and, when needed, software perspective correction.
Framing, Cropping and Output Resolution
Software perspective correction transforms the recorded image. Depending on the adjustment, this can create blank edges that need to be cropped away.
Adobe explains the available controls in its Lightroom Crop and Geometry documentation. Its Upright and Guided Upright tools support automatic or manually guided perspective adjustments.
When using a regular lens, leave enough space around important features for the intended correction and final aspect ratio. A composition that looks complete in the original file may lose part of a doorway, roofline or furniture after transformation.
Shift can reduce the need for that particular correction when the camera is aligned correctly. It does not guarantee that the final image will require no cropping.
Image Quality and Remaining Corrections
A shifted image is not automatically sharper than a software-corrected image. Results depend on the individual lens, aperture, movement amount, sensor and required output.
Heavy perspective transformations can redistribute detail unevenly. At large shift settings, a lens may also show reduced sharpness, shading or color fringing near the edges of its image circle.
Compare finished exports rather than relying on the equipment category. Check architectural edges, textures and corners at the size the client will actually use.
Perspective correction and optical distortion correction also address different issues. Straightening converging verticals does not necessarily remove barrel distortion, and using shift does not guarantee perfectly straight rendering from every lens.
Shooting Time and Editing Time
A specialist lens can reduce some geometry adjustments, but its controls and focusing process may increase time on location.
Software correction can be efficient for repeatable listing work, particularly when photographers capture level compositions and leave suitable framing margins. More difficult compositions may require additional manual attention.
For a practical comparison, photograph the same selected scenes using both approaches and aim for comparable final framing and output size. Record capture and correction time, then review whether each result meets the same delivery requirements. The better option is the one that meets the brief with a manageable total workload.
Read more: Step-by-Step Tutorial for Editing Real Estate Photos in Lightroom
How to Choose a Tilt-Shift Lens for Real Estate Photography
.png)
Choose a lens according to the framing problems you need to solve, your camera system and the working method you can maintain across assignments.
Focal Length and Sensor Format
Focal length determines the coverage available before any movement is applied. A wider lens may help when the camera position is restricted, while a longer option can support more selective compositions when sufficient working distance is available.
Canon’s TS-E 17mm f/4L and TS-E 24mm f/3.5L II illustrate two different wide-angle options. Their suitability depends on the scene and sensor format, rather than one being universally better for interiors.
Account for crop factor when comparing coverage. For example, a 24mm lens on a camera with a 1.5× crop factor provides an angle of view comparable to approximately 36mm on full frame. That may be too restrictive for some interior compositions.
Avoid buying a lens solely because its focal length is commonly recommended. Test whether it covers the spaces and camera positions you encounter.
Lens Mount and Adapter Compatibility
Check the exact lens, camera and adapter combination before purchasing.
Mechanical fit is only part of compatibility. Aperture control, electronic communication and clearance around the movement controls can also affect usability. Some combinations may restrict movement or make particular controls difficult to reach.
A lens that mounts successfully is not necessarily convenient at every rotation or shift position. Consult manufacturer compatibility information and test the intended setup where possible.
Shift Range, Rotation and Edge Performance
The available shift range determines how far you can reframe within the lens’s image circle. Rotation determines which directions are accessible and, on some designs, how tilt and shift relate to one another.
For example, Nikon specifies ±12mm shift and ±7.5° tilt for its PC NIKKOR 19mm f/4E ED. These figures describe the available movements; they do not guarantee that the lens can capture your intended composition from every shooting position.
Evaluate the full image at the movement settings you expect to use. Center sharpness alone does not show how the lens performs in the shifted corners.
Buying Used or Renting Before Purchasing
Renting provides a practical way to determine whether the lens improves your actual assignments.
Test it on a complete property rather than a few demonstration shots. Include an exterior, an interior with demanding framing and a composition with detail near the image edges.
When buying used, inspect focus operation, movement controls, locking mechanisms and optical condition. Confirm that the lens holds its settings securely and that the controls operate smoothly.
Use the rental to assess how often shift improves the compositions you deliver and whether the added control justifies the cost and working time.
Read more: Best Lenses for Real Estate Photography in 2026
How to Use a Tilt-Shift Lens for Interiors
.png)
A repeatable process helps keep the movements purposeful. Start with camera position and alignment, then use shift to refine the framing.
Position and Level the Camera
Choose the camera position according to the composition, including furniture relationships, doorways, foreground objects and reflective surfaces.
Mount the camera on a stable tripod and begin with tilt and shift at their neutral positions. Level the camera from side to side and front to back, using the electronic level or a suitable leveling aid.
Check the actual architectural lines as well. A level indicator is a useful starting point, but the finished composition still requires visual inspection.
Apply Shift to Refine the Composition
With the camera level, apply a small amount of shift in the required direction. Evaluate how the change affects the balance of floor, ceiling and important features.
Use the movement needed for the photograph rather than moving immediately to the maximum setting. If the composition still does not work, reconsider camera position, focal length or orientation.
Keep tilt at zero unless you deliberately need to change the plane of focus. Tilting the lens is not the step used to include more ceiling while preserving upright verticals.
Check Focus, Exposure and Image Edges
For manual-focus lenses, use magnified live view to inspect critical details. Recheck focus after adjusting tilt or shift, following the lens manual. Check more than one area, particularly if tilt has been introduced.
Begin with a practical aperture for the lens and scene, then assess foreground, background and edge detail. Do not assume that a small aperture will compensate for an unsuitable focus setting.
Follow the lens manual when setting exposure. Some lenses require an initial meter reading with tilt and shift at zero. After applying the movements, check a test image and its histogram, then adjust exposure as needed.
Look for shading, flare, softness and unwanted objects near the shifted edges before moving to the next photograph.
Keep the Setup Consistent Across Exposure Brackets
For HDR capture, maintain the same composition, focus, aperture and lens movements throughout each bracket sequence. Changing shift between exposures changes the framing and complicates alignment.
Bracketed exposures and shifted compositions are different capture groups. If you create several shifted views for stitching, keep each view’s exposure sequence clearly organized.
Labeling or grouping the files helps the editor distinguish an HDR set from a separate composition.
Read more: The Ultimate Guide to Shooting Bracketed Images for HDR
Common Tilt-Shift Mistakes to Avoid
.png)
Most problems arise when lens movements are used without a clear understanding of what they change.
Confusing Lens Tilt with Camera Tilt
Tilting the entire camera upward changes the sensor’s orientation relative to vertical structures. Tilting the lens changes the orientation of the plane of focus.
These are separate actions. For a composition requiring upright verticals, establish the camera’s alignment first and use shift to adjust framing.
Introducing lens tilt unnecessarily can make focus harder to manage without improving the composition.
Using More Shift Than the Composition Needs
Maximum movement is a mechanical limit, not a recommended setting.
Additional shift may include unwanted ceiling, floor or background space. It can also place important details farther from the center of the lens’s image circle, where performance should be checked carefully.
Apply only the movement that serves the composition. If the lens reaches its limit, evaluate another position or focal length instead of forcing the shot.
Assuming Straight Verticals Guarantee Natural Proportions
Upright walls are only one part of a convincing property photograph.
A camera placed very close to a bed, countertop or other foreground object can still make that object dominate the composition. Wide rectilinear views may also stretch shapes toward the edges.
Shift does not make those relationships disappear. Review camera distance, foreground placement and coverage alongside vertical alignment.
What Post-Production Is Still Required?
A tilt-shift lens addresses specific capture decisions. It does not balance bright windows with a dark interior, correct mixed lighting or ensure consistent color across a complete gallery.
Depending on the files and brief, post-production may still include exposure blending, white-balance correction, local tonal adjustments, noise reduction, cleanup and output preparation.
Geometry also deserves a final check. Small alignment errors can remain, and a shifted image may still need an appropriate crop or optical correction. Evaluate lens profiles carefully: confirm that a correction improves the shifted image rather than assuming the same settings suit every frame.
If the project includes stitched views, inspect joins, moving subjects and nearby objects. Lens shifting should not be treated as a guarantee of artifact-free stitching.
For an outsourced workflow, identify which files form exposure brackets and which form separate shifted compositions. Include the intended framing and reference images so the editor does not undo a deliberate capture decision.
Example delivery note: “Each numbered group contains one exposure bracket. Groups A, B and C are separate shifted views intended for stitching. Preserve the approved framing shown in the reference image.”
Read more: Step-by-Step Real Estate HDR Photo Editing Tips
Frequently Asked Questions About Tilt-Shift Lenses
Can You Use a Regular Wide-Angle Lens Instead?
Yes. A regular wide-angle lens can produce professional property photographs with careful positioning and appropriate correction. Tilt-shift adds framing control, but it is not mandatory for listing work.
Is 17mm or 24mm Better for Property Photography?
Neither is universally better. On full frame, 17mm offers wider coverage, while 24mm provides a tighter view. Choose according to available working distance, the intended composition and how much of the property needs to appear.
Can You Use a Tilt-Shift Lens on a Mirrorless Camera?
Yes, with a compatible native lens or an appropriate adapter for the specific combination. Check aperture operation, control clearance and manufacturer compatibility guidance before purchasing.
Can Shift Help Keep the Camera Out of a Mirror?
Sometimes. An offset camera position combined with shift can allow the desired framing while placing the camera outside the mirror’s reflected view. Success depends on the mirror, room geometry and available camera positions. Nikon describes a related reflective-subject application in its PC-E lens announcement.
Is a Tilt-Shift Lens Worth It for High-Volume Listing Work?
It depends on how often it solves a meaningful problem. A wide-angle zoom may be more efficient for rapidly changing compositions. Rent a tilt-shift lens and compare the time required to produce a complete approved gallery before investing.
Conclusion
A tilt-shift lens for real estate photography is most valuable when precise framing and camera alignment are difficult to achieve with your existing equipment. It offers useful control for selected interiors, exteriors and architectural assignments, while a conventional wide-angle lens remains a practical option for many listings.
Test the lens against your actual requirements, including capture time, image quality and remaining editing work. Regardless of the equipment used, the final gallery still depends on accurate exposure, consistent color and careful review.





.png)