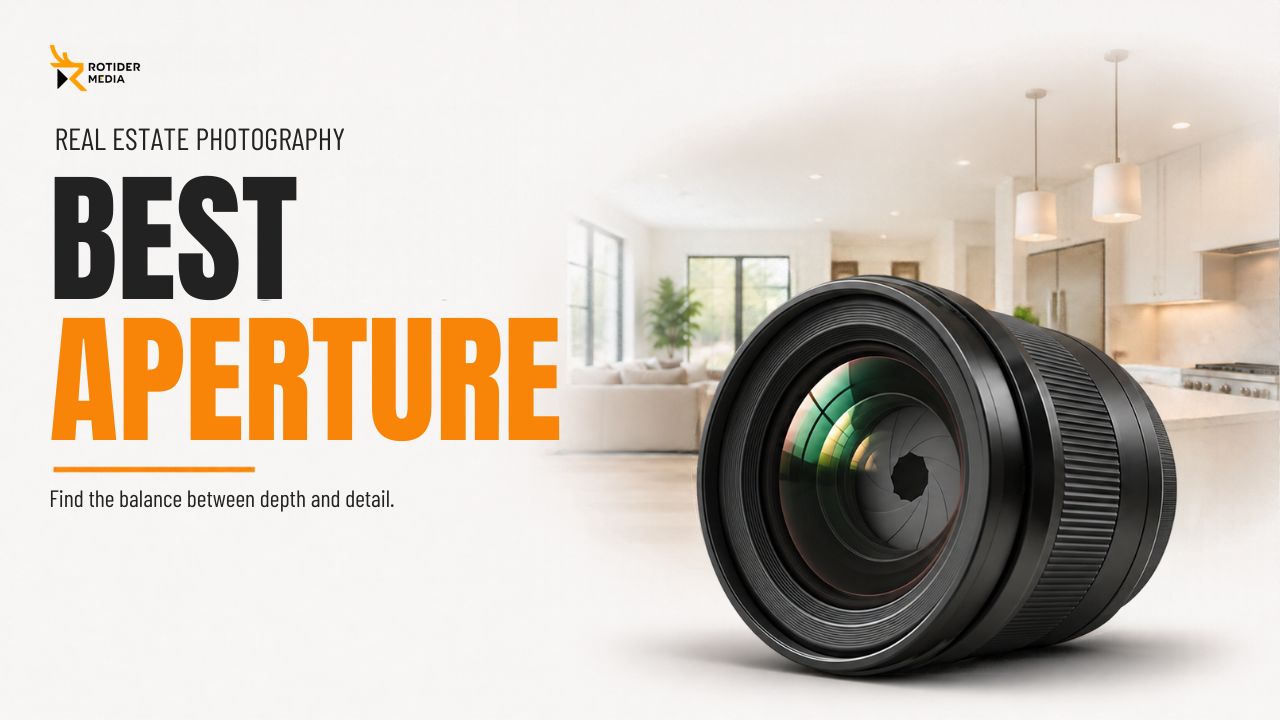
The best aperture for real estate photography balances sufficient depth of field with usable detail across the image. Around f/8 is a practical starting point for many tripod-mounted interiors, but the right setting depends on your composition, focus placement, camera and lens.
This guide explains when to use f/5.6, f/8 or f/11, when a different approach works better, and how to check the result before leaving the property.
What Is the Best Aperture for Real Estate Photography?
For many wide-angle interiors photographed on a tripod, start around f/8. Use f/5.6 when it provides enough depth of field and a shorter exposure is useful. Try f/11 when important near and distant details need more focus coverage, then check whether diffraction reduces detail at your intended output size. No aperture guarantees a sharp image without appropriate focus and stable capture.
Use these settings as starting points for test shots, not as guarantees of sharpness.
Distinguish working aperture from maximum aperture. A lens with an f/2.8 maximum aperture can also be used at f/8. The specification identifies its widest available aperture, not a required shooting setting.
|
Aperture |
When to consider it |
What to check |
|
f/4 or wider |
Selective-focus details or situations requiring more light |
Whether important surrounding features remain sufficiently sharp |
|
f/5.6 |
Overviews without demanding close foreground detail |
Near-to-far focus and corrected corner detail |
|
f/8 |
A starting point for many wide-angle room views |
Foreground, background and edges |
|
f/11 |
Compositions needing more depth of field |
Whether improved focus coverage outweighs diffraction-related softness |
|
f/16 |
Specific depth-of-field or creative requirements |
Final output quality compared with a wider aperture |
f/5.6 vs. f/8 vs. f/11 for Real Estate Photos
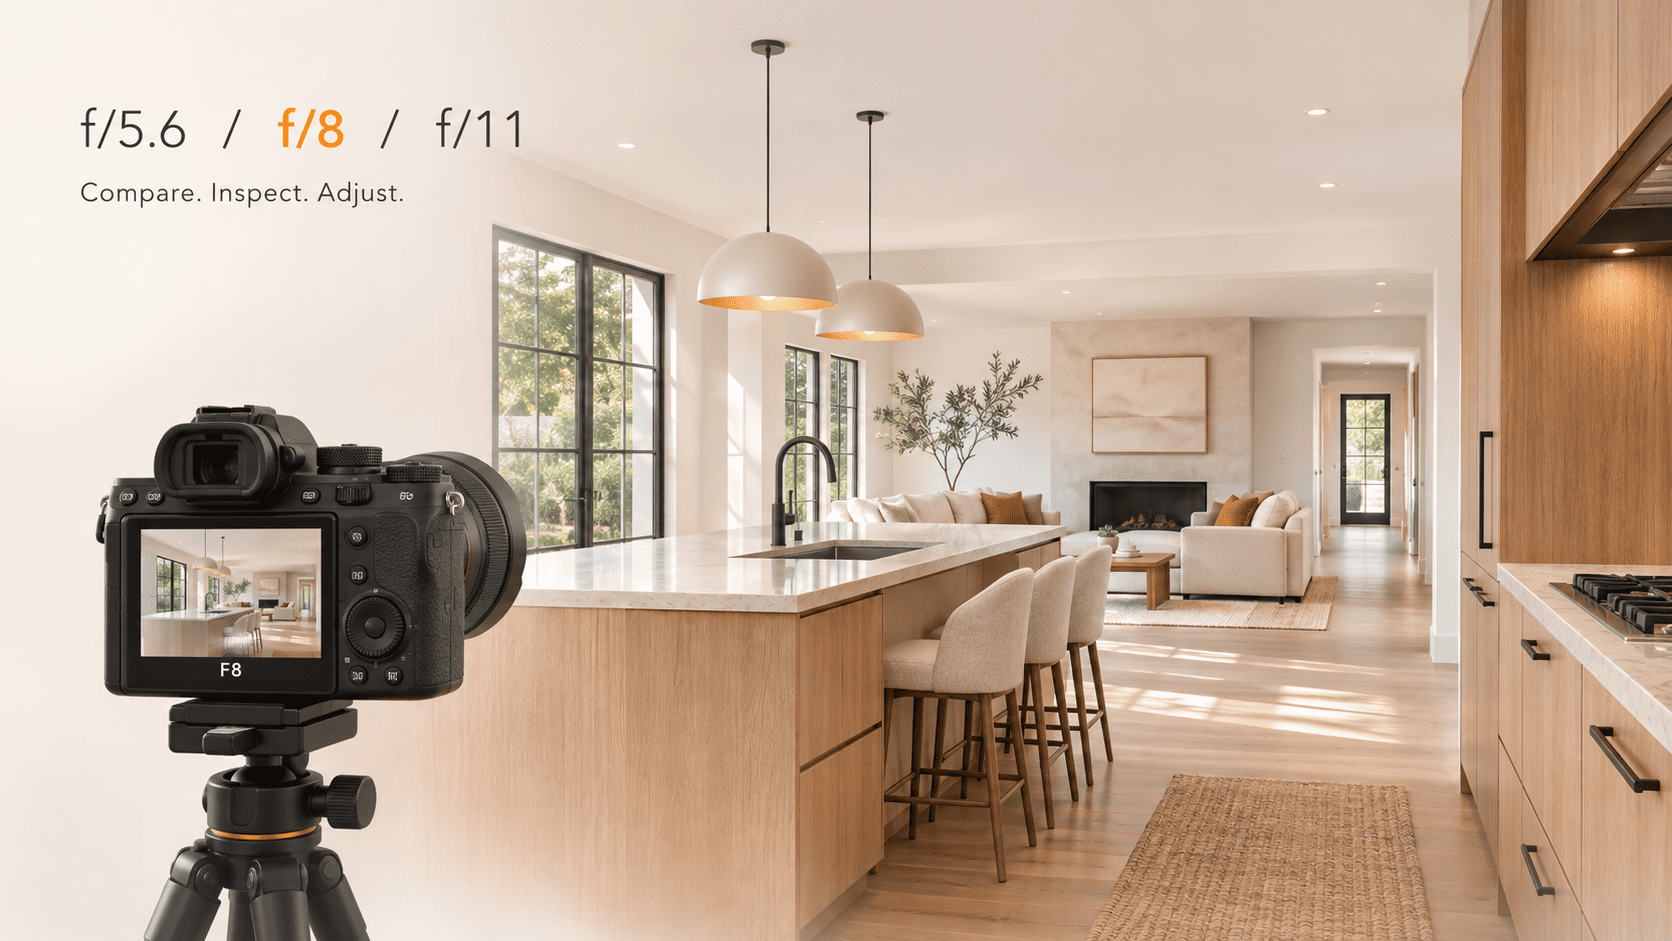
Compare these apertures using the same composition and a similar overall exposure. Otherwise, differences in brightness or camera position can distract from the actual sharpness comparison.
When f/5.6 Provides Enough Depth of Field
Use f/5.6 when the important parts of the scene fall within an acceptable focus range and there is no demanding close foreground detail.
An unobstructed room view may need less depth of field than a composition with a nearby countertop. Evaluate each composition rather than using the same aperture in every room.
Opening from f/8 to f/5.6 adds approximately one stop of light, allowing roughly half the exposure time at the same ISO. This can help when movement makes a longer exposure impractical, provided depth of field remains sufficient.
Why f/8 Is a Useful Starting Point
For many wide-angle room views, f/8 is a useful starting point. Take a test shot, inspect the important details and adjust.
The sharpest aperture depends on the lens and focal length. Using f/8 does not guarantee that nearby furniture and distant walls will both appear sufficiently sharp.
Treat f/8 as the baseline of an iterative field workflow: capture, zoom in, inspect, and adjust.
When f/11 Can Help with Near-to-Far Detail
Consider stopping down to f/11 when an essential foreground detail falls outside the acceptable focus range at f/8.
Inspect the result across the frame. Foreground detail may improve while diffraction slightly softens other textures. Choose between f/8 and f/11 according to the important details and intended output size.
At the same ISO, stopping down from f/8 to f/11 requires approximately twice the exposure time for similar brightness. Check for moving curtains, foliage and camera vibration.
Illustrative example: If f/8 at ISO 100 requires 1/4 second, f/5.6 would require approximately 1/8 second and f/11 approximately 1/2 second for similar brightness. This assumes the lighting and ISO remain unchanged.
What Determines the Right Aperture?
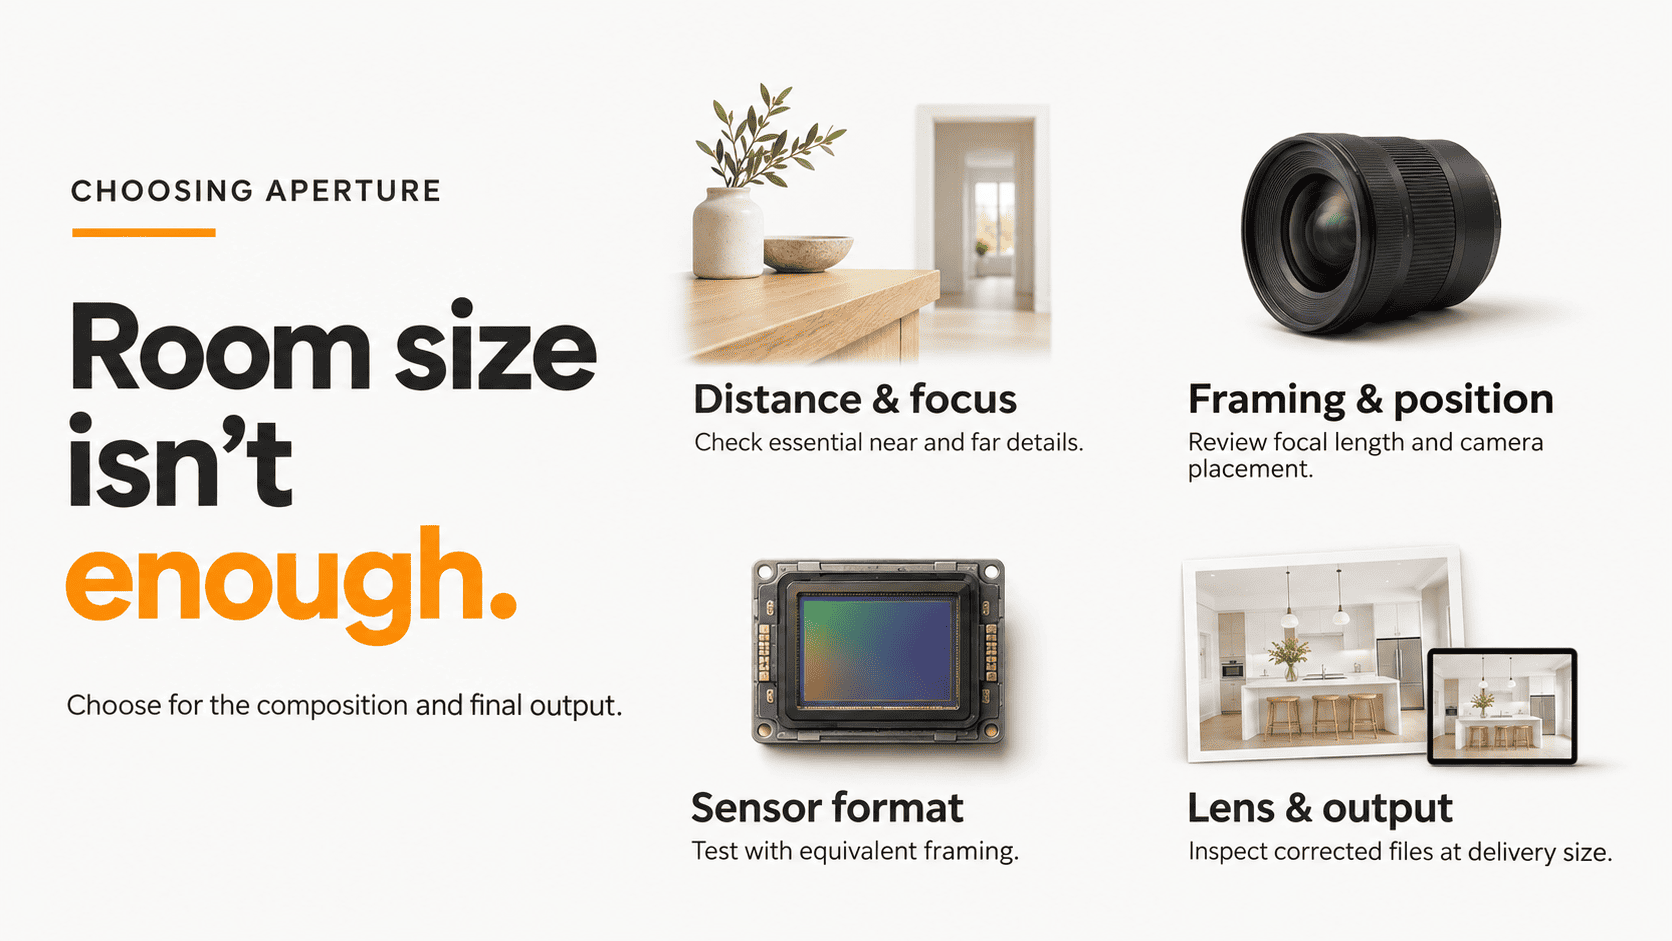
Room size alone does not determine aperture. What matters is how the important elements are arranged relative to the camera and where you place focus.
Foreground Distance and Focus Placement
A nearby kitchen island, countertop edge, or door frame can complicate focus depth far more than the overall dimensions of the room itself.
Identify the nearest detail that needs to be sharp, then check the main subject and background. Prioritize important architectural features rather than an irrelevant foreground edge.
If focus is placed poorly, correct it before stopping down. A smaller aperture may increase depth of field, but it does not replace accurate focusing.
Focal Length and Camera Position
Adjusting focal length alters scene framing, whereas physically repositioning the camera changes the spatial relationship and perspective scale between foreground and background elements.
If a nearby object is difficult to keep sufficiently sharp, consider changing camera position before stopping down further. Check that the new viewpoint still presents the room as intended.
Depth of field depends on aperture, focal length and focusing distance, along with the criteria used to judge acceptable sharpness. Canon’s depth-of-field reference explains why these factors should be considered together.
Read more: Best Focal Length for Real Estate Photography
Sensor Format and Equivalent Framing
When maintaining identical scene framing, the same f-number does not produce an equivalent depth of field across different image sensor formats.
At the same camera position, framing, f-number and final viewing conditions, a smaller sensor generally provides greater depth of field because a shorter focal length is used. The marked f-number still describes the lens’s relative aperture; it does not change with sensor format.
Check depth of field with your own camera. A full-frame recommendation may need adjustment for APS-C or Micro Four Thirds, depending on the composition.
Lens Performance and Final Output Size
Evaluate your lenses across the focal lengths and working apertures you employ most frequently, accounting for the impact of standard lens profile corrections (such as distortion and chromatic aberration compensation).
A setting that looks slightly soft at 100% magnification may still be suitable at the final web display size. Subtle differences may become more visible in large prints or heavily cropped images.
Base your choice on the intended deliverable. Check the original files to distinguish lens behavior from focus errors or camera movement.
Choosing Aperture for Different Property Shots
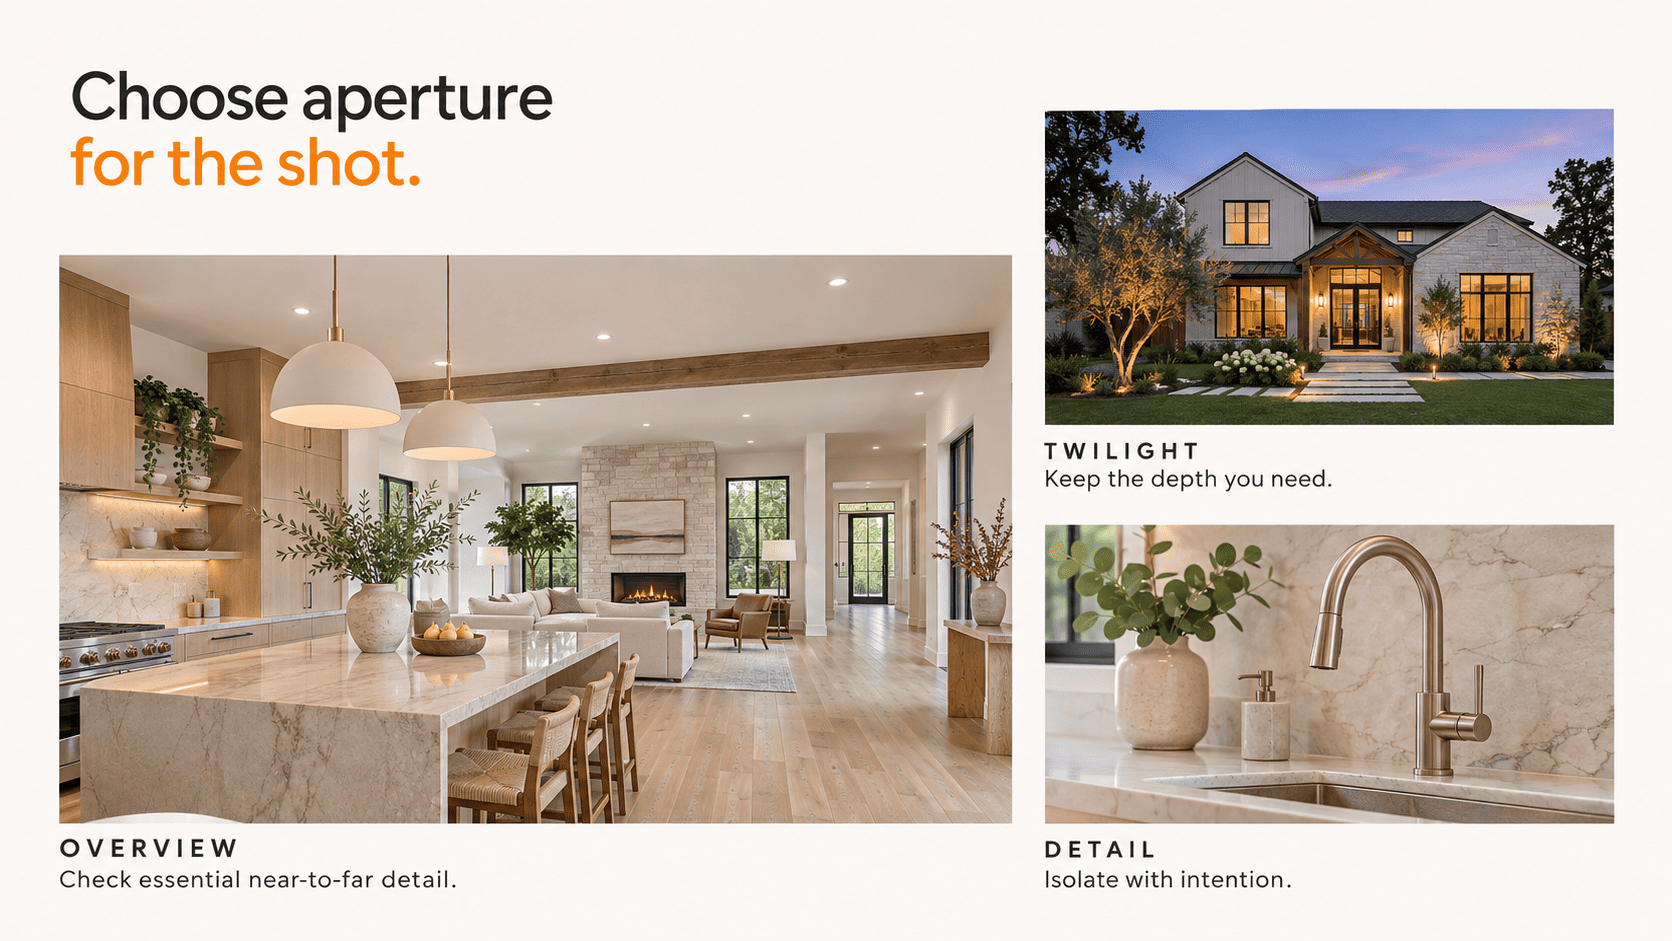
Choose aperture according to what the image needs to show. A room overview, exterior elevation and close-up of a finish do not have identical focus requirements.
Interior Overviews and Connected Spaces
For wide overall spatial captures, prioritize emphasizing the functional volume of the room and its seamless transition into adjacent areas.
Start around f/8 for a wide room view and inspect the nearest important detail, background and corners. Use f/5.6 if it meets the output requirements. If essential foreground detail remains soft, check focus placement, camera position or f/11.
Avoid assuming that larger physical spaces automatically demand smaller aperture openings. An unobstructed sightline across an expansive area often imposes far fewer depth-of-field demands than a tightly framed composition with prominent foreground elements near the lens.
Compositions with Close Foreground Objects
Check whether the foreground object improves the composition. A large, blurred table edge can distract from the room without adding useful context.
If the foreground detail is essential, adjust focus and aperture to keep it sufficiently sharp. Otherwise, change tripod height, camera position or focal length to simplify the composition.
When a single capture fails to deliver adequate depth of field across the entire scene distance, focus stacking serves as an effective technical solution for static architectural environments. Because this workflow demands additional effort during both field capture and post-processing, reserve it for scenarios where the final image quality fully justifies the added complexity.
Exterior and Twilight Photos
For exterior property captures, evaluate the main structure, surrounding landscape, and immediate foreground elements as distinct focus zones. When primary architectural features sit at a considerable distance from the camera lens, a moderate aperture setting often provides more than sufficient depth of field.
At twilight, do not open the aperture solely because the light is fading. Keep the depth of field the composition needs and use a longer exposure when the camera and scene are stable.
Architectural Details and Selective Focus
A detail shot deliberately isolates a specific fixture, texture, or architectural finish from its surrounding environment.
A wider aperture can isolate a detail, but the main subject still needs enough depth of field. For example, photographing a faucet at an angle can leave part of it outside the acceptable focus range.
Employ selective focus techniques intentionally to draw attention to key craft details. Simultaneously, maintain wider contextual captures to clearly demonstrate how that specific detail integrates into the overall property design.
Why a Smaller Aperture Does Not Always Mean a Sharper Photo
A higher f-number increases depth of field when other conditions remain unchanged, but that benefit has a trade-off. Fine detail can become less defined as diffraction becomes more significant.
Depth of Field vs. Diffraction
Depth of field defines the spatial zone within which elements render with acceptable sharpness. Conversely, optical diffraction impacts the resolving power of the lens setup.
Very small apertures can reduce fine-detail sharpness even where focus is accurate. There is no universal point at which an aperture becomes unusable; judge the effect at the intended output size. An image taken at f/11 may retain more useful near-to-far detail than one at f/8 when additional depth of field matters.
The core objective is achieving optimal optical balance rather than systematically defaulting to the smallest available lens opening.
When to Change Focus or Camera Position Instead
If only the nearest object is soft, check whether you can move slightly away from it. If the distant subject is soft, reassess focus before stopping down further.
Also distinguish defocus from other problems. A loose tripod head, moving subject or inaccurate autofocus will not be solved simply by choosing f/16.
Aperture Settings for HDR and Flash Photography
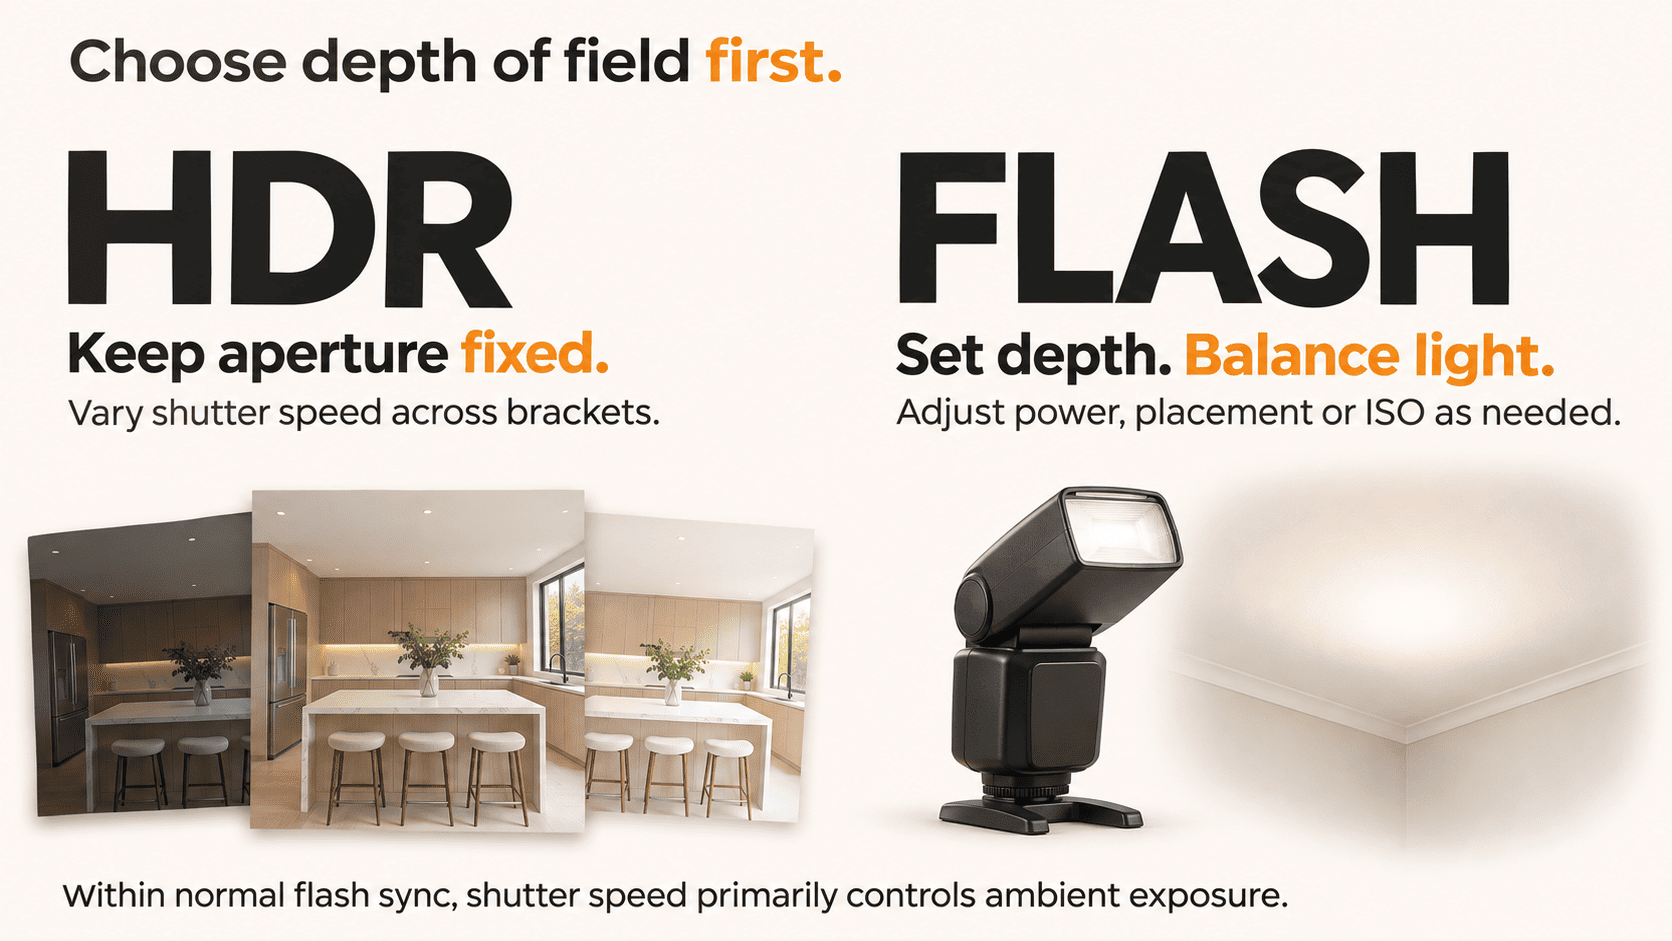
HDR and flash introduce additional exposure decisions, but neither removes the need to establish sufficient focus coverage.
Keeping Aperture Fixed Across HDR Brackets
For a standard HDR bracketed sequence, select your working aperture first and lock it down, using shutter speed adjustments exclusively to vary the exposure levels across frames.
Changing aperture between bracketed frames changes depth of field and may alter the appearance of details, making blending less consistent. Keeping aperture fixed helps maintain consistent depth of field across the sequence.
Rigorously test your camera system's automatic exposure bracketing (AEB) behavior, including Auto ISO interactions and custom function assignments. Confirm that focus placement, focal length, and tripod positioning remain completely static throughout the exposure series.
Bracketed exposure sequences capture high dynamic range scenes effectively, but they do not extend depth of field in the manner of a true focus stacking workflow.
Read more: 10 Tips to Take Your HDR Real Estate Photography to the Next Level
Balancing Aperture with Flash Output and Ambient Light
Select an aperture setting tailored to your desired depth of field, then establish the ambient-to-flash lighting balance.
When operating flash units in manual output mode, stopping down the lens reduces both speedlight output and ambient illumination reaching the sensor. Identifying the best aperture for real estate photography within a flambient workflow requires compensating for this reduction by adjusting manual flash power, modifier distance, or base ISO sensitivity. Automatic TTL metering systems adjust output dynamically, bounded by their total power capacity and working range.
During speedlight integration, adjusting the shutter speed modifies ambient light levels without directly impacting the primary flash exposure. As outlined in Nikon's flash photography technical documentation, this principle isolates ambient exposure control from electronic flash contribution.
Avoid opening up the aperture simply because a speedlight struggles to illuminate a complex scene. First, evaluate whether modifying light placement, bouncing off secondary surfaces, or altering your strobe configuration preserves the required front-to-back focus depth.
How to Test the Best Aperture for Your Camera and Lens
Conducting a controlled field test provides far more reliable guidance than assuming a generic recommendation perfectly matches your specific camera hardware.
Evaluate Identical Framing Across Variable Apertures
Select a static interior environment featuring clear foreground, mid-ground, and background details. Mount the camera securely on a rigid tripod system, locking down focal length, frame composition, and initial focus distance.
Capture consecutive test frames at f/5.6, f/8, and f/11. Maintain a fixed ISO sensitivity and adjust shutter speed to achieve identical exposure levels. Feel free to integrate additional working apertures if relevant to your standard workflow.
This controlled testing workflow aims to determine the best aperture for real estate photography tailored to your specific gear setup, rather than enforcing an absolute "best setting" formula. If you re-establish focus for each individual test aperture, document that change and analyze it as a separate test variable.
Inspect Foreground, Background, and Corner Clarity
Analyze the exact same subject elements across every test exposure—such as an adjacent cabinet edge, a central furniture piece, and a distant doorway frame.
Observe whether resolution softening correlates with subject distance, concentrates along frame corners, or degrades the entire image field. These distinct visual characteristics help distinguish limited depth of field from optical lens limitations or operational focus errors.
Maintain a uniform post-processing environment. Variable sharpening thresholds, noise reduction values, or lens profile correction profiles can easily skew aperture comparison results.
Assess Sharpness at Final Output Resolution
Examine zoomed raw files during technical review, then export each bracketed test image to the exact display dimensions required by your client deliverables.
Evaluate final deliverables under standardized viewing conditions. Choose the aperture setting that preserves critical architectural details for that specific deliverable size, rather than over-analyzing isolated corner performance at extreme pixel magnification.
Repeat this calibration test whenever introducing a new lens, shifting to a drastically different focal length, or managing high-stakes client projects. Maintain reference files from these tests to streamline setup decisions on future field assignments.
Frequently Asked Questions
Is f/8 Always Sharp Enough for Real Estate Interiors?
No. It is a useful baseline, but close foreground objects, focus placement and lens performance can affect the result. Check the important near and distant features before accepting the image.
Can You Shoot Real Estate Photography at f/4?
Yes. F/4 can work for selected overviews and detail photographs when it provides enough depth of field. It is less suitable when several essential features extend across a demanding distance range.
Should You Avoid f/16 Completely?
No. F/16 may be appropriate when additional depth of field or a particular visual effect justifies it. Compare its final output with a wider aperture and consider whether changes in focus or composition provide a better result.
Do You Need an f/2.8 Lens for Real Estate Photography?
No. A lens with an f/4 maximum aperture can be used at f/8 for tripod-mounted listing photographs. F/2.8 provides additional flexibility when you need more light or shallower depth of field, including some video and detail work.
Read more: Best Lenses for Real Estate Photography in 2026
Does a Small Room Always Require a Smaller Aperture?
No. Room dimensions alone do not determine depth-of-field requirements. The distance to the nearest important object, focus position and framing are more useful considerations.
Conclusion
The best aperture for real estate photography is the setting that keeps the important parts of your composition sufficiently sharp at the intended output size. Start around f/8, compare f/5.6 or f/11 when necessary, and change focus or camera position when those adjustments solve the problem more effectively.
For photographers working with Rotider, clear source detail and consistent exposure sets provide a stronger foundation for photo editing and HDR processing. Post-production can refine the presentation, while careful capture preserves the information needed to produce a consistent final gallery.