Good real estate photography camera settings help you capture clear room layouts, believable colors and usable detail in bright and dark areas. For tripod-mounted interiors, start with RAW capture, a moderate aperture such as f/8, a low native ISO and a shutter speed suited to the available light.
Treat these property photography settings as starting points, then adjust them to the scene. This guide explains when to adjust them, how to capture reliable exposure brackets and what to check before leaving the location.
Best Settings for Real Estate Photography
For a stationary interior photographed with a wide-angle lens and a stable tripod, the following setup provides a practical starting point.
|
Setting |
Recommended starting point |
When to adjust |
|
Exposure mode |
Manual or Aperture Priority |
Use Manual when you need direct control over exposure; use Aperture Priority when you want shutter speed to follow changing light |
|
Aperture |
Around f/8 |
Adjust for foreground distance, depth of field, lens performance and sensor format |
|
ISO |
Low native ISO, often ISO 100 |
Raise it when a shorter exposure is needed to control movement or keep the workflow practical |
|
Shutter speed |
Set according to the scene |
Check for camera vibration, moving objects and artificial-light flicker |
|
File format |
RAW |
Add JPEG if your review or delivery workflow requires it |
|
Focus |
Single-point autofocus or carefully checked manual focus |
Refocus after changing composition, focal length or working distance |
|
White balance |
A suitable fixed setting for each lighting setup |
Reassess when moving between different light sources |
|
Exposure bracketing |
Use when one exposure cannot capture the required tonal range |
Choose the frame count and spacing after checking highlights and shadows |
|
Shutter release |
Short self-timer or remote release |
Allow more settling time if the camera or support is vibrating |
|
Stabilization |
Follow the camera and lens instructions |
Tripod recommendations differ between systems |
The important distinction is between settings that should remain consistent within a sequence and settings that should respond to the scene. For an HDR bracket, you generally want stable framing, focus and depth of field while exposure changes between frames.
Read more: Essential Real Estate Photography Equipment for Every Budget
How to Adjust Your Core Camera Settings
Aperture, shutter speed and ISO work together, but they solve different problems. Decide how much depth of field you need, establish an appropriate ISO, then choose an exposure time that records the scene without unacceptable movement.
Manual Mode vs. Aperture Priority
Manual mode grants full control over aperture and shutter speed. Operating with a fixed ISO ensures exposure remains locked until manually adjusted. This setup proves beneficial when matching framing across shots, integrating speedlights, or composing interiors where bright windows skew auto-metering.
Aperture Priority lets you dictate depth of field while the camera automatically calculates shutter speed. This mode streamlines ambient-light shooting, provided you monitor test shots and dial in exposure compensation whenever scenes demand it.
Neither mode inherently guarantees superior results. Pay close attention to Auto ISO behavior: operating in Manual mode with Auto ISO enabled means your setting lack a fully locked exposure baseline.
Aperture and Depth of Field
For wide-angle interior shots, setting your lens to f/8 offers a reliable baseline. However, utilizing f/8 does not automatically guarantee front-to-back sharpness across the entire room composition.
Depth of field varies depending on focal length, focus point distance, and proximity to the nearest foreground object. For instance, maintaining crisp sharpness on a nearby countertop while keeping a distant doorway in sharp focus can be challenging, even if background room elements appear acceptable.
Official aperture technical guides from Nikon note that smaller aperture openings yield expanded depth of field. Apply this principle by inspecting both near and far details in test shots, rather than simply stopping down to an arbitrarily high f-number.
If foreground elements remain soft, re-evaluate camera height, camera placement, or your focus point before narrowing the diaphragm further. Extremely small apertures induce soft focus due to optical diffraction; thus, selecting the maximum f-stop rarely produces the sharpest image.
ISO and Image Quality
For stationary interior compositions on a tripod, set your baseline to the camera's native minimum ISO—typically ISO 100, though base values vary by sensor manufacture. Extending exposure duration provides necessary frame brightness without elevating digital gain.
Increase ISO when ambient conditions demand faster shutter speeds. Swaying window drapes, exterior foliage visible through windows, or outdoor tripod setups exposed to wind represent scenarios where long exposures compromise frame clarity.
Avoid treating ISO 100 as an absolute rule within. A slightly noisy frame with crisp details is far more usable than a noise-free image blurred by subject motion. Evaluate grain tolerance based on the final display resolution or print dimensions required for marketing materials.
Shutter Speed and Scene Movement
There is no single universal shutter speed for interior architectural capture. While a robust tripod stabilization system allows for extended exposures, it cannot lock down motion occurring within the scene itself.
Before triggering the shutter, inspect the space for active motion: ceiling fans, swaying window sheers, pets, occupants, or wind-blown exterior foliage. Whenever feasible, eliminate movement at the source before choosing a shutter speed that preserves fine edge sharpness.
For example, if an aperture of f/8 at ISO 100 calls for a two-second shutter duration, that exposure works cleanly in a completely static room. However, if window drapes are moving, you must pin them down, wait for air currents to settle, introduce auxiliary lighting, or recalibrate exposure variables to achieve a faster shutter speed.
Focus and White Balance for Real Estate Photography
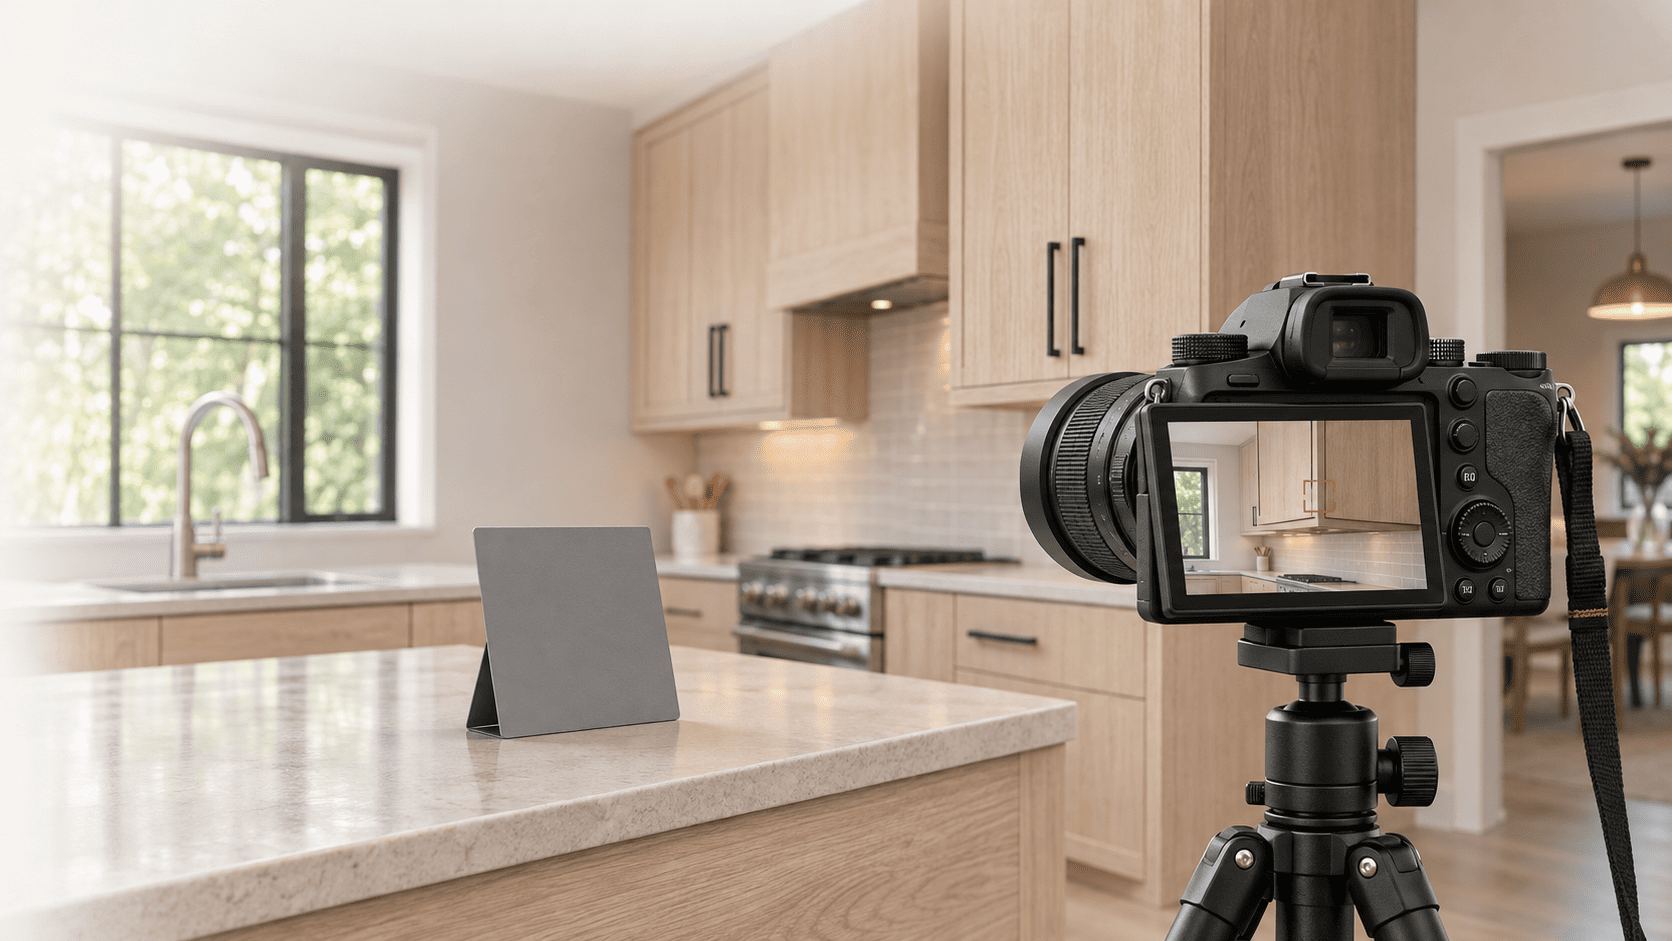
Exposure can look correct while important details remain soft or wall colors vary between images. Focus and white balance therefore need their own checks.
Choosing and Checking Your Focus Point
Select a precise focus target on a well-defined, stationary element within the space. Cabinet edges, door frames, or textured furniture surfaces offer significantly higher contrast for auto-focus systems compared to featureless walls or reflective glass.
Once focused, verify sharpness by zooming in on the preview screen. Do not limit your review strictly to the primary focus point—inspect immediate foreground details, key focal zones, and background elements across the frame.
Avoid relying on a fixed focus distance for every room. A composition with heavy foreground furniture demands a different focus placement strategy than a wide-open, unobstructed space.
Keeping Focus Consistent Across Brackets
Once focus is established for an exposure bracket sequence, ensure the camera does not re-acquire focus between individual frames. Depending on your camera system, you can lock focus by switching to manual focus, utilizing back-button focus, or engaging dedicated focus-lock functions.
Avoid adjusting the focus or zoom rings while executing a bracketed series. If you alter the focal length or shift your composition, re-verify focus precision before initiating the next sequence.
Maintaining consistent focus across bracketed exposures ensures seamless alignment during blending, though it cannot compensate for accidental tripod displacement between shots.
Auto White Balance, Kelvin and Custom White Balance
Auto White Balance offers convenience, yet its algorithmic interpretation can shift noticeably as composition changes. A frame heavily influenced by warm interior lighting versus cool window light often yields inconsistent color rendering across consecutive shots.
Setting a fixed Kelvin color temperature or establishing a custom white balance delivers a far more consistent baseline within the same lighting environment. Adobe's HDR merge guidelines recommend locking in a manual white balance to prevent unwanted color temperature shifts between bracketed exposures.
Shooting in RAW format provides substantial latitude for color corrections during post-processing. Nevertheless, using a consistent white balance during capture helps with on-site previewing and shot comparison. Be sure to reassess your color temperature baseline whenever transitioning into a space with distinctly different light sources.
Working with Mixed Lighting
A single white balance preset cannot always simultaneously balance natural daylight, warm incandescent lamps, and mixed-tint LED fixtures.
Determine which ambient or artificial source should serve as the dominant reference for the scene's color signature. Where appropriate—and agreed upon with the client—turn off competing fixtures that introduce undesirable color casts. When mixed lighting remains unavoidable, capture exposures rich in detail to allow for targeted local color correction in post-production.
The objective is to accurately portray the property's authentic finishes. Avoid forcing every surface toward a uniform neutral tone when the materials themselves carry distinct, natural color variations.
HDR Bracketing Settings for Real Estate Photography
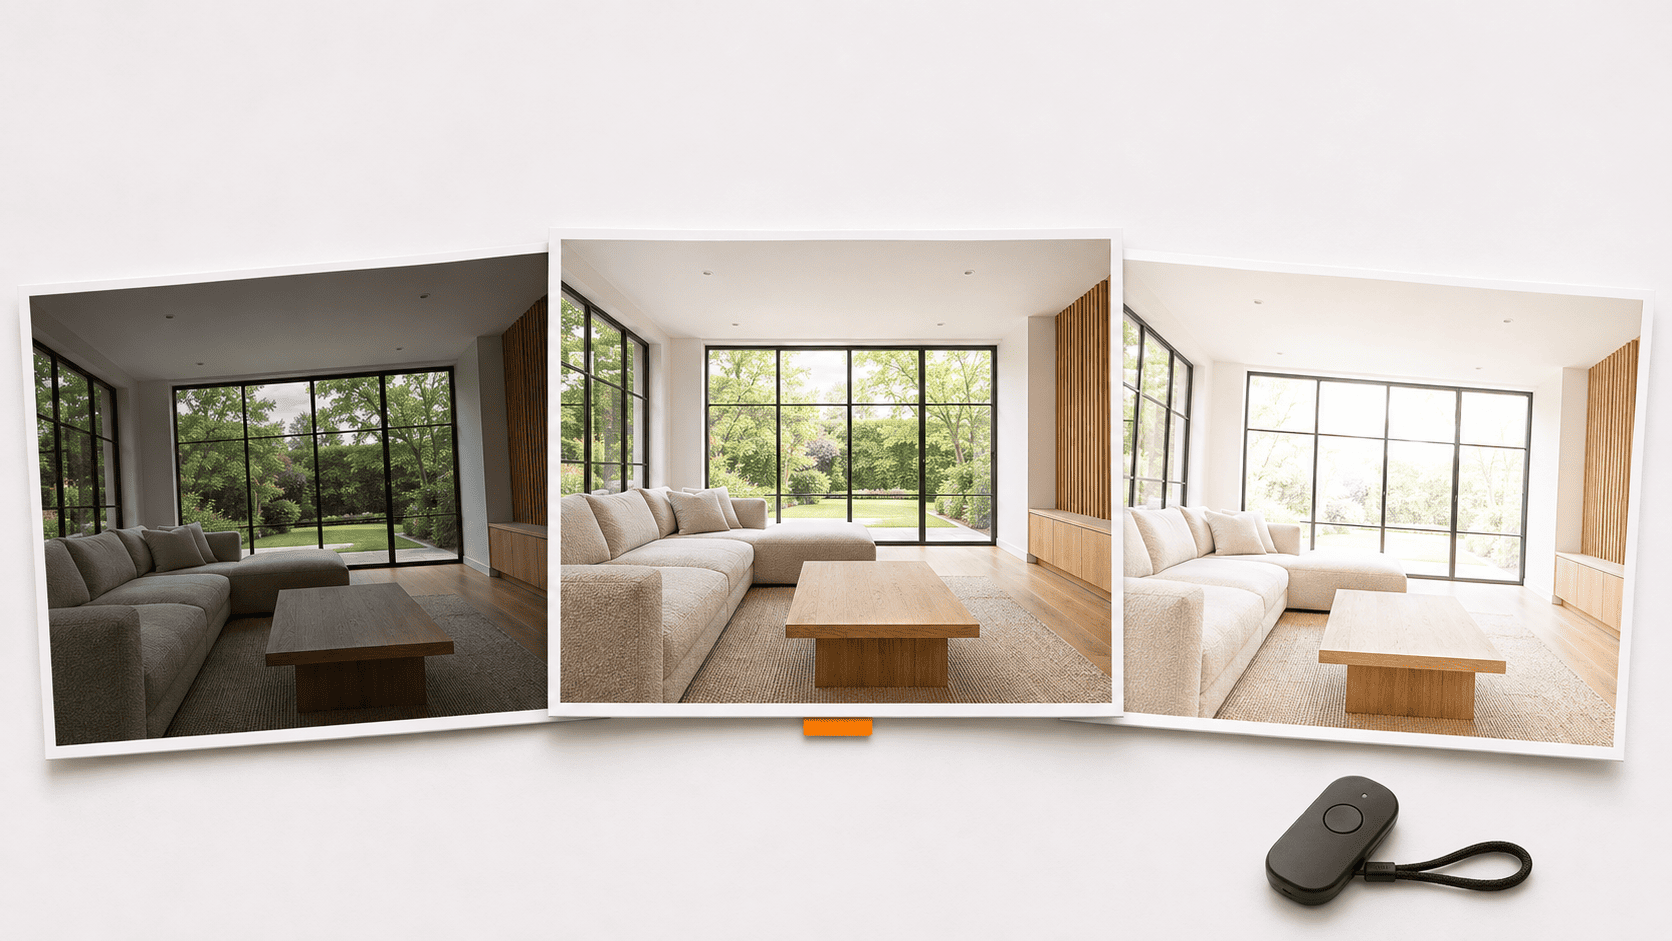
Exposure bracketing records the same composition at different exposure levels. The files can then be merged or blended to retain useful detail that a single exposure cannot capture.
The correct bracket depends on scene contrast. A room with shaded windows may require less coverage than a dark interior facing direct sunlight.
Choosing the Number of Frames and EV Spacing
A 3-shot exposure bracket (-2, 0, +2 EV) provides a practical starting point for many interior scenes. However, this standard interval is neither universally mandatory nor guaranteed to capture the full dynamic range.
Always evaluate your captured bracket sequence. If the darkest frame still clips critical highlight detail through windows, extend exposure steps further into the underexposed range. Conversely, if the brightest frame fails to render usable shadow detail in deep interior corners, expand exposure in the opposite direction.
Capturing additional bracketed frames does not automatically enhance final image quality. Excessive exposures increase field time and storage overhead, while micro-movements between shots complicate exposure blending. Align your exposure range to match the specific contrast ratios of the room and your intended post-processing workflow.
Keeping Aperture and ISO Consistent
For a standard natural-light HDR sequence, lock your aperture and ISO values while varying only the shutter speed. This approach ensures consistent depth of field across all exposures while systematically altering light intake.
Verify how your camera system executes automatic exposure bracketing (AEB). Operational behavior often shifts depending on the selected exposure mode, Auto ISO configuration, and custom function assignments.
Before relying on a saved preset during an active shoot, capture a test sequence and inspect the recorded metadata across all bracketed frames.
Checking Highlight and Shadow Coverage
Evaluate your shadow and highlight exposures independently.
The most underexposed frame must preserve critical highlight details intended for display, such as window views and exterior landscapes. Conversely, the most overexposed frame needs to reveal rich, usable structural clean data within deep interior shadows.
Avoid relying solely on LCD screen previews to gauge dynamic range capture. Integrate camera histograms, highlight clipping alerts ("blinkies"), and magnified playback checks. While small specular highlights or bulb filaments may safely blow out without compromising image quality, preserving primary architectural elements remains the paramount objective.
Exposure Bracketing vs. In-Camera HDR
Exposure bracketing generates a series of discrete source captures. In-camera HDR features merge these exposures internally, though output options and compression levels vary significantly across camera brands.
If your post-processing pipeline relies on external software, confirm that individual source files are retained alongside the merged output. An in-camera composite often restricts editing latitude compared to processing raw parent files manually.
Adobe's Lightroom HDR documentation outlines how software blends bracketed exposures, aligns frame offsets, and mitigates subject movement using deghosting algorithms. While digital tools streamline post-production, careful exposure and stable framing remain important to the final result.
Read more: 10 Tips to Take Your HDR Real Estate Photography to the Next Level
Camera Settings for Different Lighting Conditions
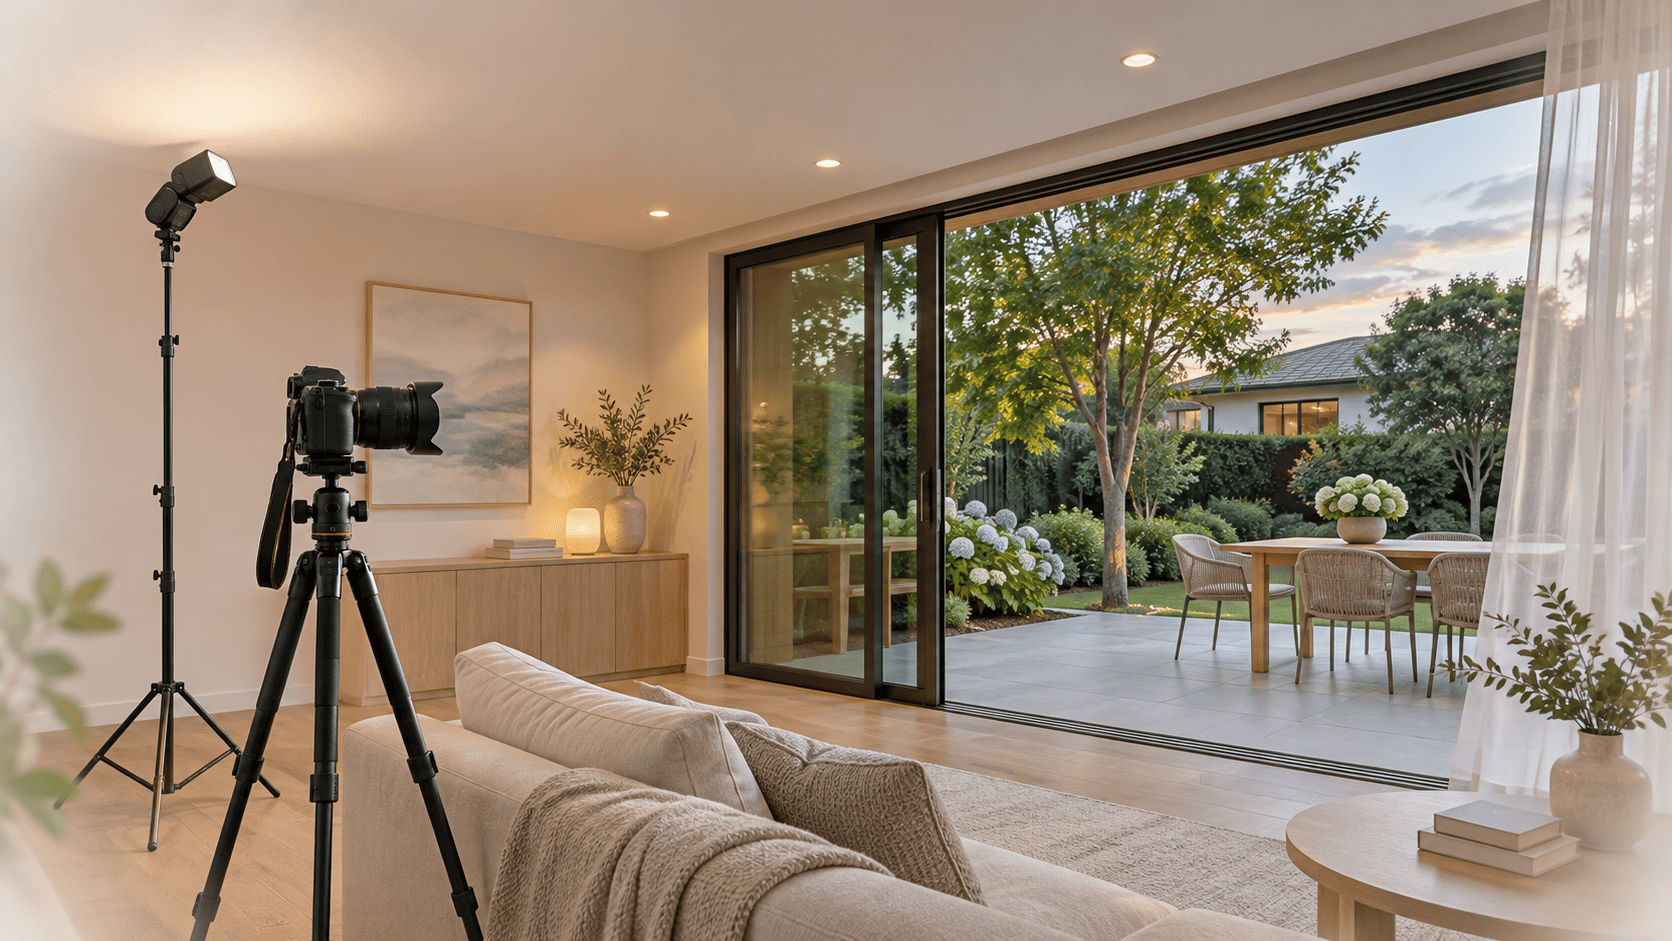
Adjust your interior photography camera settings as light levels, scene contrast and movement change between rooms. The same property may contain evenly lit rooms, difficult window views and exterior scenes with moving foliage.
Daylight Interiors
Start by locking in your chosen aperture alongside the camera’s native base ISO, then establish an exposure calibrated specifically to the ambient conditions of the space. Verify whether high-contrast elements, such as exterior window scenes and deep interior shadows, can be captured within a single dynamic range window.
If the scene contrast remains manageable, a single uncompressed RAW exposure will offer sufficient post-processing latitude. If critical highlights or shadows fall outside the sensor's range, transition to a bracketed exposure sequence.
As you navigate through different areas of the home, continually re-evaluate lighting levels rather than applying a fixed shutter speed across every room.
Dark Interiors and Bright Windows
High-contrast interior scenarios often demand an expanded exposure latitude. Maintain rigid camera stability on your support system and thoroughly inspect both extremities of your bracketed series before advancing to the next shot.
When direct sunlight introduces harsh dynamic range spikes, evaluate whether adjusting the time of day or introducing supplemental lighting improves raw image quality. Expanding the count of bracketed frames cannot resolve underlying issues caused by excessive lens glare, harsh surface reflections, or weak composition.
Verify that your most underexposed captures explicitly retain crisp exterior details through glass openings; never assume that any underexposed frame will automatically preserve clean, usable window views.
Daytime Exteriors
A low ISO baseline and moderate aperture remain solid starting reference points, though daylight conditions typically accommodate significantly faster shutter speeds.
Pay close attention to movement within the frame, such as blowing foliage, flags, or landscaping elements. When executing an exposure bracket outdoors, sequence your shots rapidly to minimize alignment artifacts along moving edges during post-process exposure blending.
Exterior exposure strategy should prioritize cleanly rendering the structure and its immediate environment. Avoid excessively underexposing the architectural façade solely to preserve high-contrast sky details.
Twilight Photography
Use a stable tripod and review exposure frequently as ambient light changes. A shutter speed that worked several minutes earlier may no longer be appropriate.
Balance building detail, illuminated windows and the remaining sky. Bracket when the contrast requires it, and check for clipped fixtures or excessively dark façades.
Flash-Assisted Photography
Manual exposure mode simplifies balancing flash with ambient light, providing predictable, repeatable frame results.
Under standard flash sync conditions, shutter speed primarily regulates ambient light intake, whereas aperture and ISO affect both ambient luminance and flash output. Flash power, light positioning, and reflective bounce surfaces also directly shape the final exposure.
Verify your camera's maximum flash sync speed and confirm full recycle status before triggering the next frame. When using flash, inspect reflective surfaces and colored walls for harsh hot spots or unwanted color spill.
When capturing separate ambient and flash frames for manual flambient blending, maintain absolute tripod stability and clearly mark your corresponding asset files.
Read more: Best Focal Length for Real Estate Photography
File Format, Shutter and Release Settings
These settings influence editing flexibility and capture reliability. Configure them before the first room, then verify that they still suit any changes in lighting or technique.
RAW vs. JPEG
RAW remains the more versatile starting capture format whenever the workflow demands substantial adjustments to exposure balance, tone curves, or color temperature. Conversely, JPEG serves well for rapid previewing or specialized turn-key workflows requiring instant deliverable files.
Confirm that your editing software suite or external post-production partner maintains native support for your chosen camera raw profile. Preserve the original RAW files and keep previews or edited exports separate.
A RAW file still operates within sensor constraints. It cannot reliably reconstruct clipped data that was never recorded, nor can it eliminate severe motion blur or mechanical vibration artifacts.
Self-Timer, Remote Release and Drive Mode
Utilizing a short shutter delay timer or a remote release shutter trigger minimizes direct hand contact with the camera chassis during exposure acquisition. Allow the support setup to fully settle after making composition adjustments or touching control dials.
For bracketed capture workflows, confirm how your camera model handles multi-shot drive modes. Certain camera bodies execute the entire bracketed burst with a single shutter click, whereas other systems necessitate specific menu settings or sequential button presses.
After triggering a bracket, verify the actual file count on your memory card. Relying solely on the final image preview rendered on the rear LCD screen can mask an incomplete exposure bracket sequence.
Shutter Type and Stabilization on a Tripod
Electronic shutters reduce mechanical vibration during exposure, yet they frequently introduce banding artifacts or uneven frame exposure under artificial lighting. Likewise, mechanical and electronic first-curtain shutter options carry their own system-specific limitations depending on camera architecture.
Sony's anti-flicker documentation details how shutter type selection, shutter speed sync, and specialized anti-flicker functions directly dictate image consistency under cycling light sources.
Under LED or fluorescent lighting, conduct test captures on-location rather than assuming silent shooting modes will perform flawlessly in every environment.
Common Camera Setting Problems and How to Fix Them
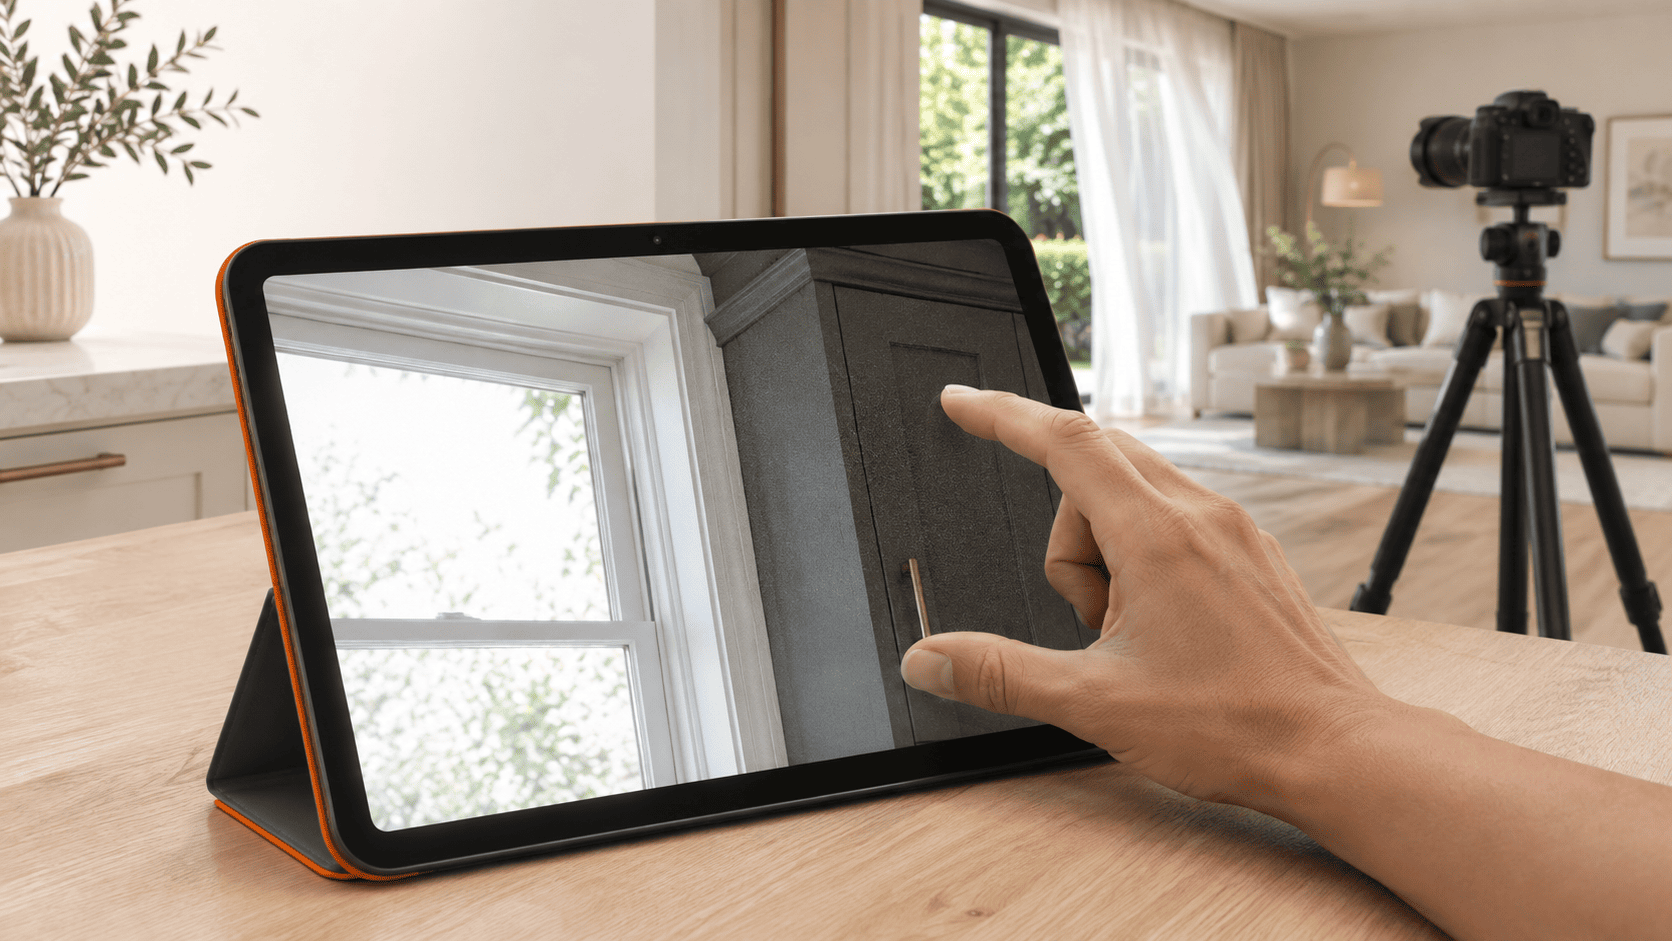
When an image looks wrong, identify the cause before changing several settings at once. Focus errors, vibration, movement and exposure problems require different solutions.
Soft Images and Inconsistent Focus
Compare edge-to-edge detail clarity across the entire image area. If your primary focus point appears pin-sharp while foreground or background furniture elements fall soft, your depth of field may be insufficient for the composition. Conversely, if edge blurring shifts uniformly in a single direction across the entire frame, mechanical vibration or tripod movement is likely the culprit.
Re-verify your focus placement, allow your support setup to stabilize completely, and capture a test frame for inspection. When diagnosing softness on location, simply stopping down the aperture will not resolve issues caused by a loose tripod head or shutter-induced vibration.
Clipped Windows and Noisy Shadows
First, ensure your exposure bracket fully encompasses the entire scene luminance range. Darkening a permanently clipped (blown-out) highlight area during post-processing cannot recover lost sensor data.
Similarly, lifting heavily underexposed shadow regions introduces severe digital noise and banding. For high-contrast interiors, capture an additional brighter frame suited to deep shadow areas whenever the scene demands it, while retaining darker source exposures to protect critical highlight detail.
Color Changes Between Frames
Verify whether Auto White Balance (AWB) shifted dynamically across exposures, if a new transient light source entered the frame, or if artificial lighting fluctuated during execution.
Locking a custom Kelvin white balance eliminates automated color shifts between shots, yet it cannot completely negate artifacts caused by cycling light fixtures. When investigating color differences, inspect raw unedited frames side by side before concluding that color cast inconsistencies originated in post-production.
Misaligned Brackets and Moving Objects
Re-check the physical stability of your tripod support system, quick-release plate, and camera rig, ensuring that neither focal length (zoom position) nor manual focus distance shifts at any point during your exposure sequence.
In-scene motion introduces a distinct set of alignment challenges. Moving elements such as ceiling fans, swaying window curtains, or exterior foliage frequently alter positions even when the camera platform remains completely static.
Whenever feasible, eliminate environmental movement and re-capture the sequence. While software deghosting tools assist during HDR bracket blending, always inspect merged results at 100% zoom to verify that double-edge artifacts or inconsistent texture details have not been introduced into the final composite.
Read more: Best Camera for Real Estate Photography in 2026
A Pre-Shoot Camera Settings Checklist
Before capturing the first space on-site, complete the following pre-flight checklist:
-
RAW recording format, card capacity, and power levels: Ensure system storage and batteries are fully prepped for the entire session.
-
Exposure mode and Auto ISO status: Verify that manual exposure overrides are strictly enforced without automated shifts.
-
Target aperture, focus plane, and nearest foreground element: Confirm optimal depth of field across the entire room volume.
-
Custom White Balance for scene illumination: Lock color temperature to guarantee consistency across bracketed assets.
-
Bracket count, step interval, and total exposure latitude: Set the exact dynamic range sequence required for the ambient environment.
-
Shutter type, image stabilization (IBIS), and remote triggering: Eliminate artificial light flicker, banding, and mechanical chassis vibration.
-
Support stability and in-scene motion vectors: Lock down the tripod platform and manage moving interior elements.
Execute a complete test bracket and evaluate the frame output at 100% magnified playback. Re-verify your real estate photography camera settings whenever ambient light conditions shift, when transitioning to supplemental flash setups, or when moving outside for exterior assets.
For external post-production workflows, preserve all original bracketed source files and provide clear exposure grouping instructions. Well-organized, complete raw capture sets offer post-processing specialists a far more reliable baseline than an unorganized volume of ambiguous or incomplete brackets.
Frequently Asked Questions
Is f/8 Always Best for Real Estate Photography?
No. It is a useful starting point for many wide-angle compositions, but the appropriate aperture depends on focus distance, foreground proximity, sensor format and lens performance. Check actual detail before deciding.
Should You Always Use ISO 100?
No. Use a low native ISO when conditions allow, but raise it when a shorter exposure is necessary. Preventing movement can matter more than retaining the lowest possible ISO.
What Is the Best Shutter Speed for Interior Photos?
There is no universal value. Choose a shutter speed that provides suitable exposure at your selected aperture and ISO, then check for camera vibration and movement within the scene.
Do You Need to Bracket Every Real Estate Photo?
No. Bracket when one exposure cannot retain the important highlights and shadows required for the final image. Evenly lit scenes may need only a well-exposed RAW file.
Do Camera Settings Change Between Full Frame and APS-C?
The same exposure principles apply, but equivalent framing and depth of field require consideration. APS-C generally uses a shorter focal length for a similar field of view, and the same f-number does not necessarily produce the same depth of field. Evaluate the composition and final image rather than copying a full-frame setup without checking it.
Conclusion
Effective real estate photography camera settings provide a repeatable starting point while leaving room for judgment. Establish suitable depth of field, check focus, capture enough exposure range and inspect the files before leaving the property.
For photographers and media teams working with Rotider, complete exposure sets, stable framing and clear editing references help support consistent post-production. Careful capture and a clearly defined editing workflow work together to produce credible, listing-ready images.